
Using Projector Plus in a browser
Projector Plus runs in a web browser at projectorplus.worshipstorm.com — no install required. It is the same app as the iPhone, iPad and Android versions, with the same plans, the same editing and the same subscription.
This is how you run Projector Plus on a Windows PC, a Mac, a Chromebook or a Linux machine, none of which have a native version.
Getting started
Open https://projectorplus.worshipstorm.com and sign in with Planning Center. That is the whole setup.
Putting slides on the projector
The browser version opens your presentation output as its own separate window. Drag it to your projector or second monitor and put it full screen.
This is the tidiest arrangement there is: your plan and controls stay on your laptop screen, only the output window goes to the wall, and nothing else on your computer can appear by accident. See Getting slides onto your screen.
If the output window does not appear, check whether your browser blocked a pop-up.
Installing it as an app
On a computer you use regularly for services, installing Projector Plus is the better way to run it, and it takes about ten seconds. It is the same app either way — same plans, same editing, same subscription — but installed, it behaves like a program rather than a web page, which is what you want on a Sunday morning.
It is a recommendation, not a requirement. An ordinary browser tab is fully supported, and nothing else on this page depends on installing.
Chrome or Edge
With Projector Plus open, the install control is at the right-hand end of the address bar, beside the bookmark star. The two browsers put it in the same place and draw it differently, so both are shown here.
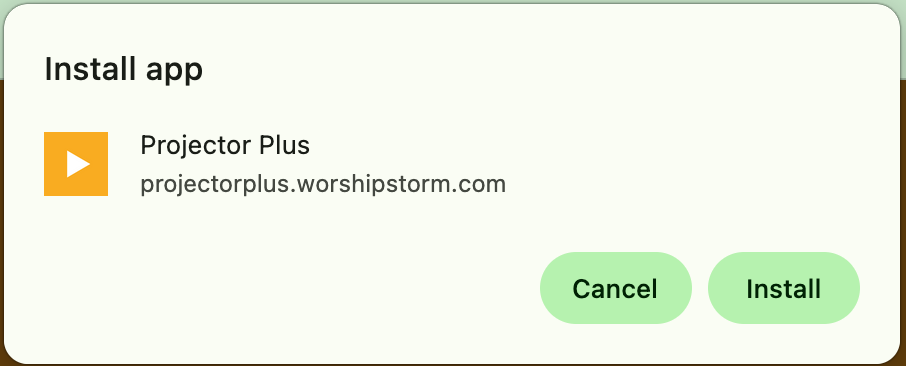
In Chrome it is a button that says Install:

Click it, and confirm in the dialog that follows:
In Edge it is a small unlabeled icon in that same spot. Hovering over it says App available. Install Projector Plus:

Edge’s dialog is wordier and lists what installing gives you before the Install button:
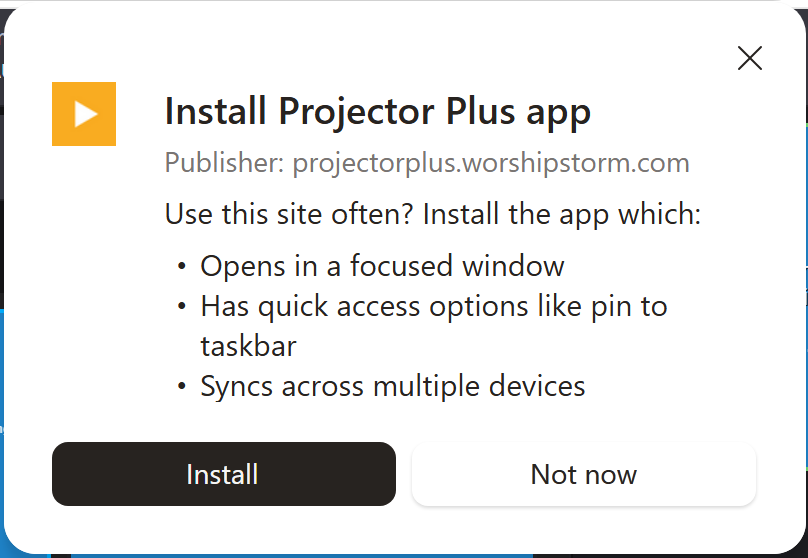
That list is Edge describing installed apps in general, not anything specific to Projector Plus.
If the control is not showing in either browser, the same command is in the browser menu — the wording moves between versions, but it always contains the word Install.
Safari on a Mac
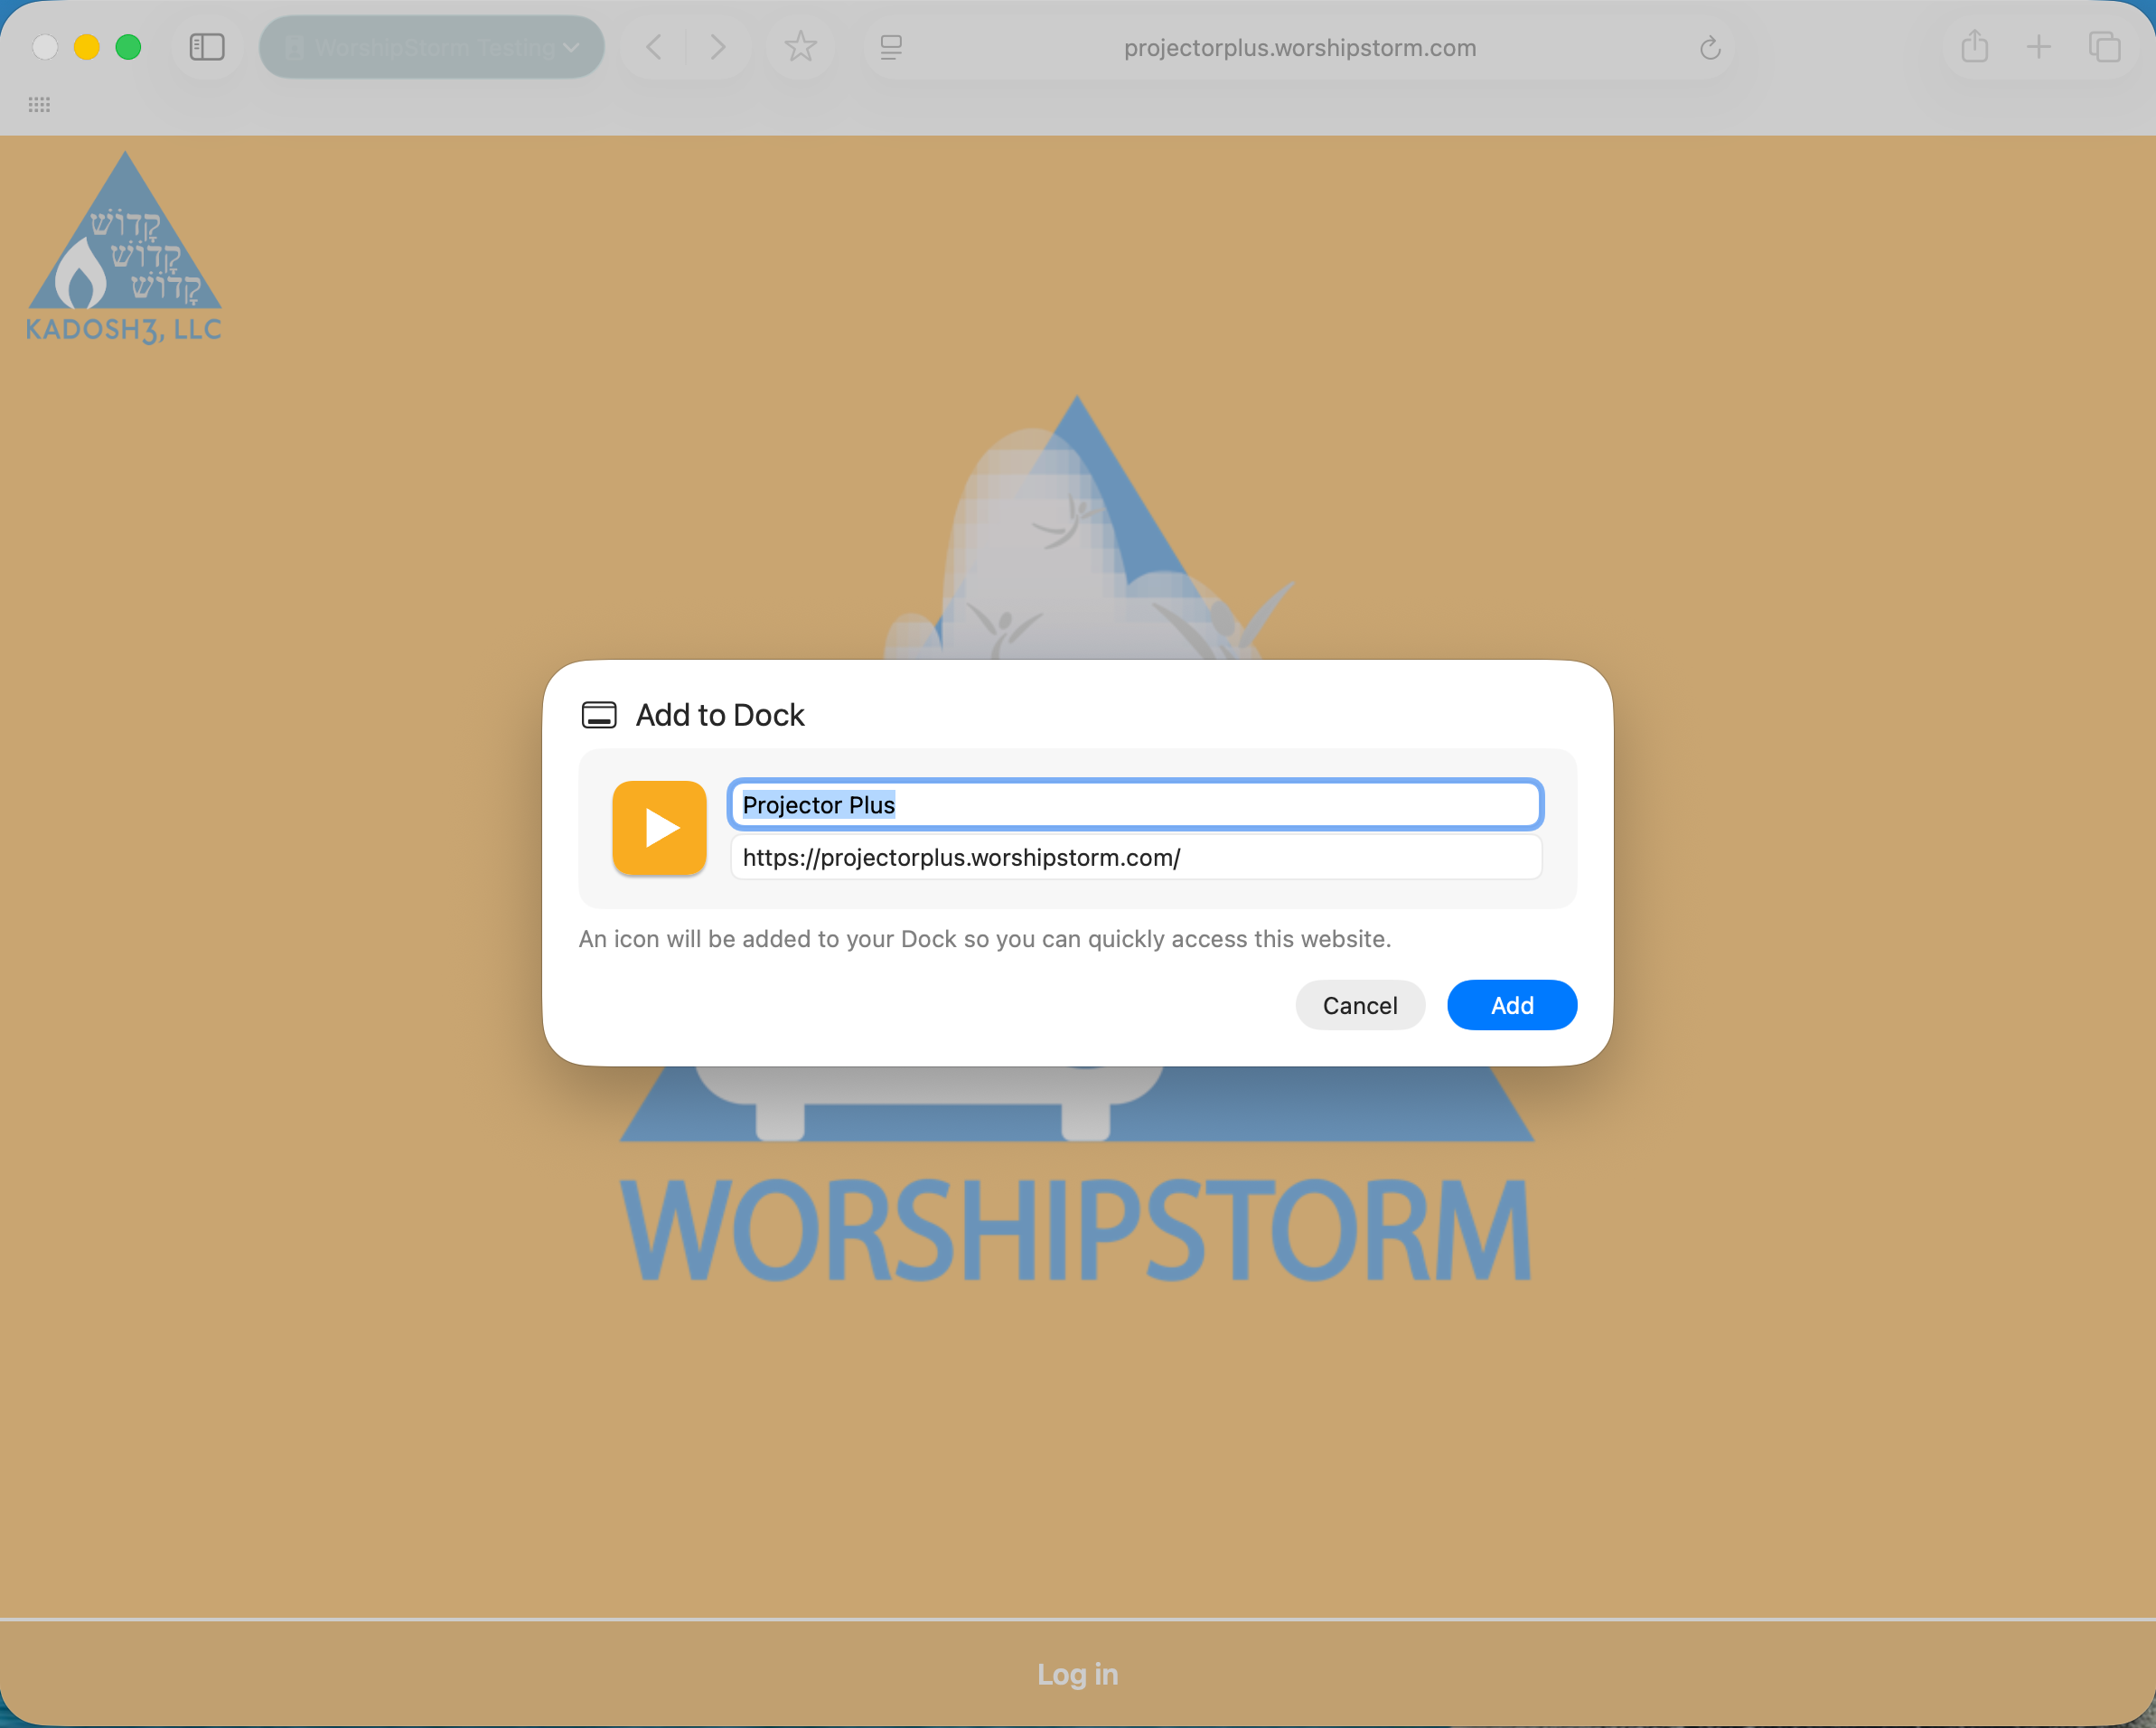
File → Add to Dock. Safari does not use the word “install” for this; Add to Dock is the same thing. A sheet appears with the name — leave it as Projector Plus or change it — and Add finishes:
On a phone or tablet
Open the browser’s share menu and choose Add to Home Screen.
What installing changes
Three things, and all of them show up at the moment you are least able to deal with them:
- Links open as Projector Plus windows rather than tabs. Planning Center Services, the plan on Planning Center, Documentation and the subscription pages open in a window that belongs to Projector Plus, positioned just down and to the right of it so you can see what it came from. In a browser tab, each of those is another tab in a row of your own.
- Closing Projector Plus closes the projector windows with it. The Output and Confidence windows shut down when the main window does, so you cannot leave a black projector window stranded on the wall after you have finished. Reloading Projector Plus does not close them — only actually quitting.
- There is no tab strip or address bar to hit by accident, and Projector Plus gets a Dock or taskbar icon like any other app, so it is where your hand expects it to be.
The difference, side by side — the same app in a browser tab on the left, installed on the right:
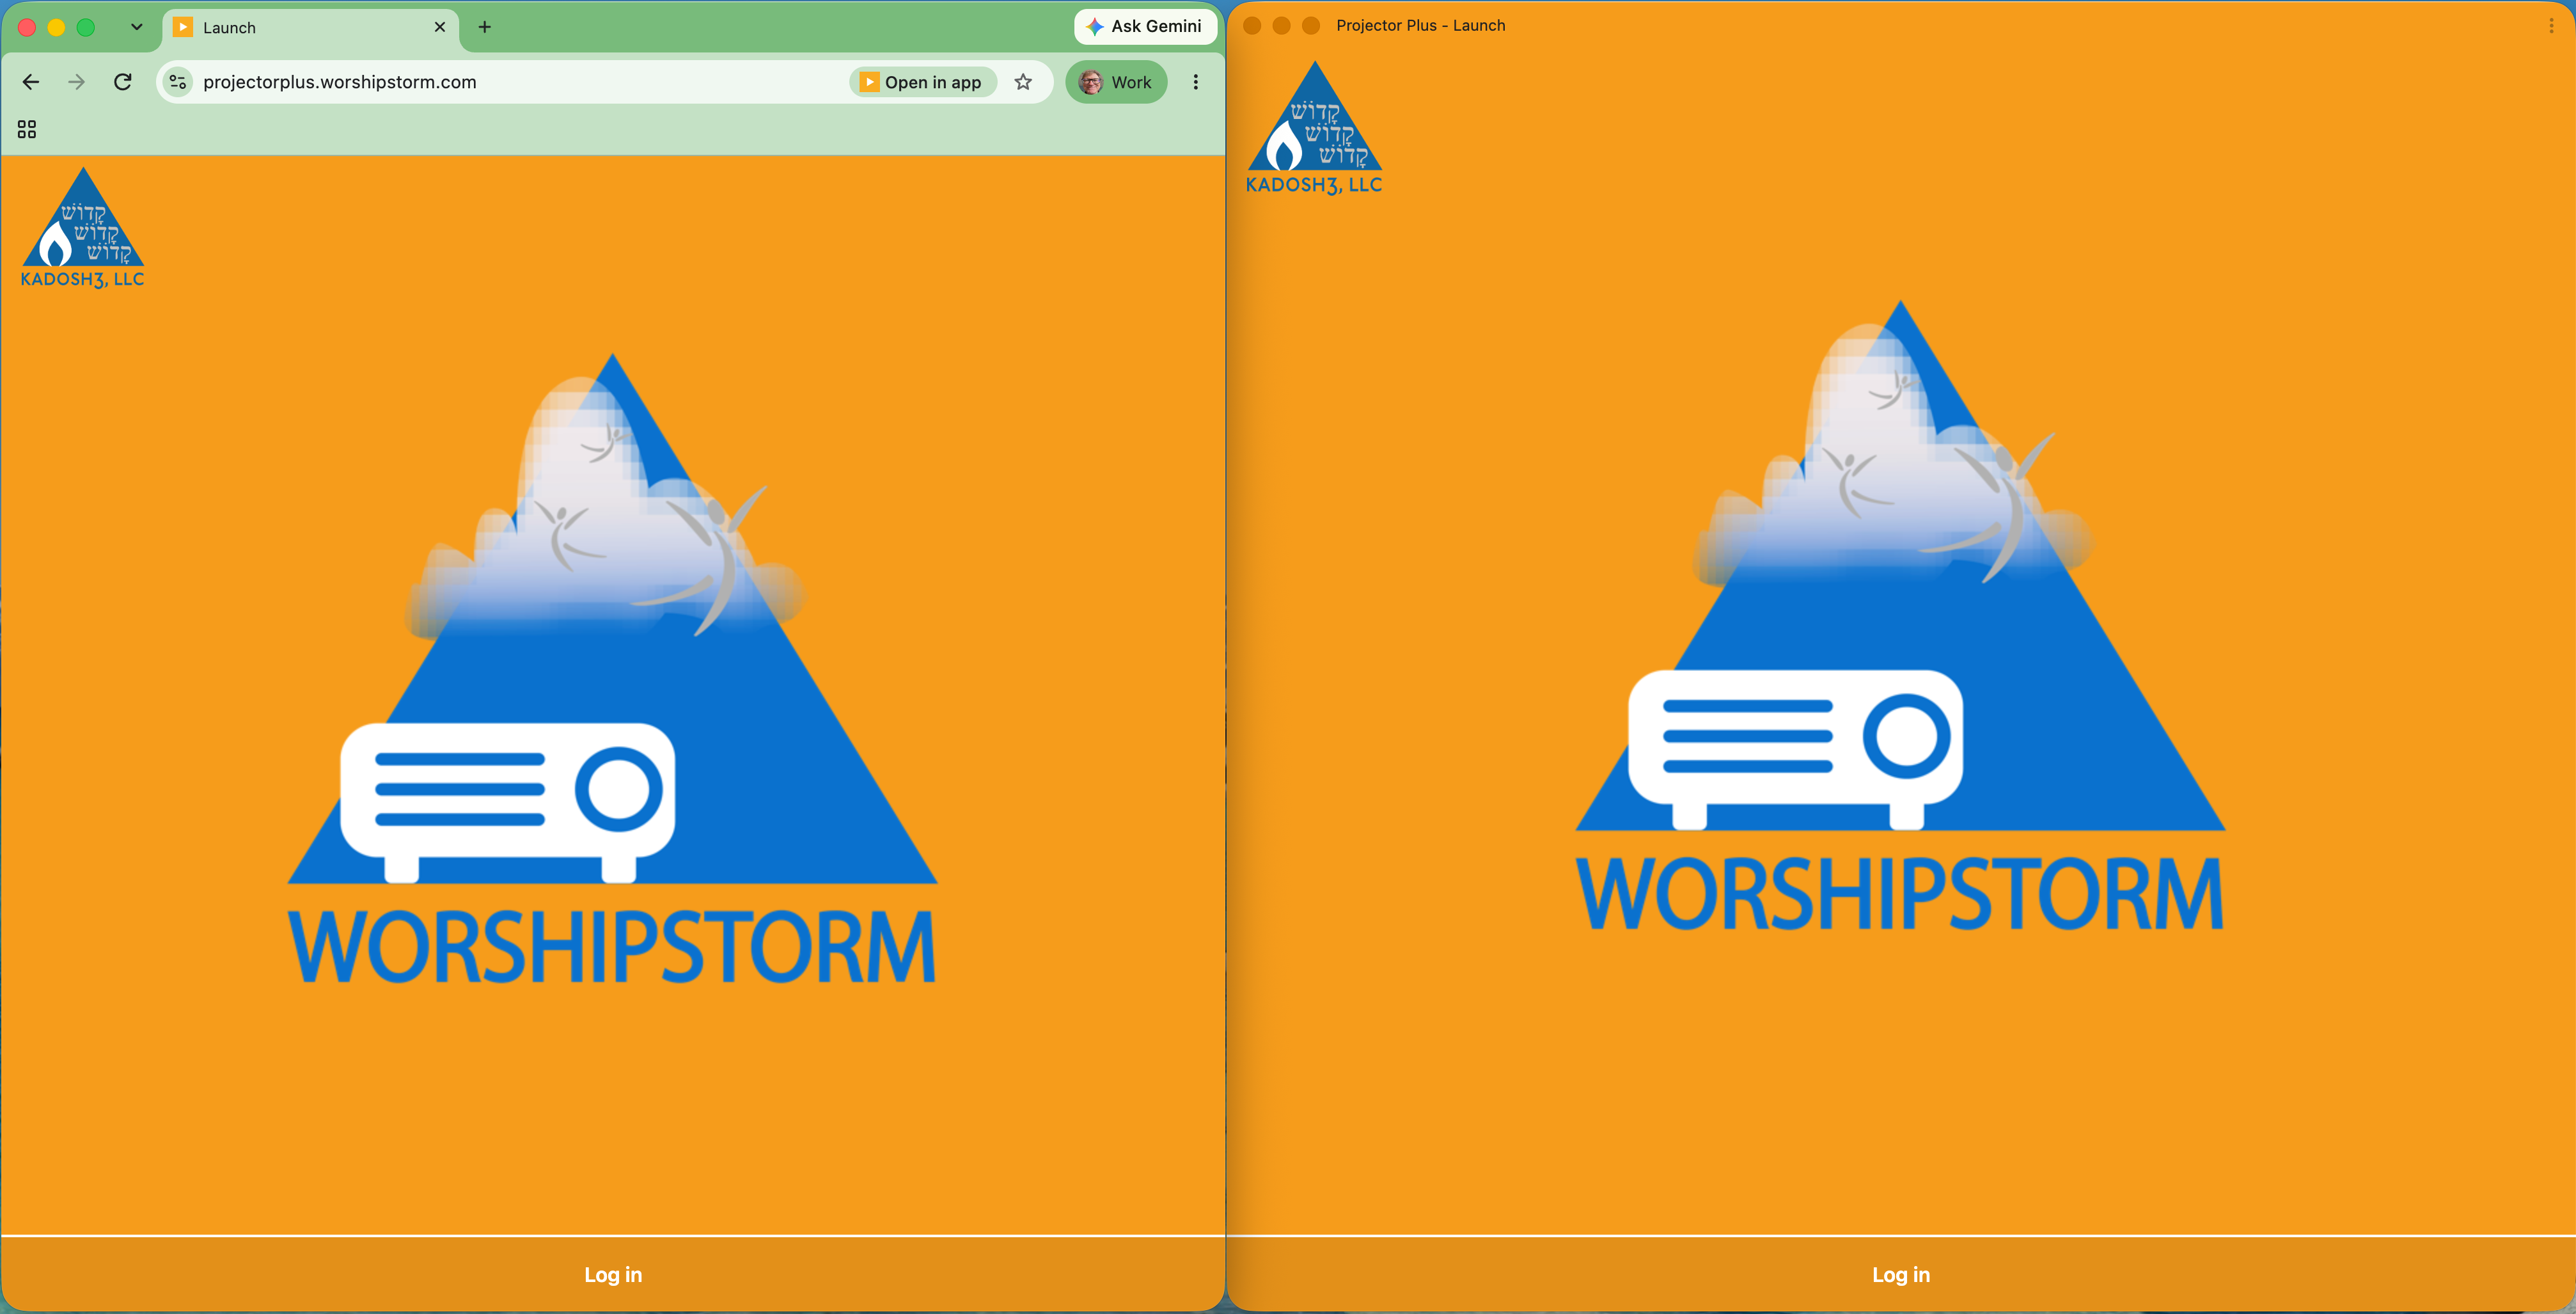
Once it is installed, opening the web address in an ordinary tab out of habit is no longer a wrong turn — the browser offers to hand you over to the installed app, with an Open in app button in the address bar. The tab keeps working if you would rather stay in it.
For which browser to install from, see Things to know before relying on it below — the short version is Chrome or Edge if you have the choice.
Keyboard control
Use the Left and Right arrow keys to move through slides. See Keyboard Shortcuts.
Arrow keys are ignored while you are typing in a text field, so editing lyrics or a custom slide will not move your presentation.
Updates
The browser version updates itself and tells you when a new version is ready. See App Updates — worth reading the note about reloading at a safe moment rather than mid-service.
Signing out
Signing out of Projector Plus in a browser does not end your Planning Center session, so on a shared computer there is one extra step. See Signing in and out.
Things to know before relying on it
Use Chrome or Edge if you can. Projector Plus works in Safari and Firefox too, but Chrome and Edge can do one thing they cannot: reopen your projector window on the monitor you left it on. On a multi-monitor setup that is the difference between a one-click restart and dragging the window across every time. Keep whichever you use up to date.
It is off until you turn it on, in Settings → Advanced Settings → External Windows → Multi-Display Windows — and granting it takes two Allows, one in Projector Plus and one in the browser prompt that follows. Miss the second and the setting looks granted but nothing changes. Getting the window back on the projector by itself walks through both, with pictures of each.
Keep the machine awake. A laptop that sleeps mid-service stops presenting. Check your power settings before you rely on it — this catches people out more than anything else on this page.
Media is cached in the browser. Projector Plus downloads your plan’s media and keeps it in browser storage, so it does not re-fetch everything each time — and you see the same download progress as on a tablet.
Two things follow from it living in browser storage: clearing your site data clears the cache, and a different browser or a private window starts empty. If you have just cleared site data or are presenting from a machine you have not used before, open the plan early and let the media download. See Working offline.