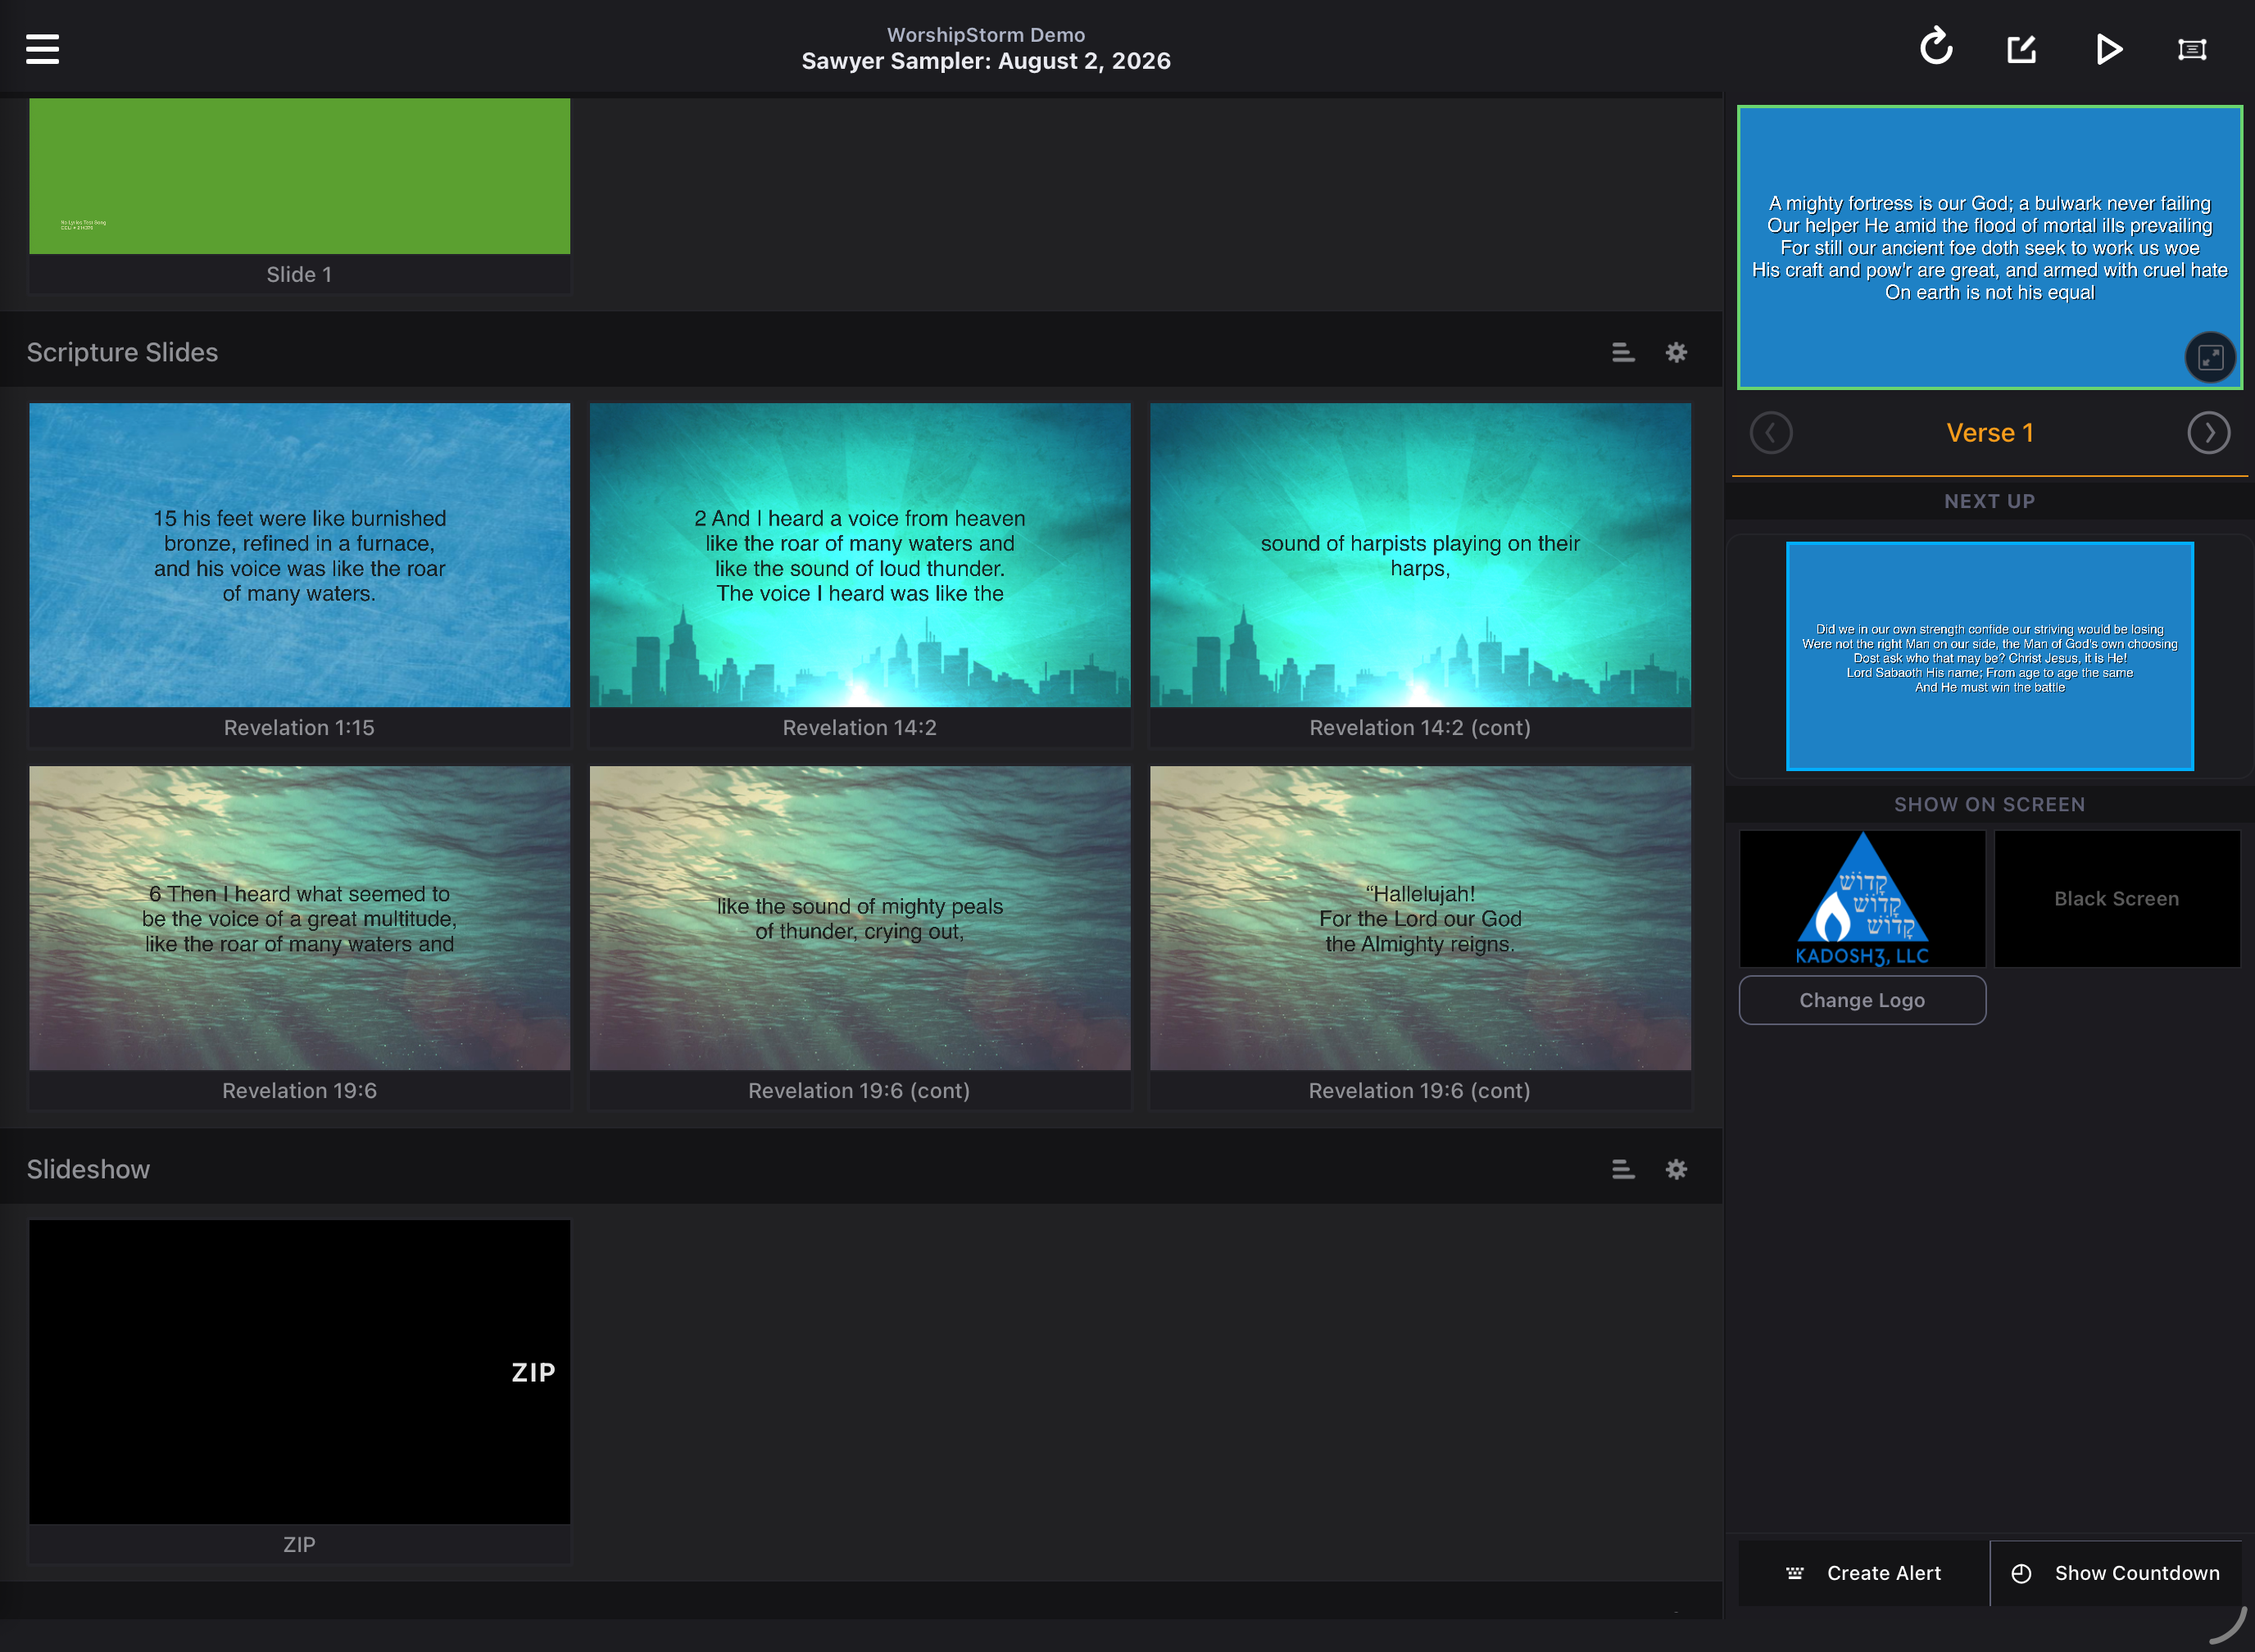
Setting Multiple Backgrounds for Custom Slides
By default, each item in your plan has a single background. However, you can add Custom Slides to use multiple images, videos or audio for a single item.
Create a new Item in Services and link Media or item attachments that you want to use for your Custom Slide backgrounds. This step is optional, but makes creating a custom slide media deck easier.
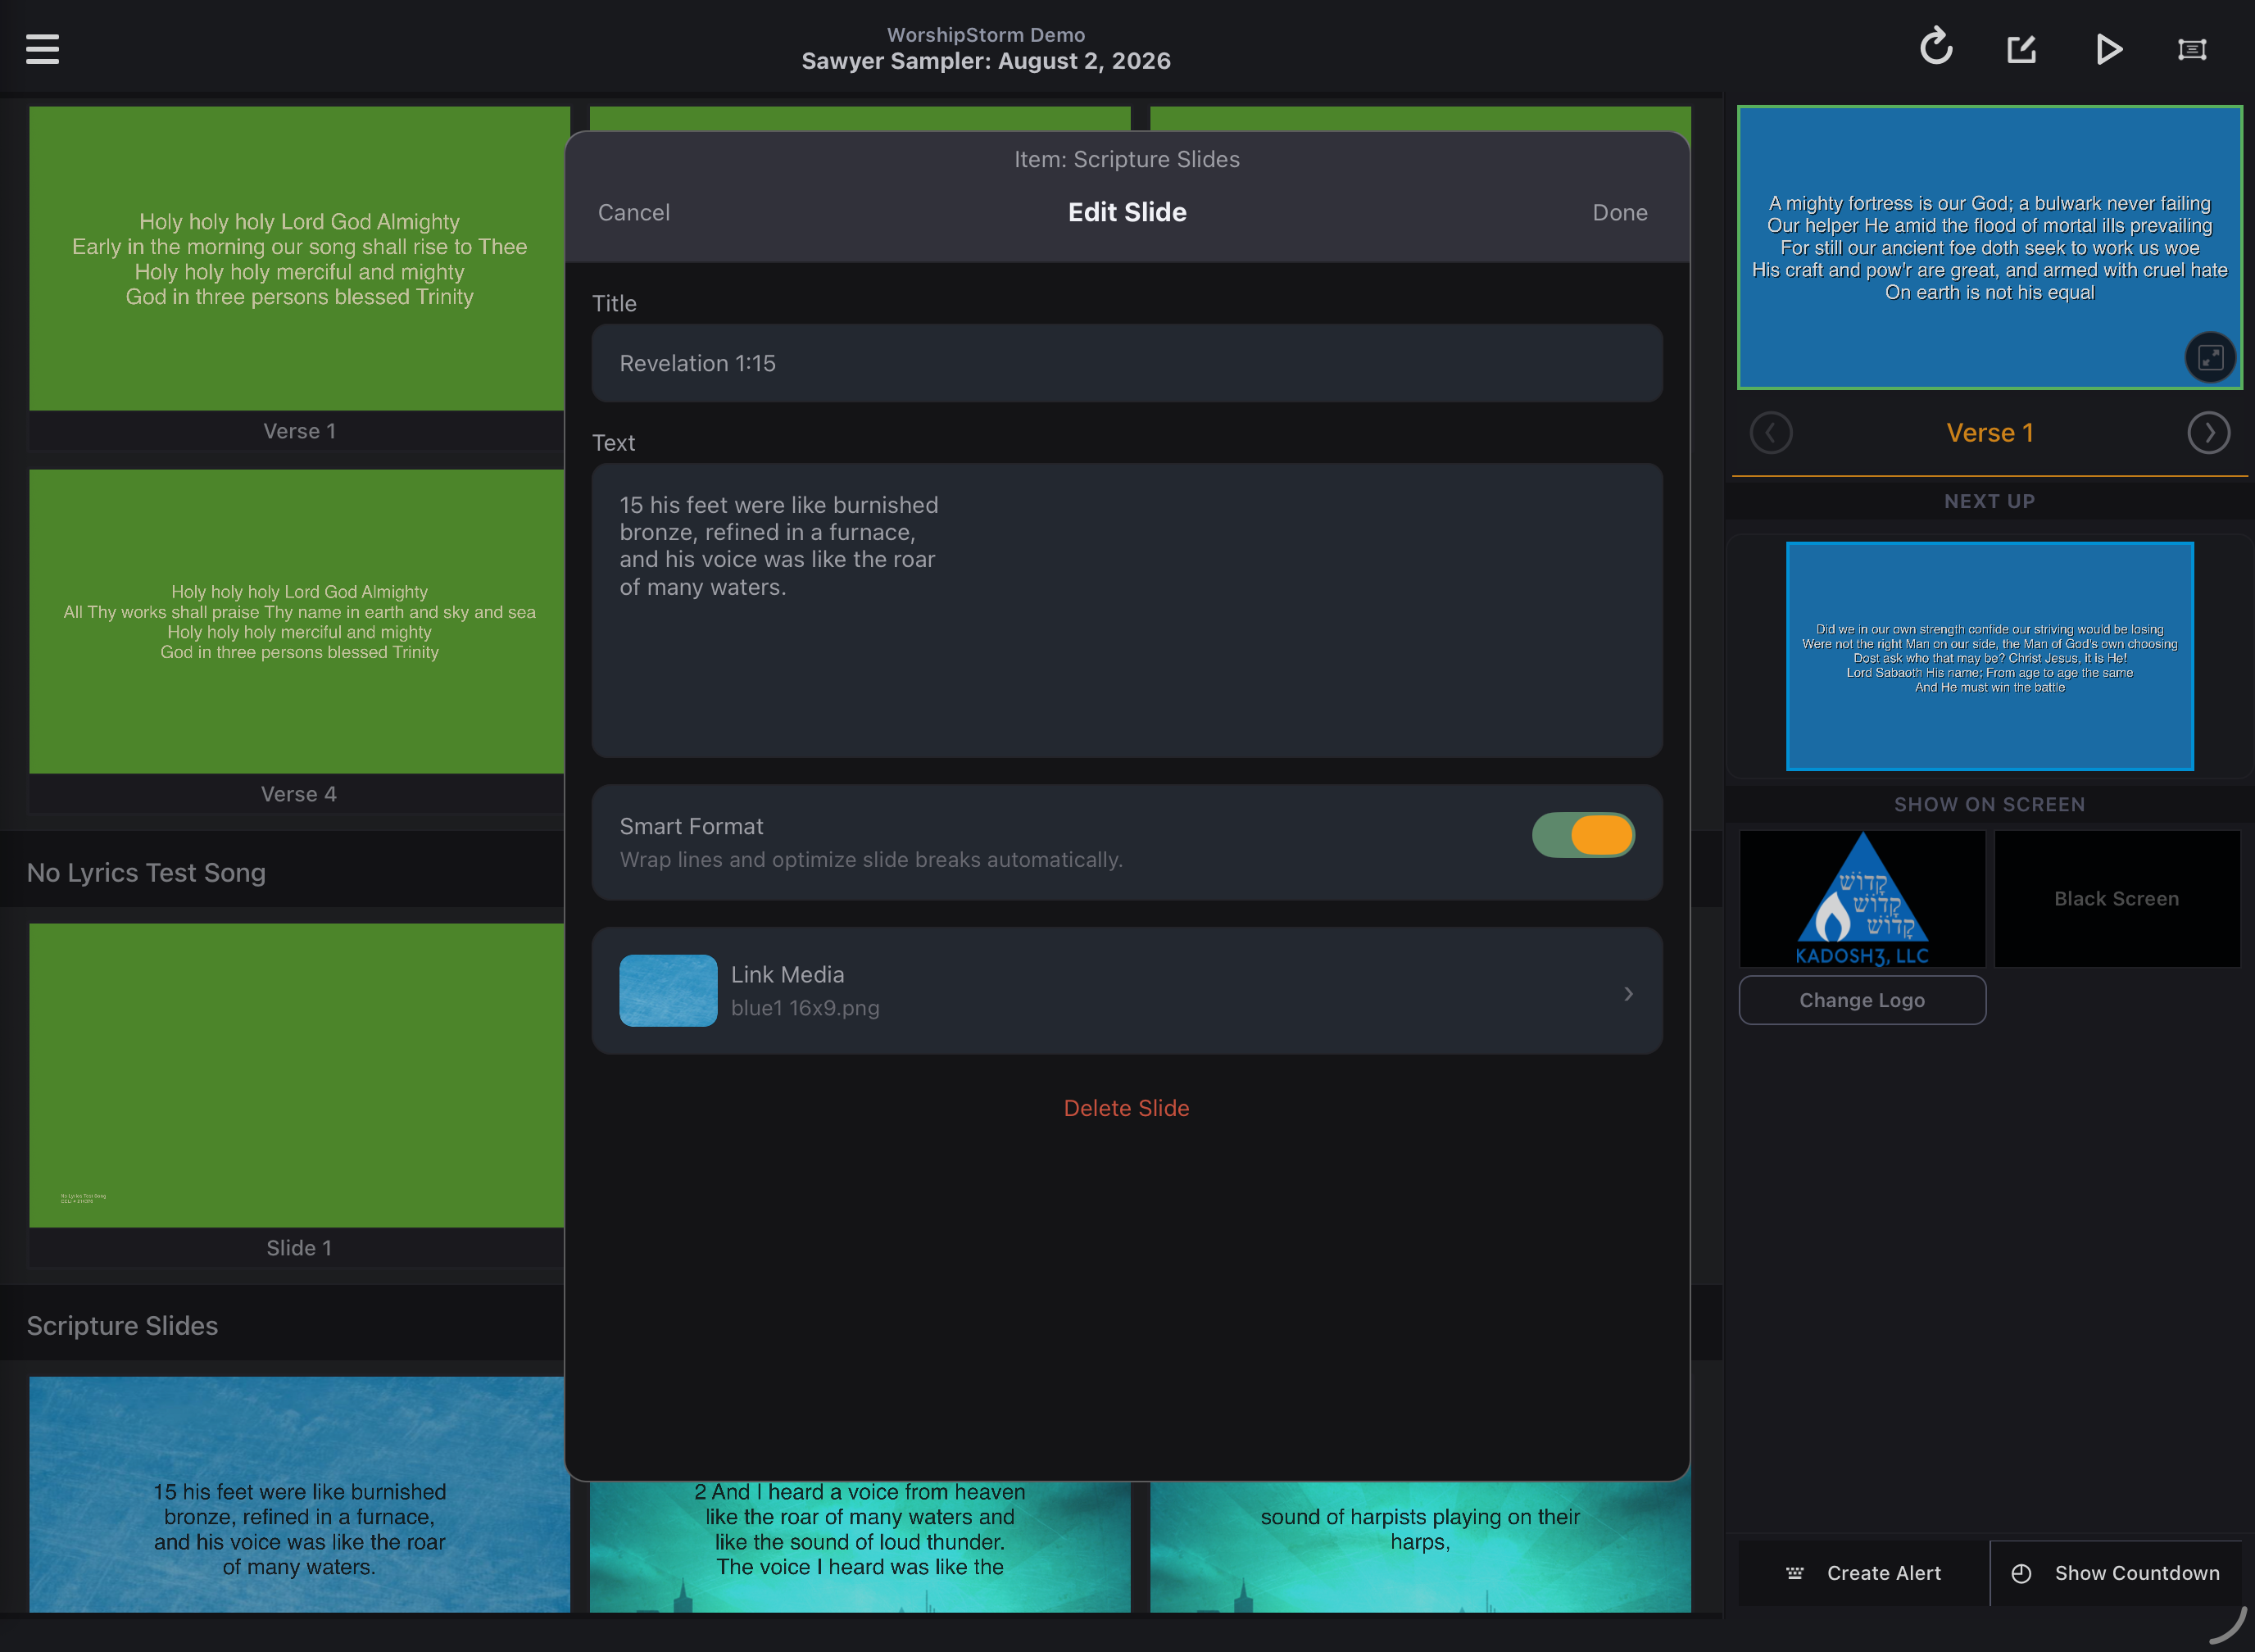
Follow the Custom Slides steps to begin editing your slides. Each custom slide will initially share the item background that you have set. To link a different background for a slide, tap Link Media in the Edit Slide screen.
If you linked Media or attachments to the item, you will see them listed. Tap the background that you want to link to the slide.
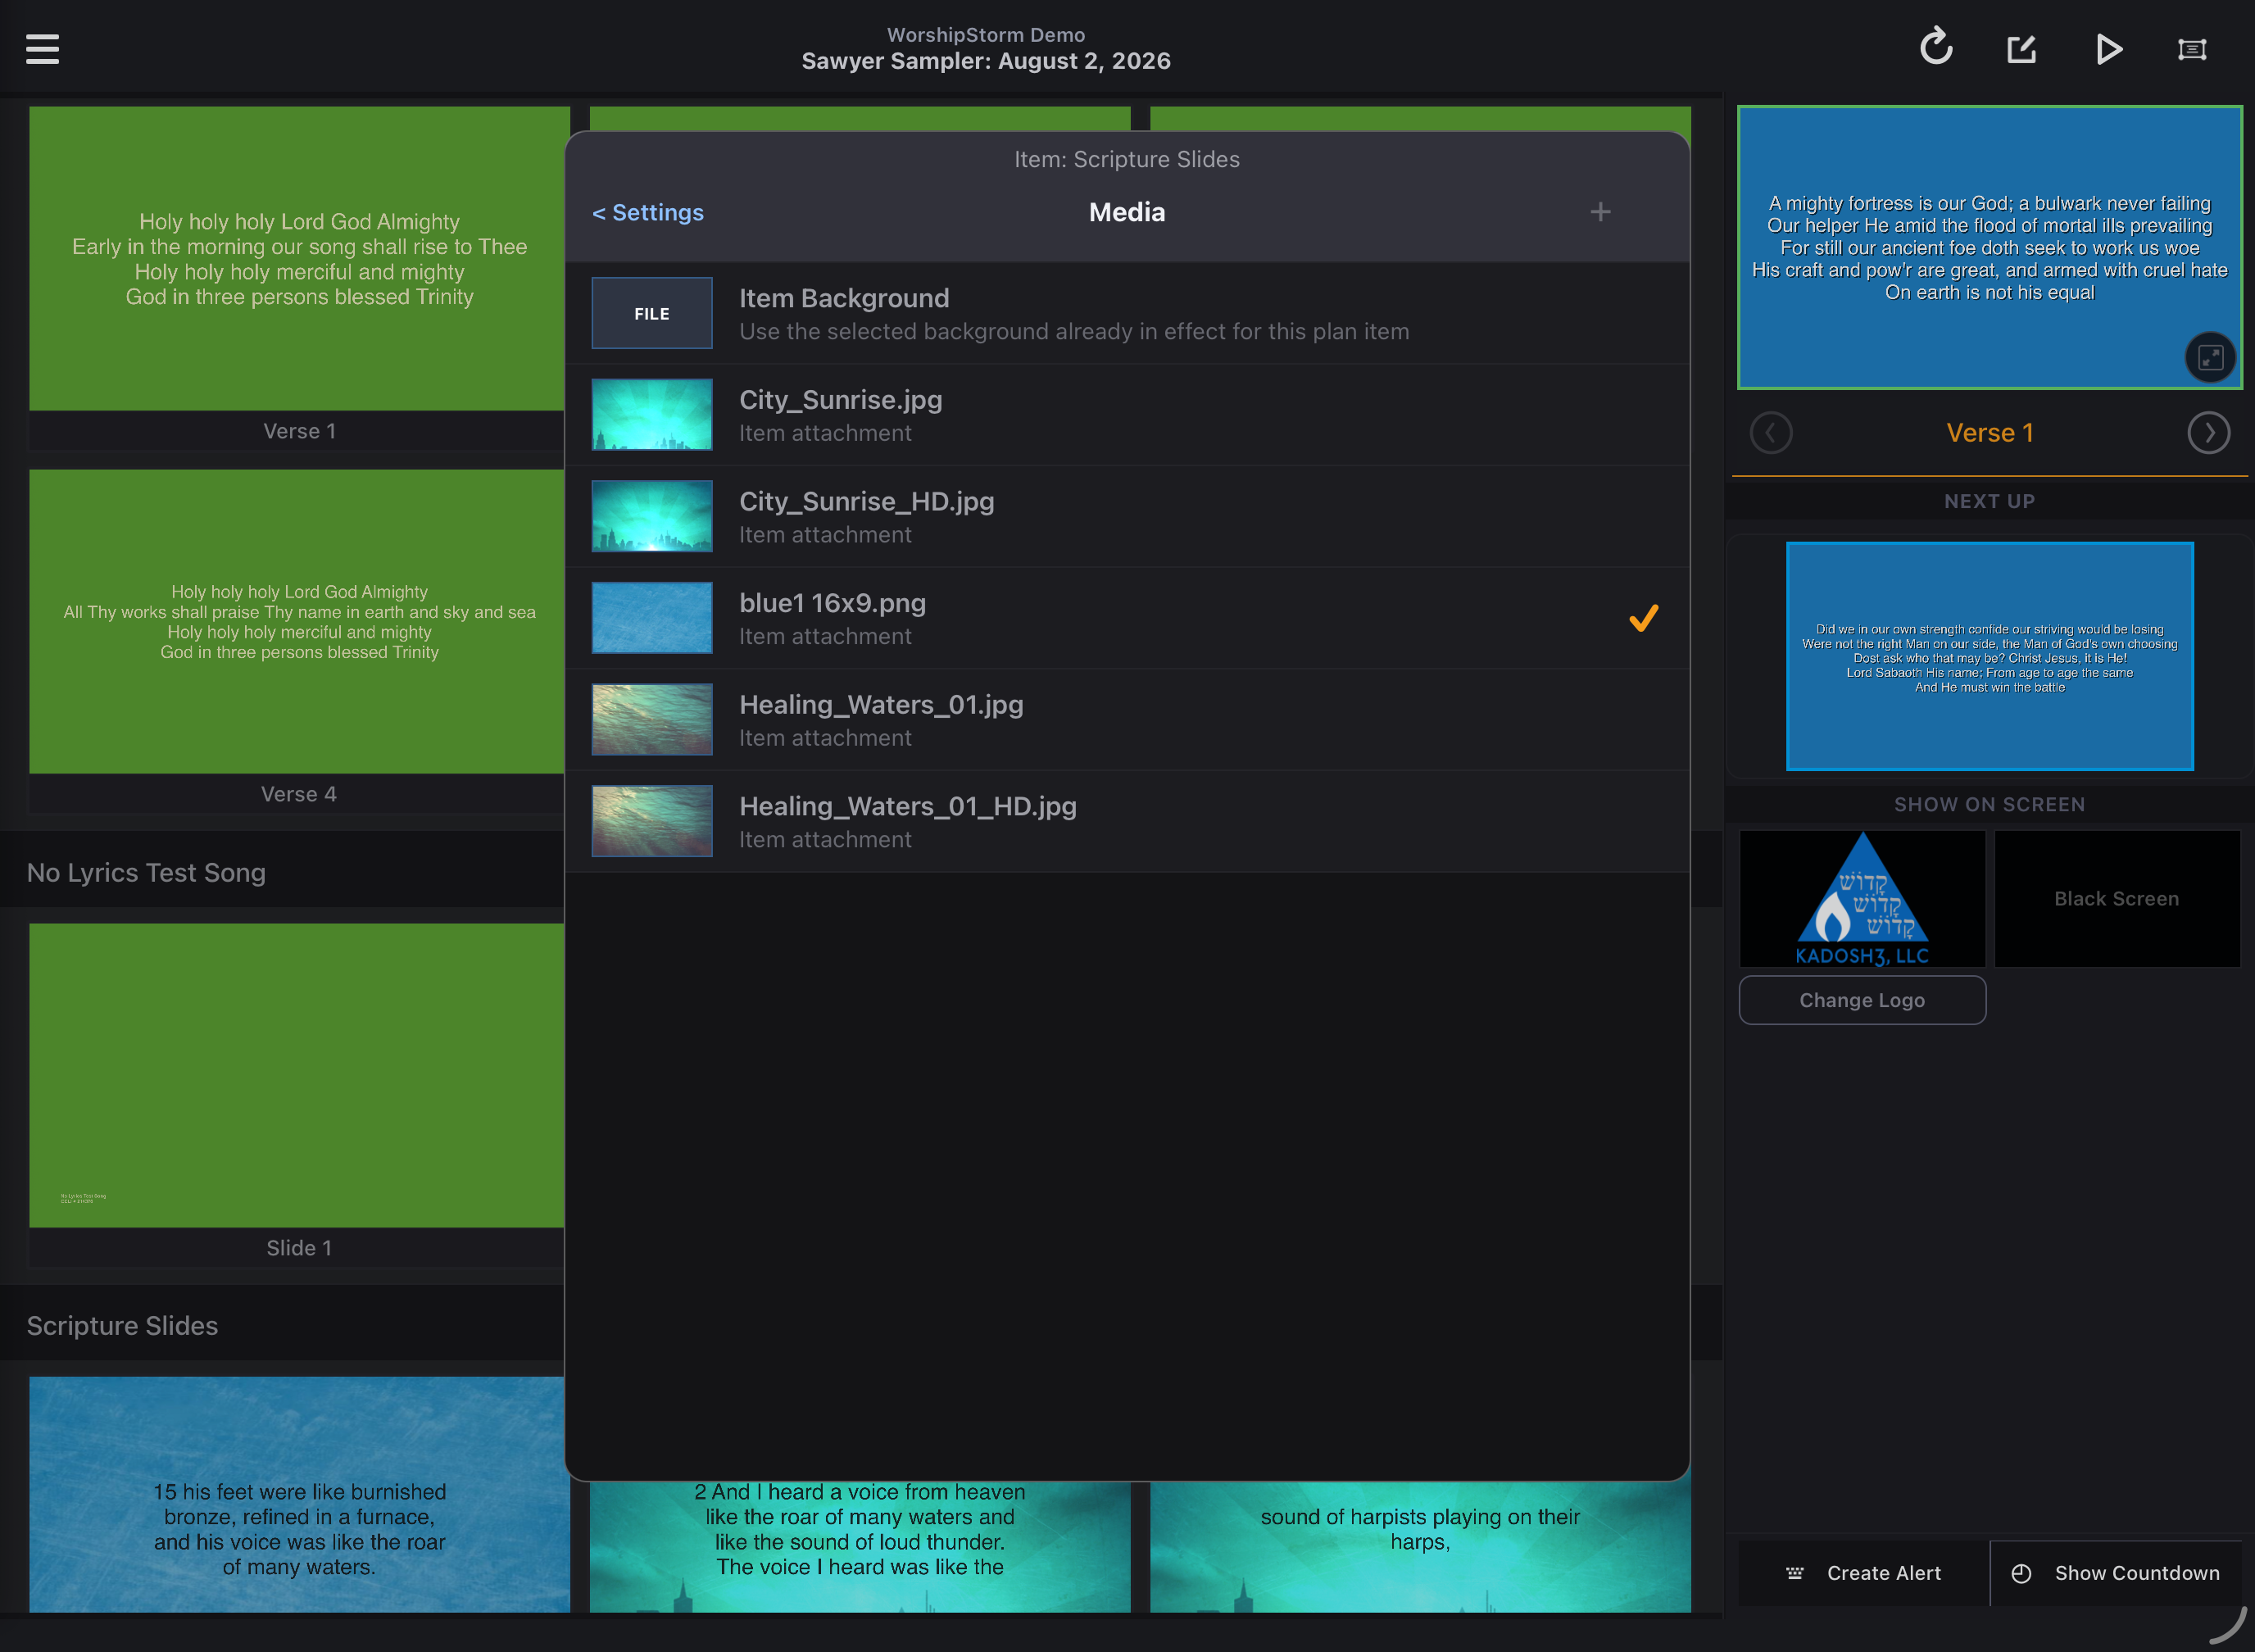
Everything in this list is media already attached to the plan item. To link something that is not on the item yet, tap + — that opens Add Media, which asks whether to take it from Plan Media, meaning anything attached anywhere in this plan, or from Additional Media, your organization’s wider Planning Center library. See Setting slide backgrounds, which walks through that chooser.
The last row, None, clears the slide’s background entirely. If the item has a background of its own, the list also offers Item Background at the top, which puts the slide back on whatever the item is using — and the background currently linked to the slide is ticked.
Back in the Edit Slide screen, the Link Media row shows a thumbnail of the selected background and its file name underneath. The slide’s Title is left alone — it stays whatever you named it, so you can label slides however you find useful.
Tap Save to complete the editing of that new media slide. You can also change the linked media for any already-created custom slide using the same process.
Repeat the steps for all custom slides in your deck. Each slide that has a background will appear in the Custom Slide list with the background thumbnail (if the media type has a thumbnail image). You can also mix media and text Custom Slides in your slide deck.
Tap Save to complete the creation of your Custom Slide deck.