
Using Custom Slides
Create Custom Slides that display text, which is especially helpful for adding slides with scripture verses or sermon notes. You can also add media to each Custom Slide.
The Sequence Viewer icon is available for items but not headers. If the item is a song, the slide will contain song sequences. If there is no song linked, you can add custom slides.
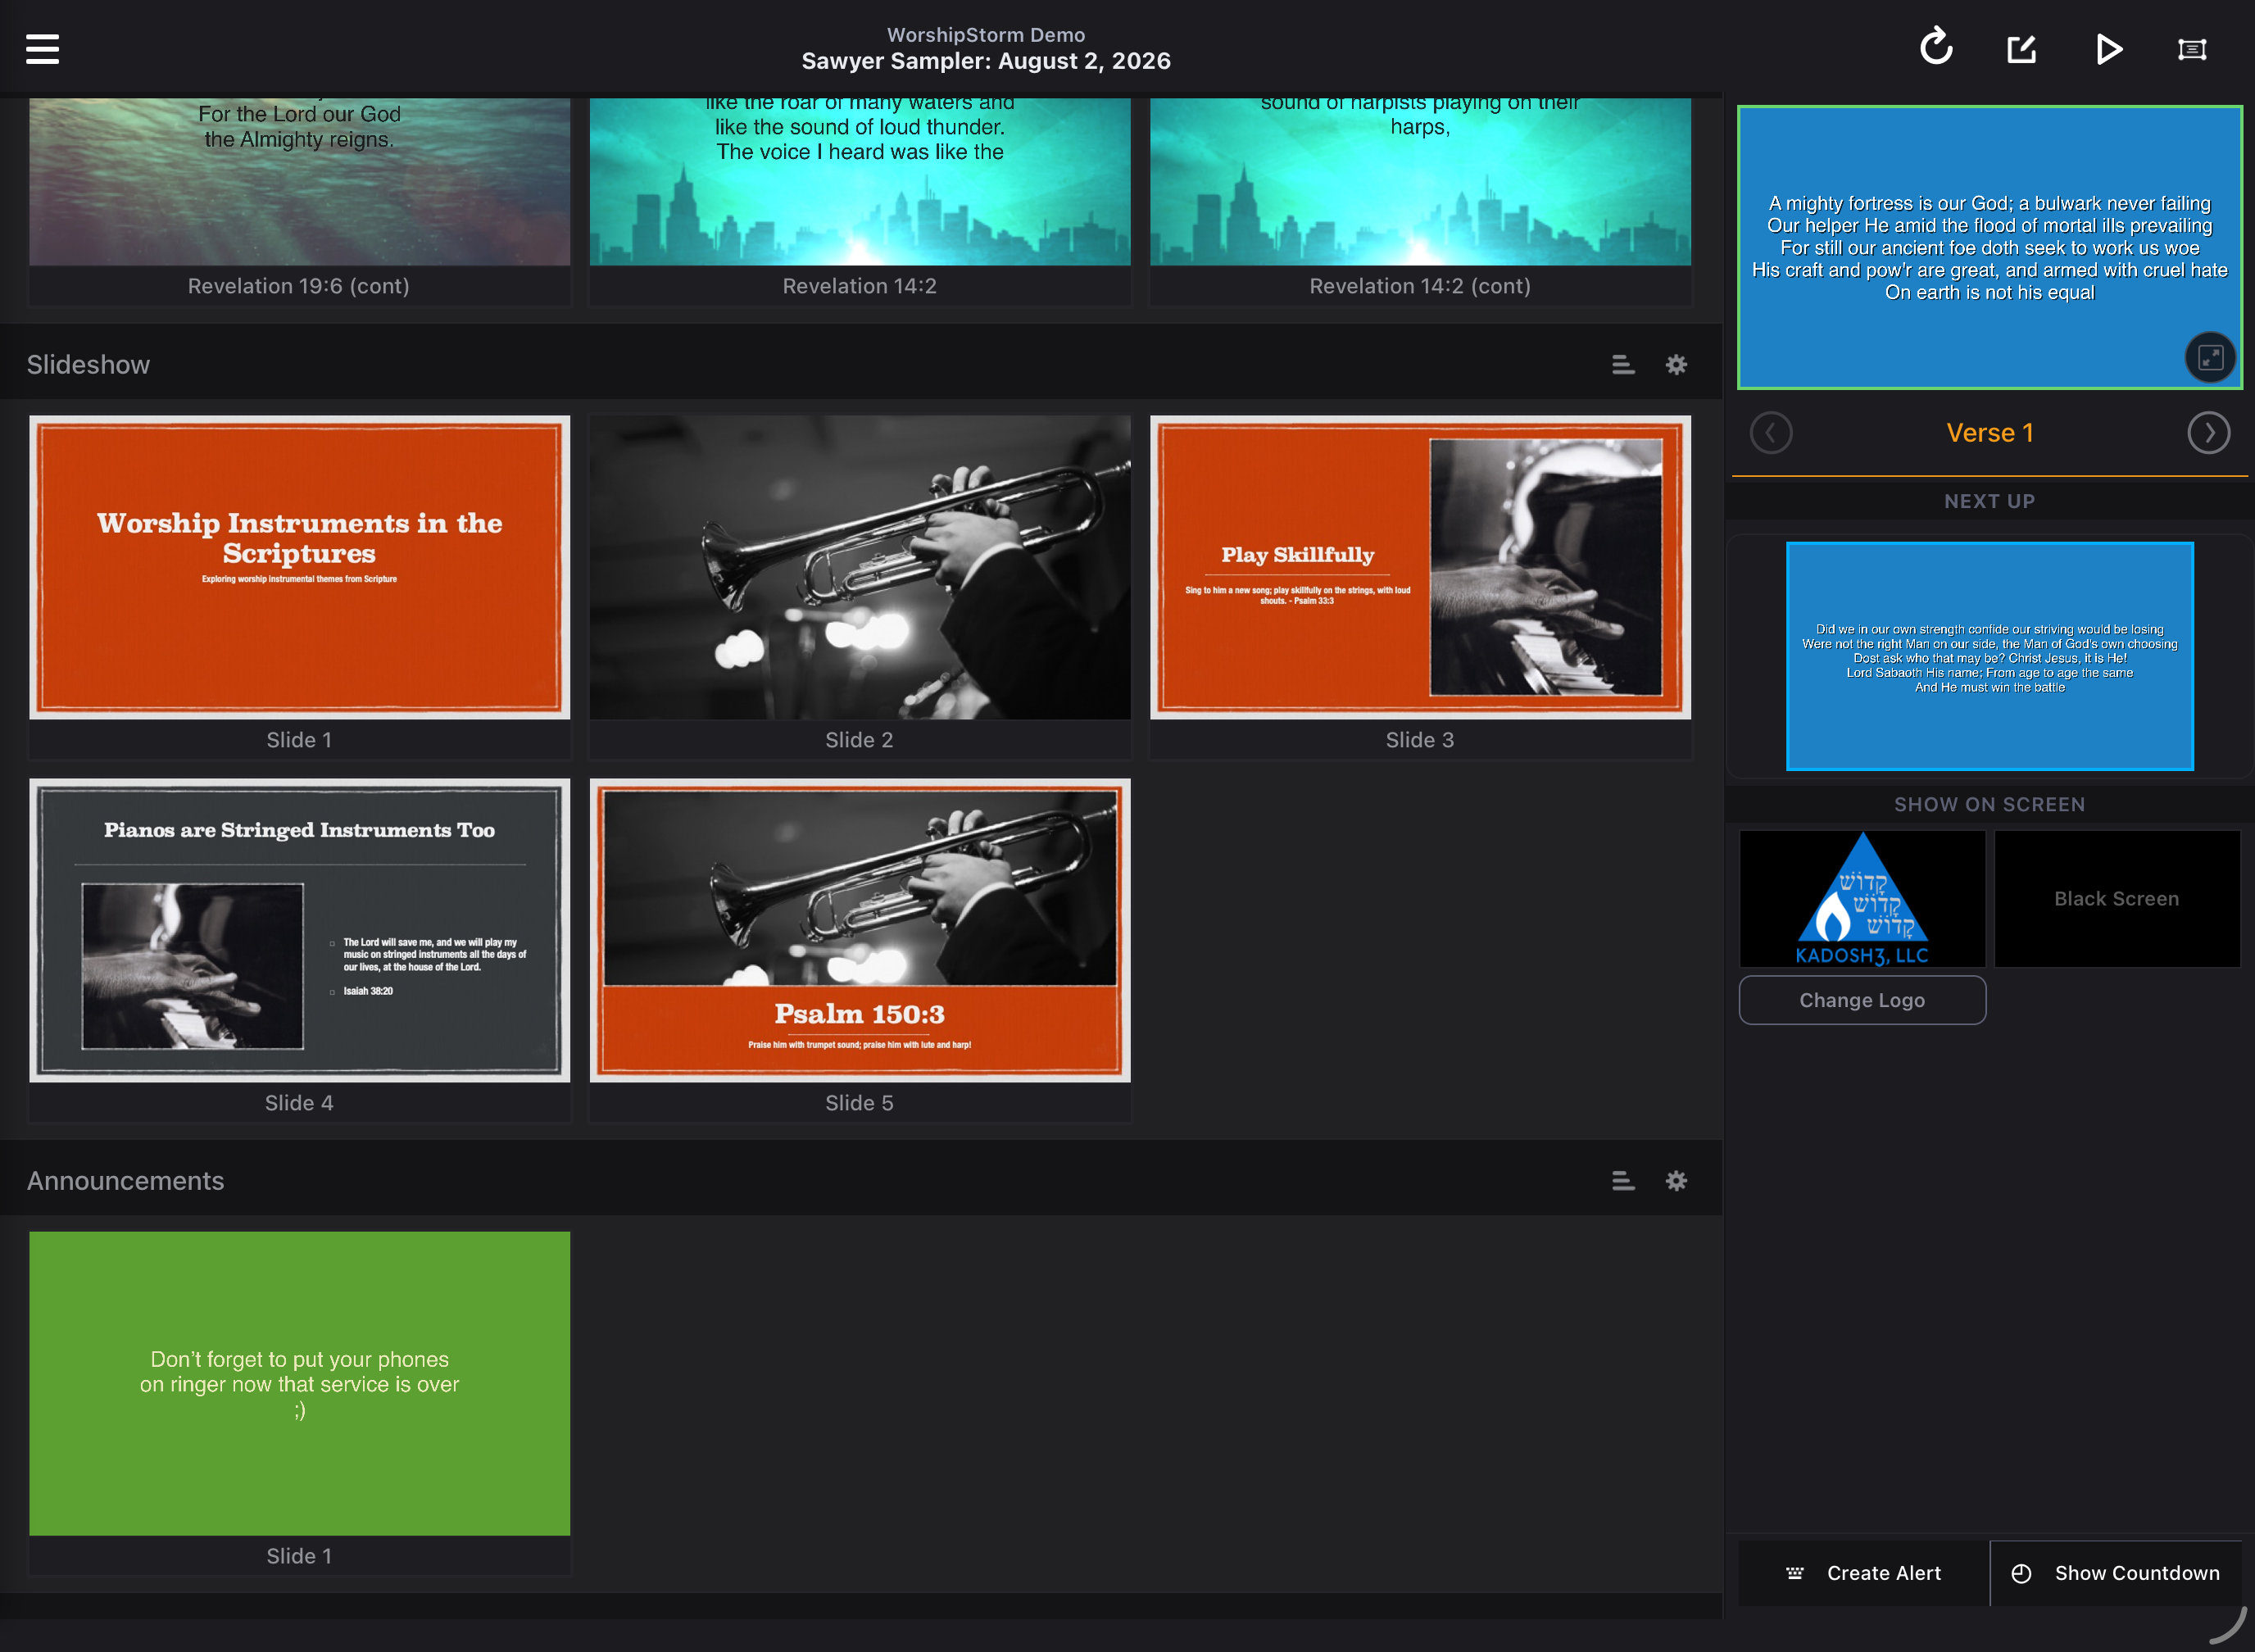
Adding and Editing Slides
Add a new slide by dragging the bar to any location or tap it to add a new item to the end.
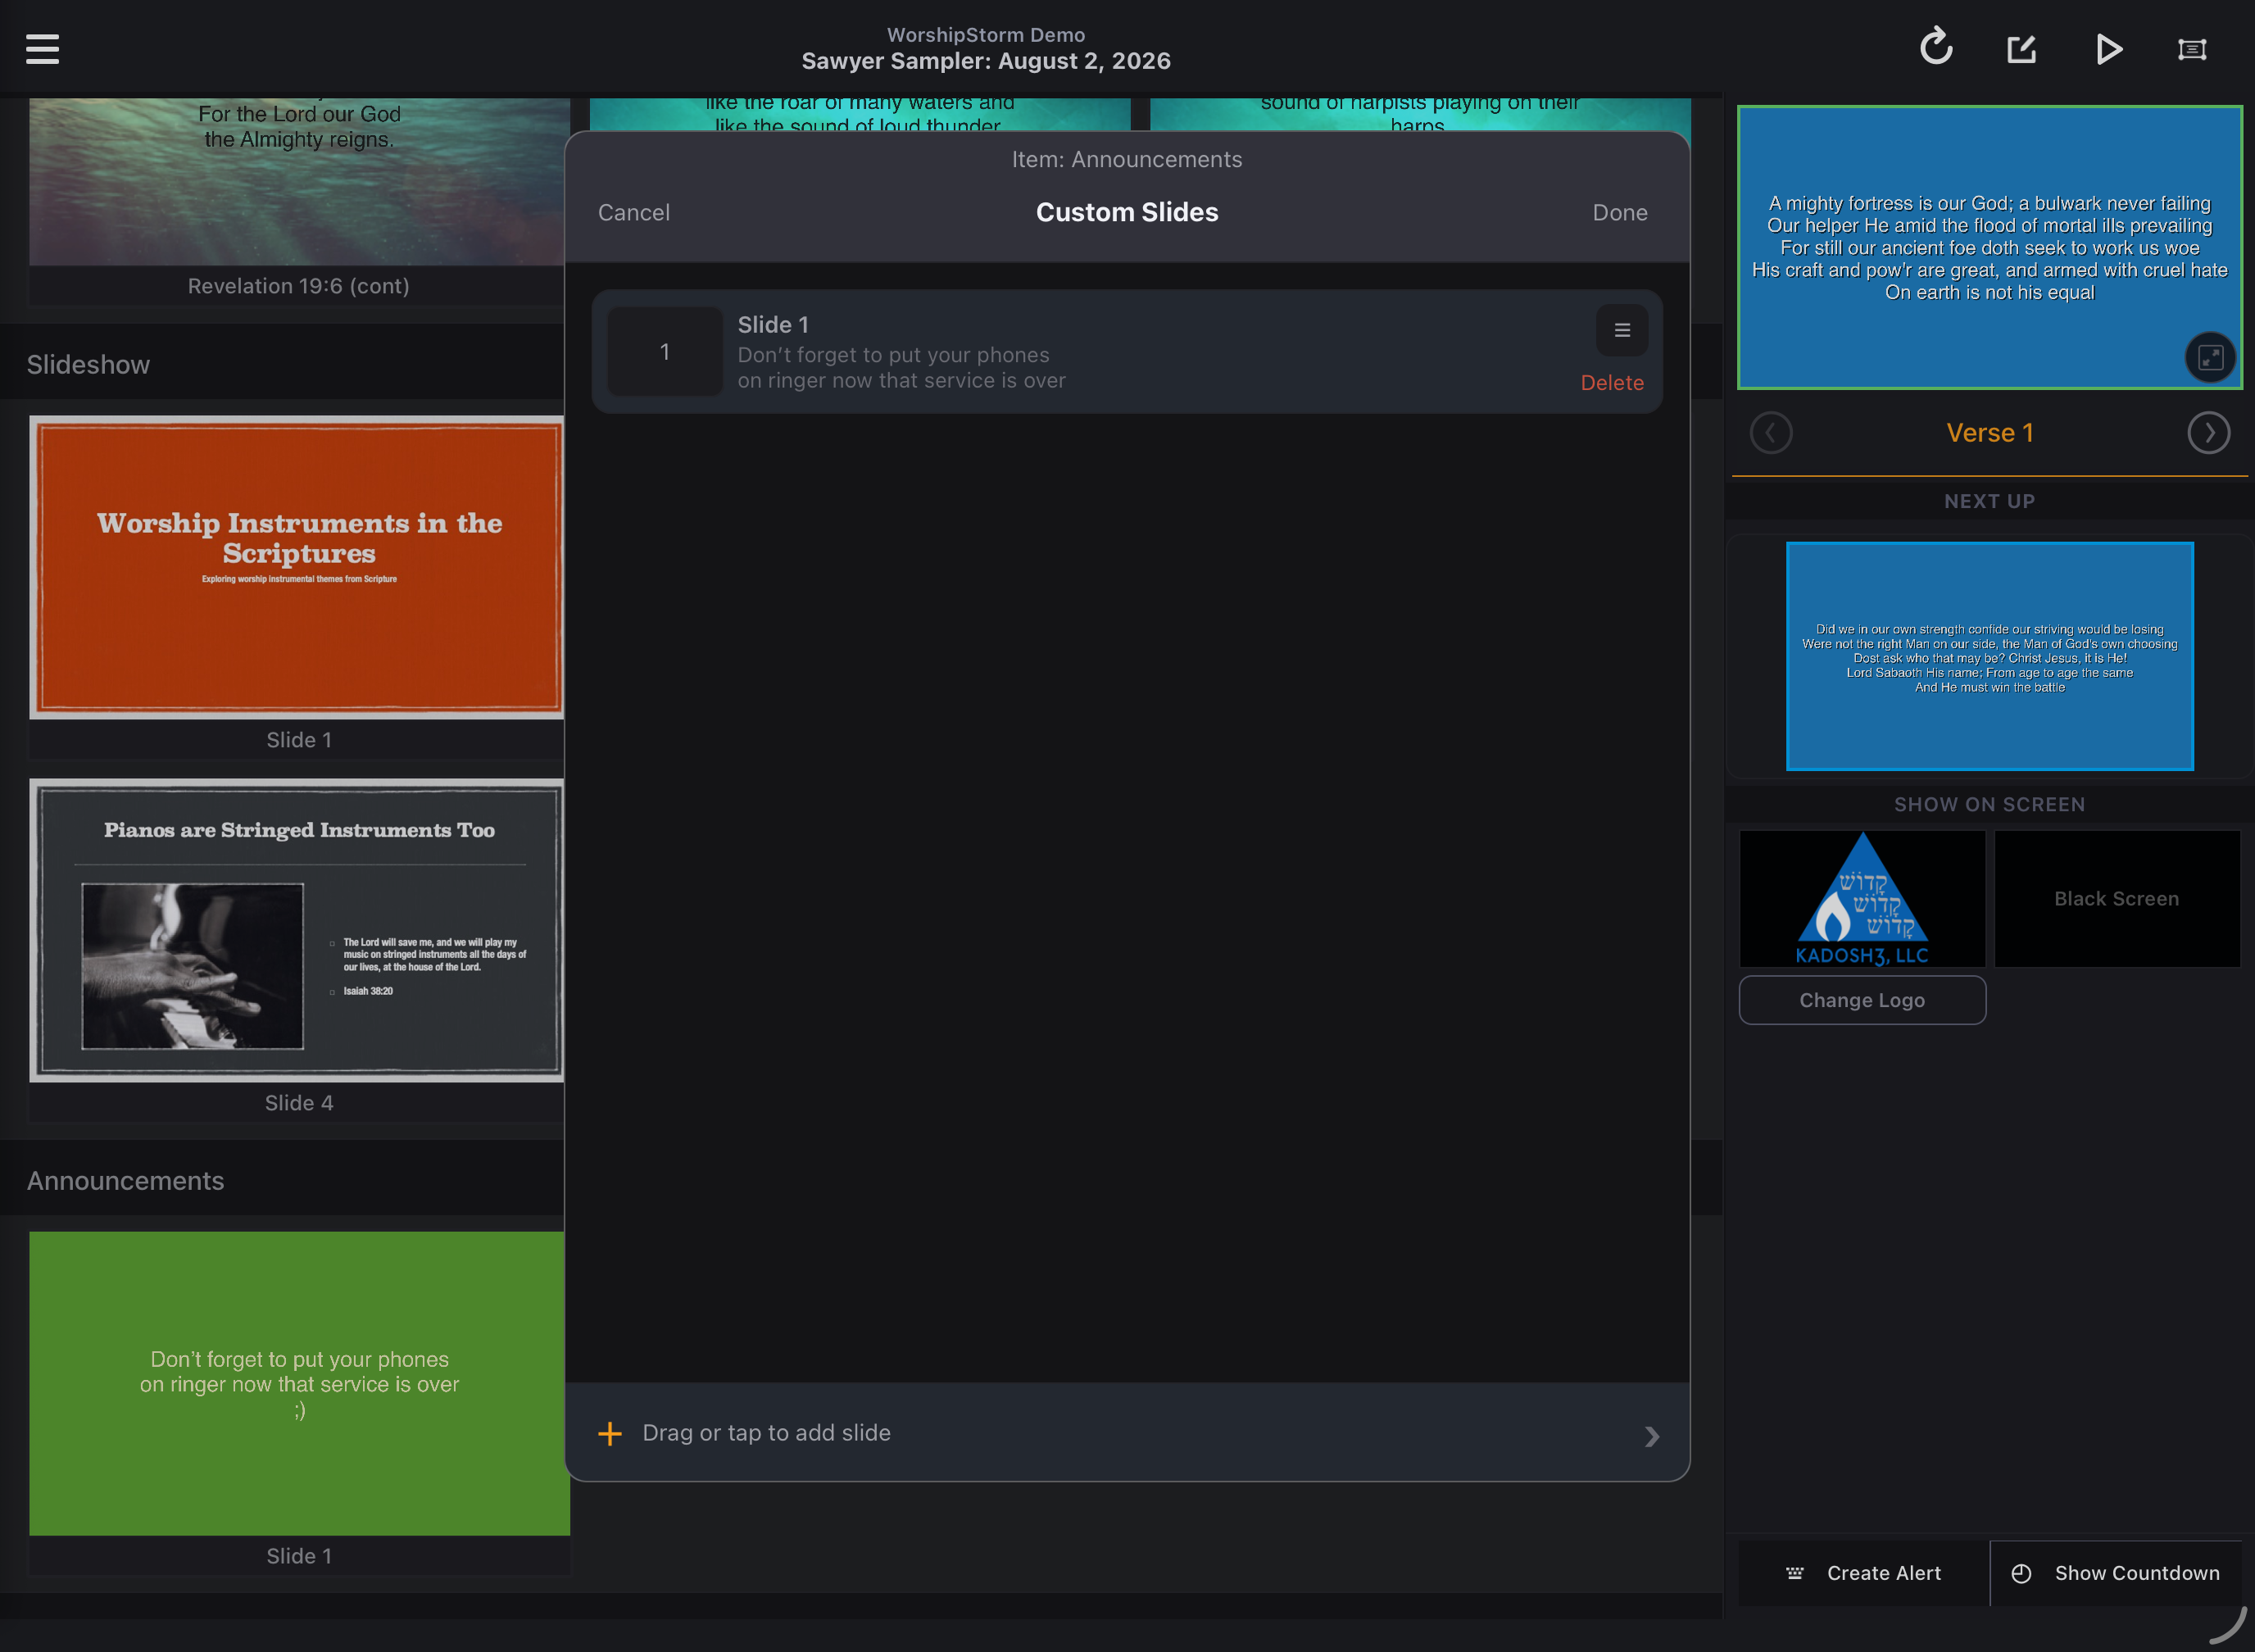
Once you’ve added a slide, the Edit Slide screen will automatically appear.
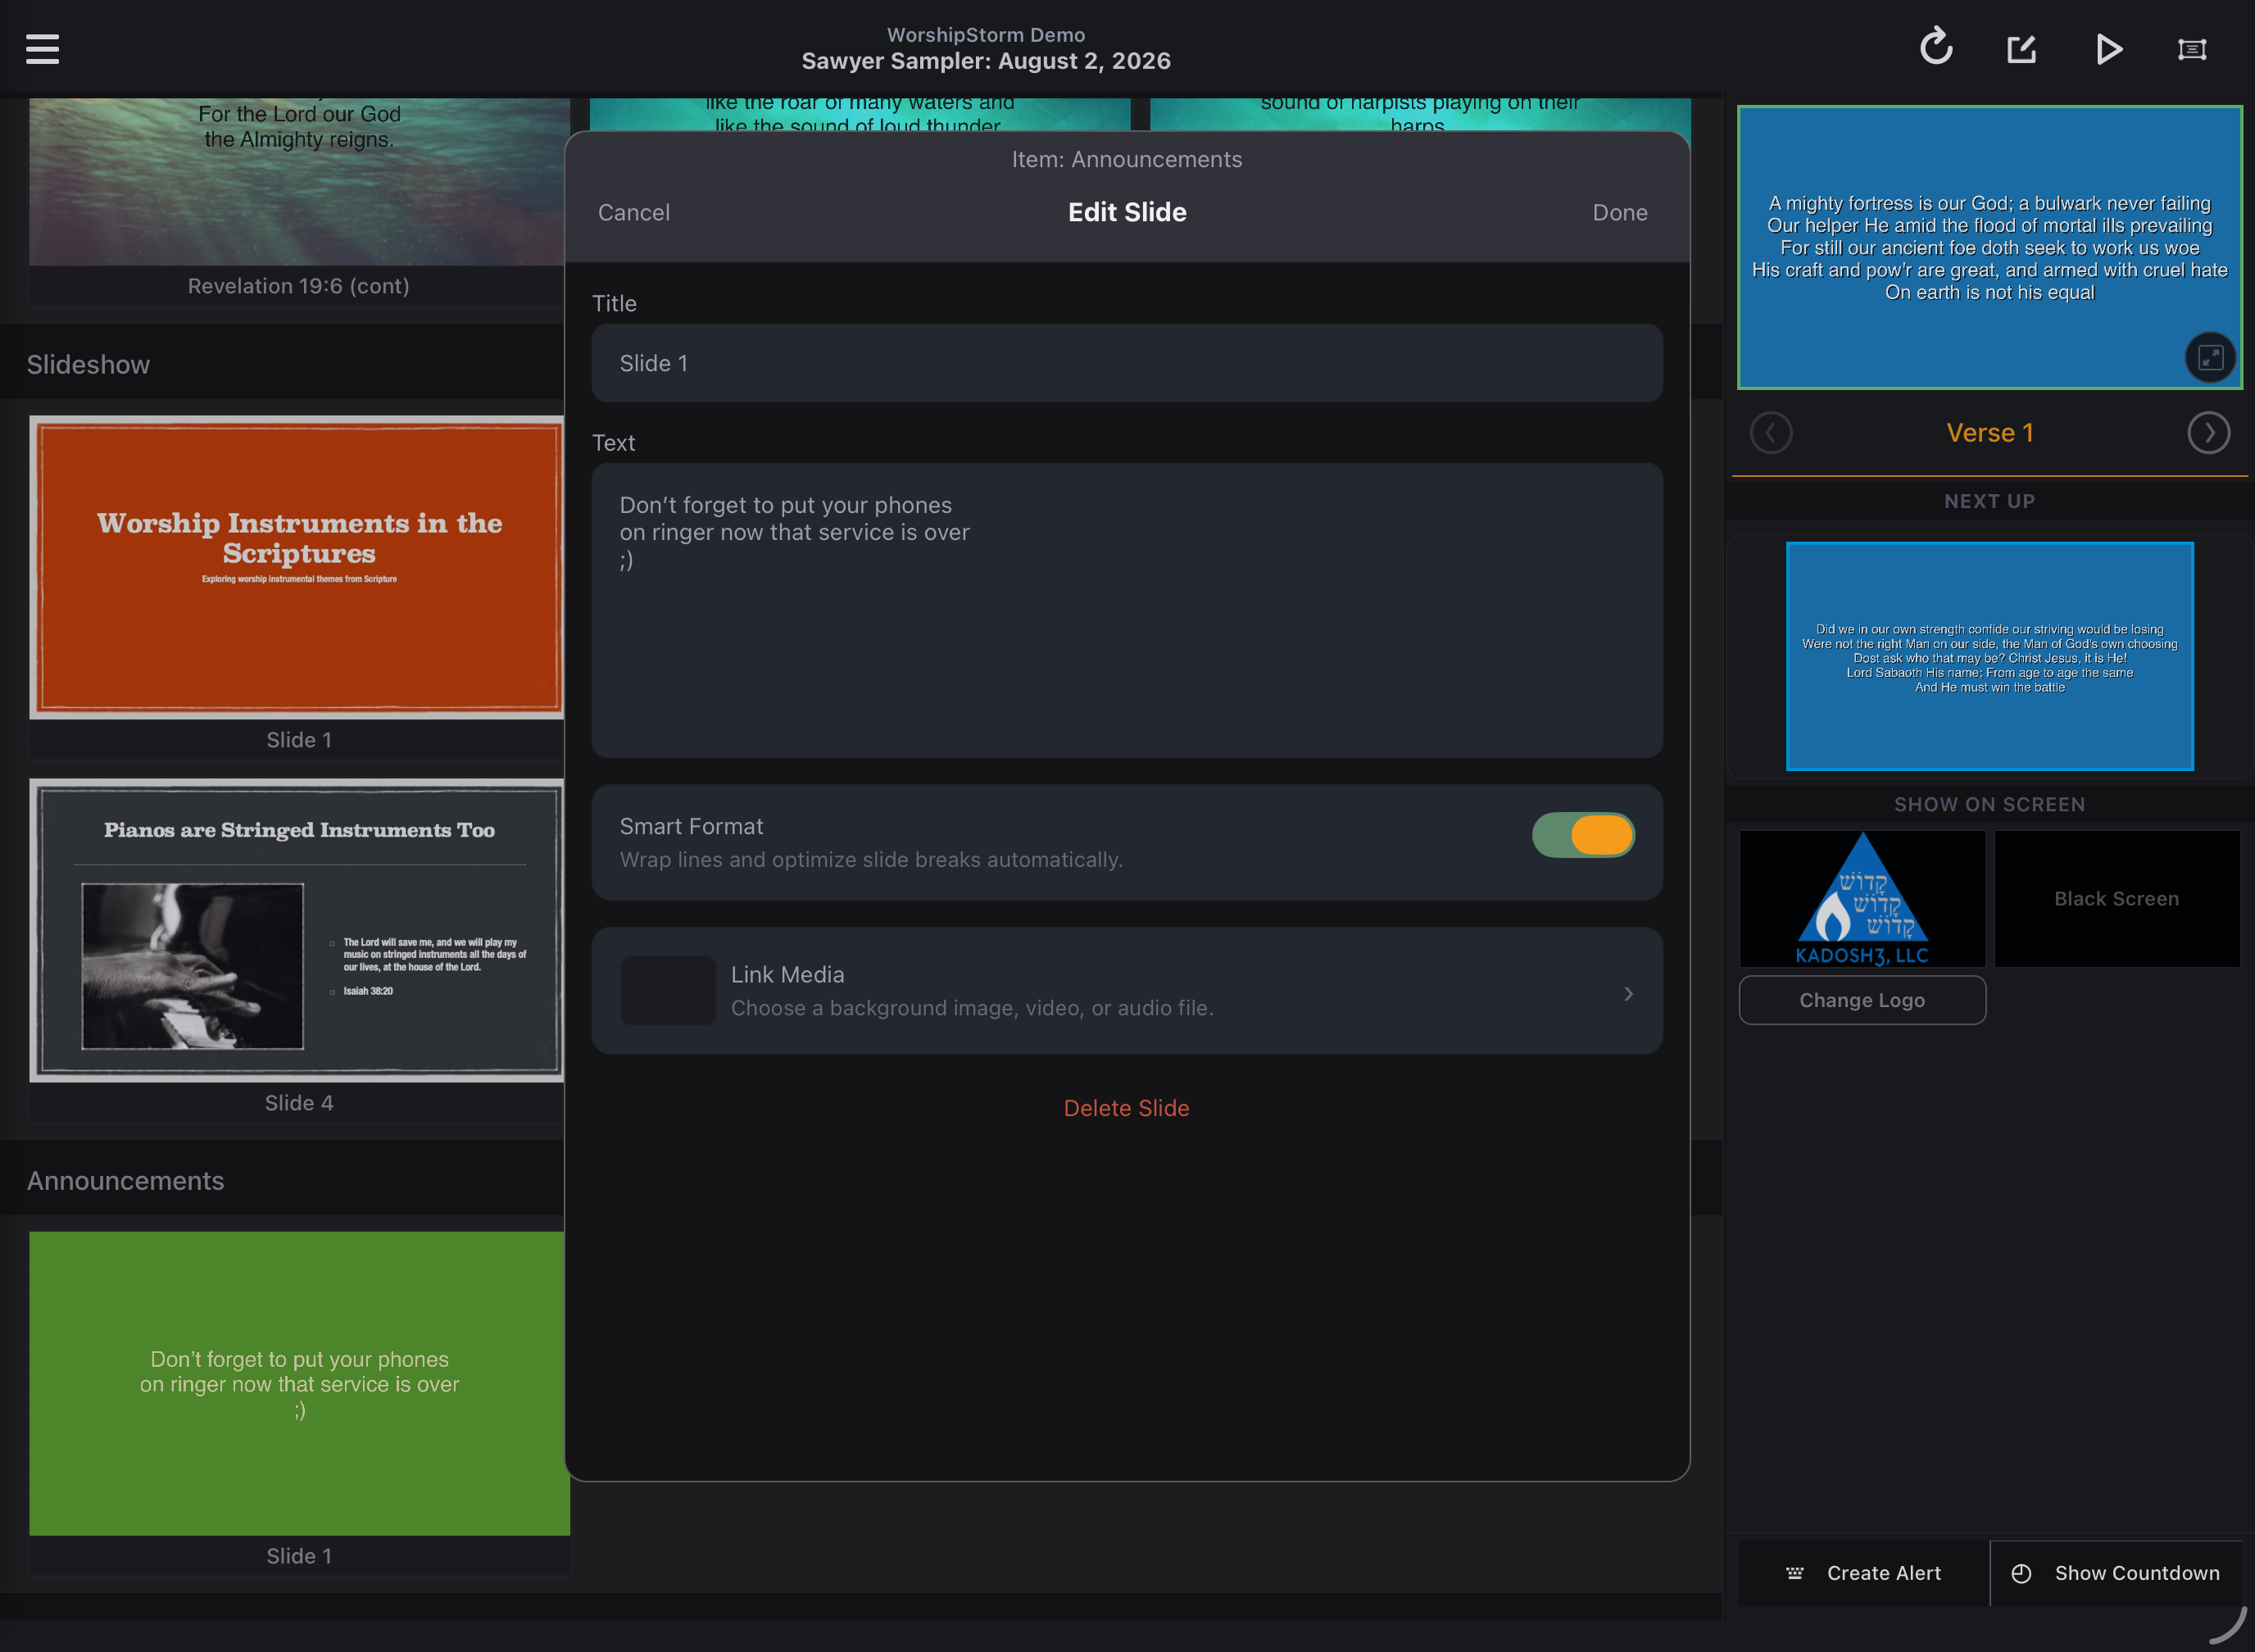
- Name the title of the slide, or keep it as the default Slide # that is created for you. These titles will not show up on the screen and are only used as references.
- Type the text or copy text and paste it.
- Smart Format automatically wraps everything to optimize slide breaks. By default, it is enabled. If you disable it, the formatting you enter will be displayed: it uses manual line breaks, scales text to fit, and starts new slides based on the number of lines in your layout.
Save your slide, Delete Slide to delete an existing slide or Cancel to be taken back to the list of slides.
Rearranging Slides
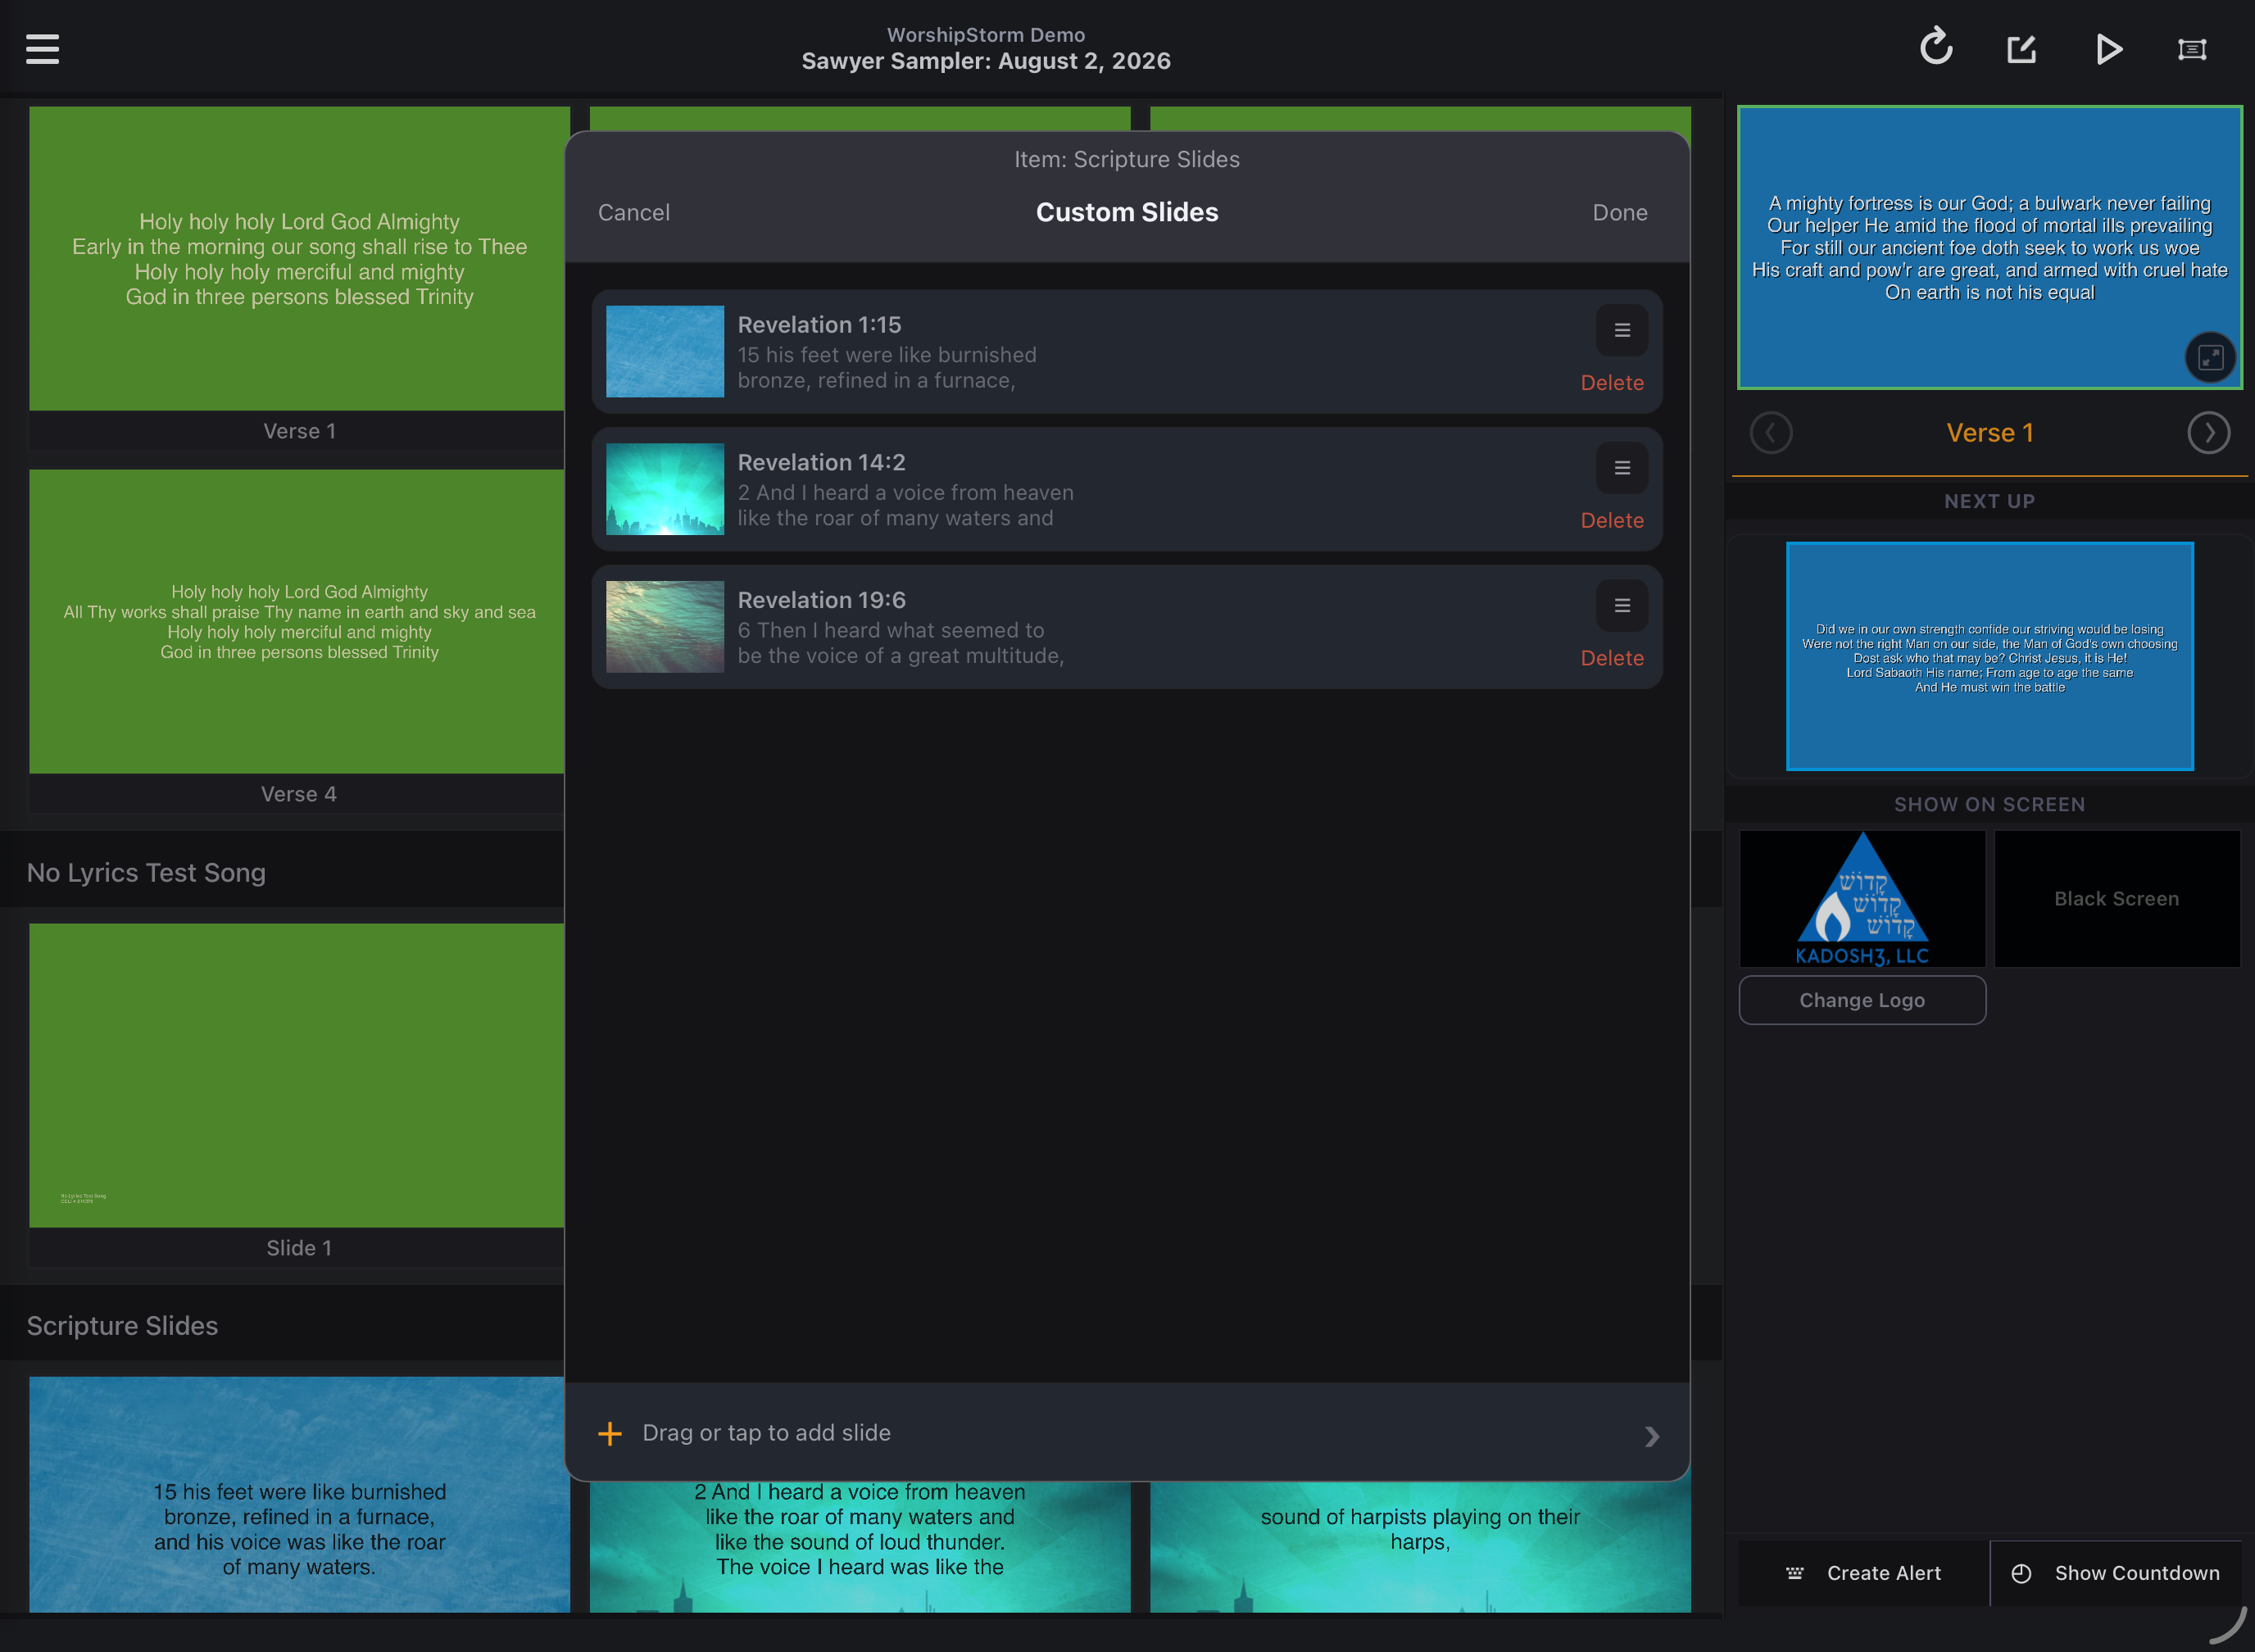
Reorder slides from the custom slide list — you do not need to open the editor. Press and drag the handle on the right of a slide’s row, and drop it where you want it in the deck.