Editing Slide Breaks
This lesson will show you how to change which lines go on each slide. By moving slide breaks, you can have Projector Plus start a new slide at specific lines.
Understanding Layouts & Slide Breaks
By choosing a Layout for a song, you can automatically reformat all the slides at one time to put a new default number of lines on each slide. The default standard layout uses 4 lines per slide. By using slide breaks, you can edit just certain sections so they have a different number than the default. So if most of your song looks great with 4 lines, but you’d rather have 3 on a slide during the verse, edit the slide breaks for the verse using the following instructions.
For more information on Layouts, check out this lesson.
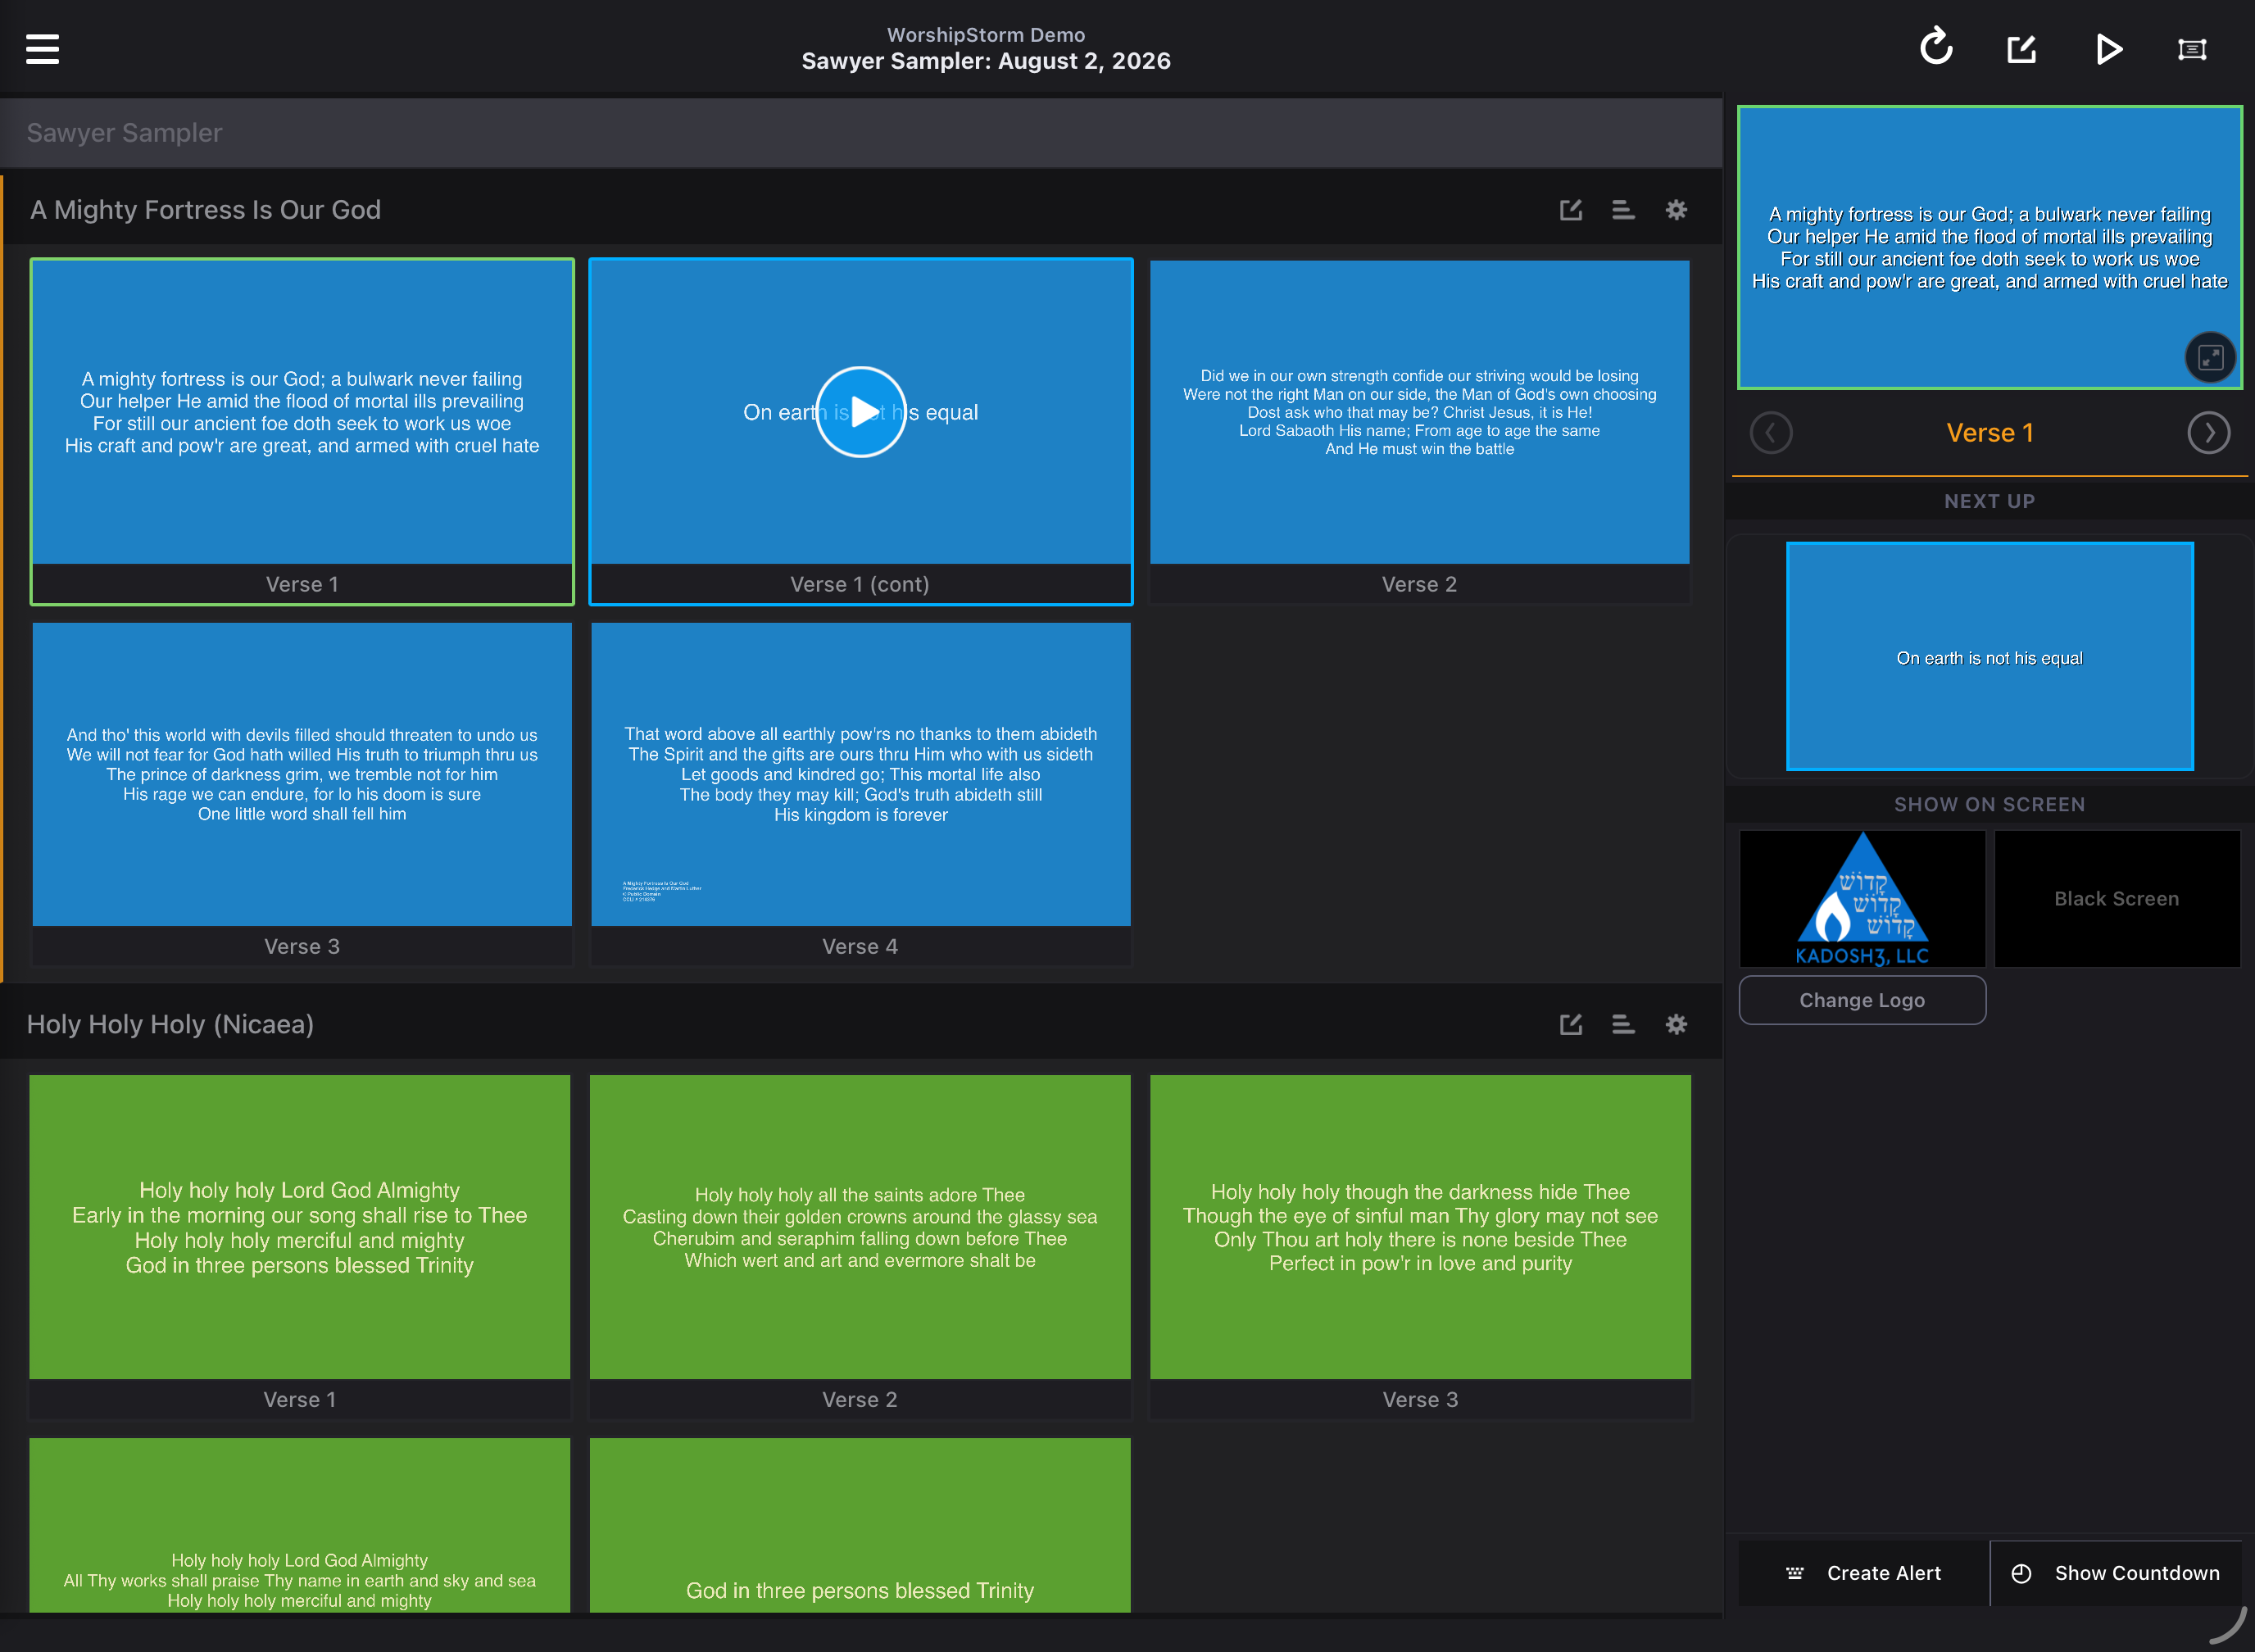
In this example, we have a hymn that has 5 lines with each verse. Since the selected layout is a 4 line layout, that causes each verse to have 2 slides, one with the first 4 lines of the verse, and one with the last line of the verse. Not really what we want!
Tap the section you want to edit
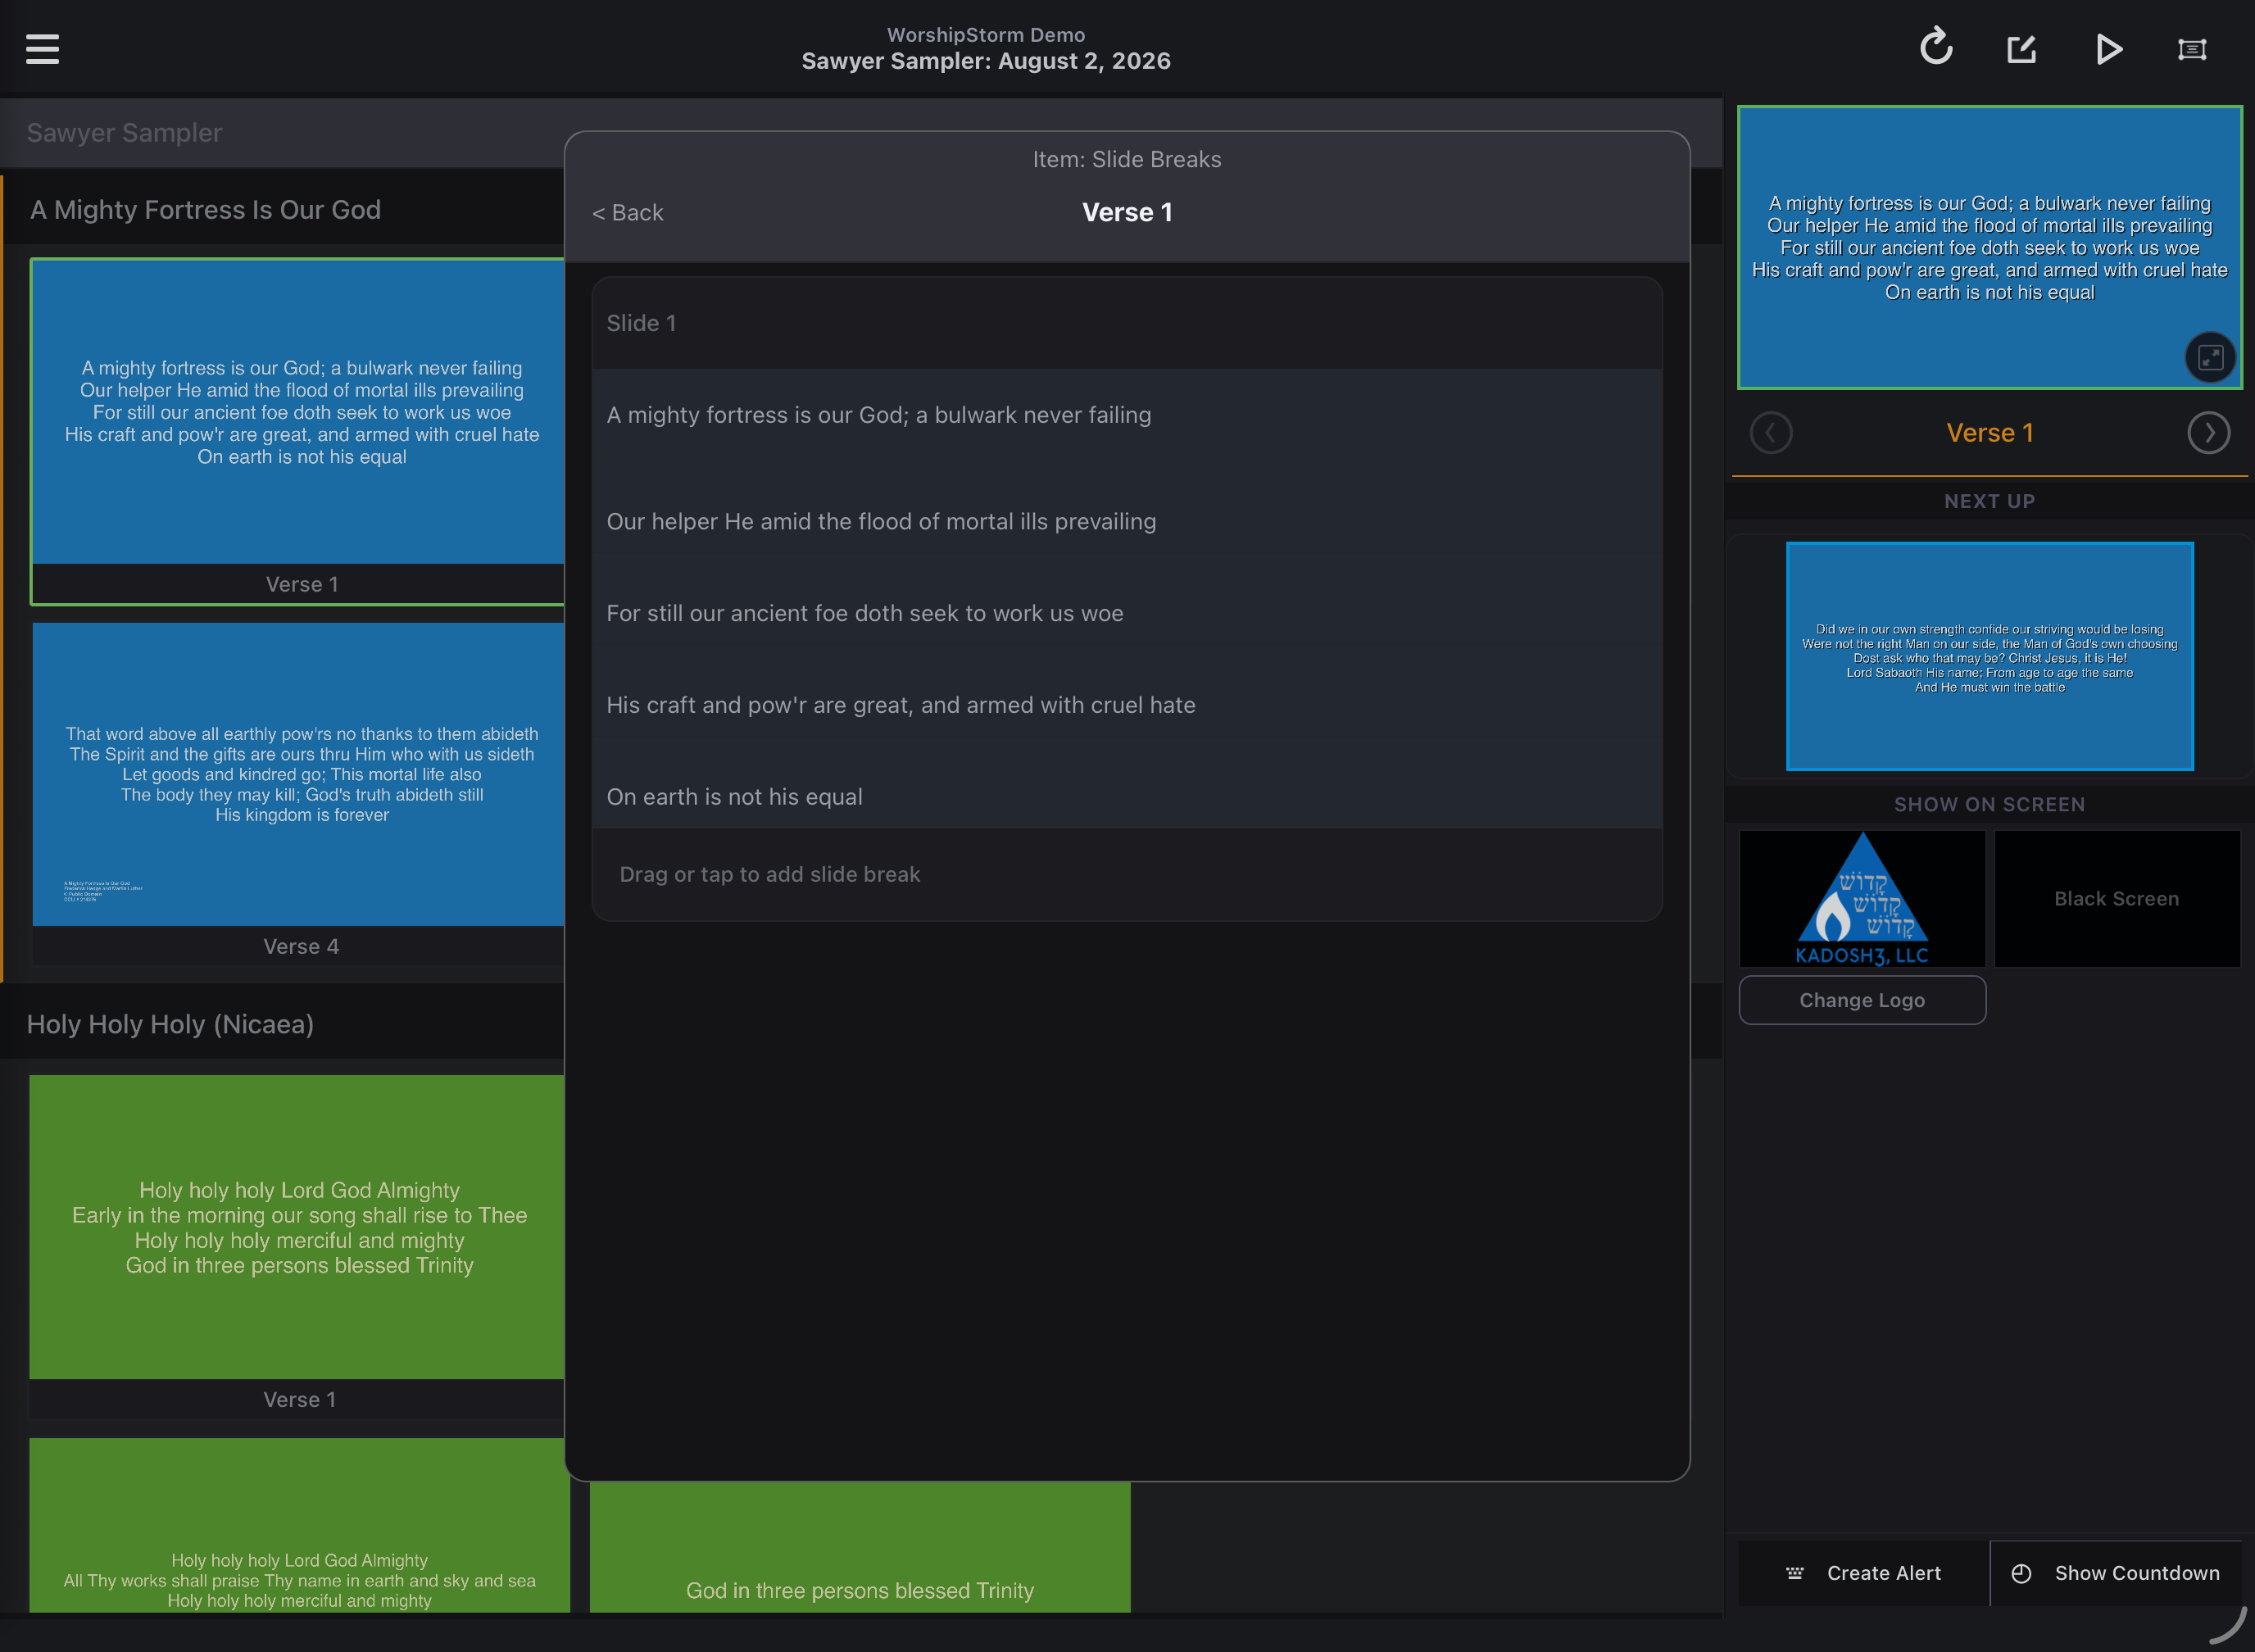
Open the Sequence Viewer for the item, then tap the section you want to edit — “Verse 1” in this example. You’d repeat this for each verse to make the song look correct with the 4 line layout.
The Sequence Viewer icon is available for items. If you don’t see this button, most likely you have added a Header item and not a regular or song item.
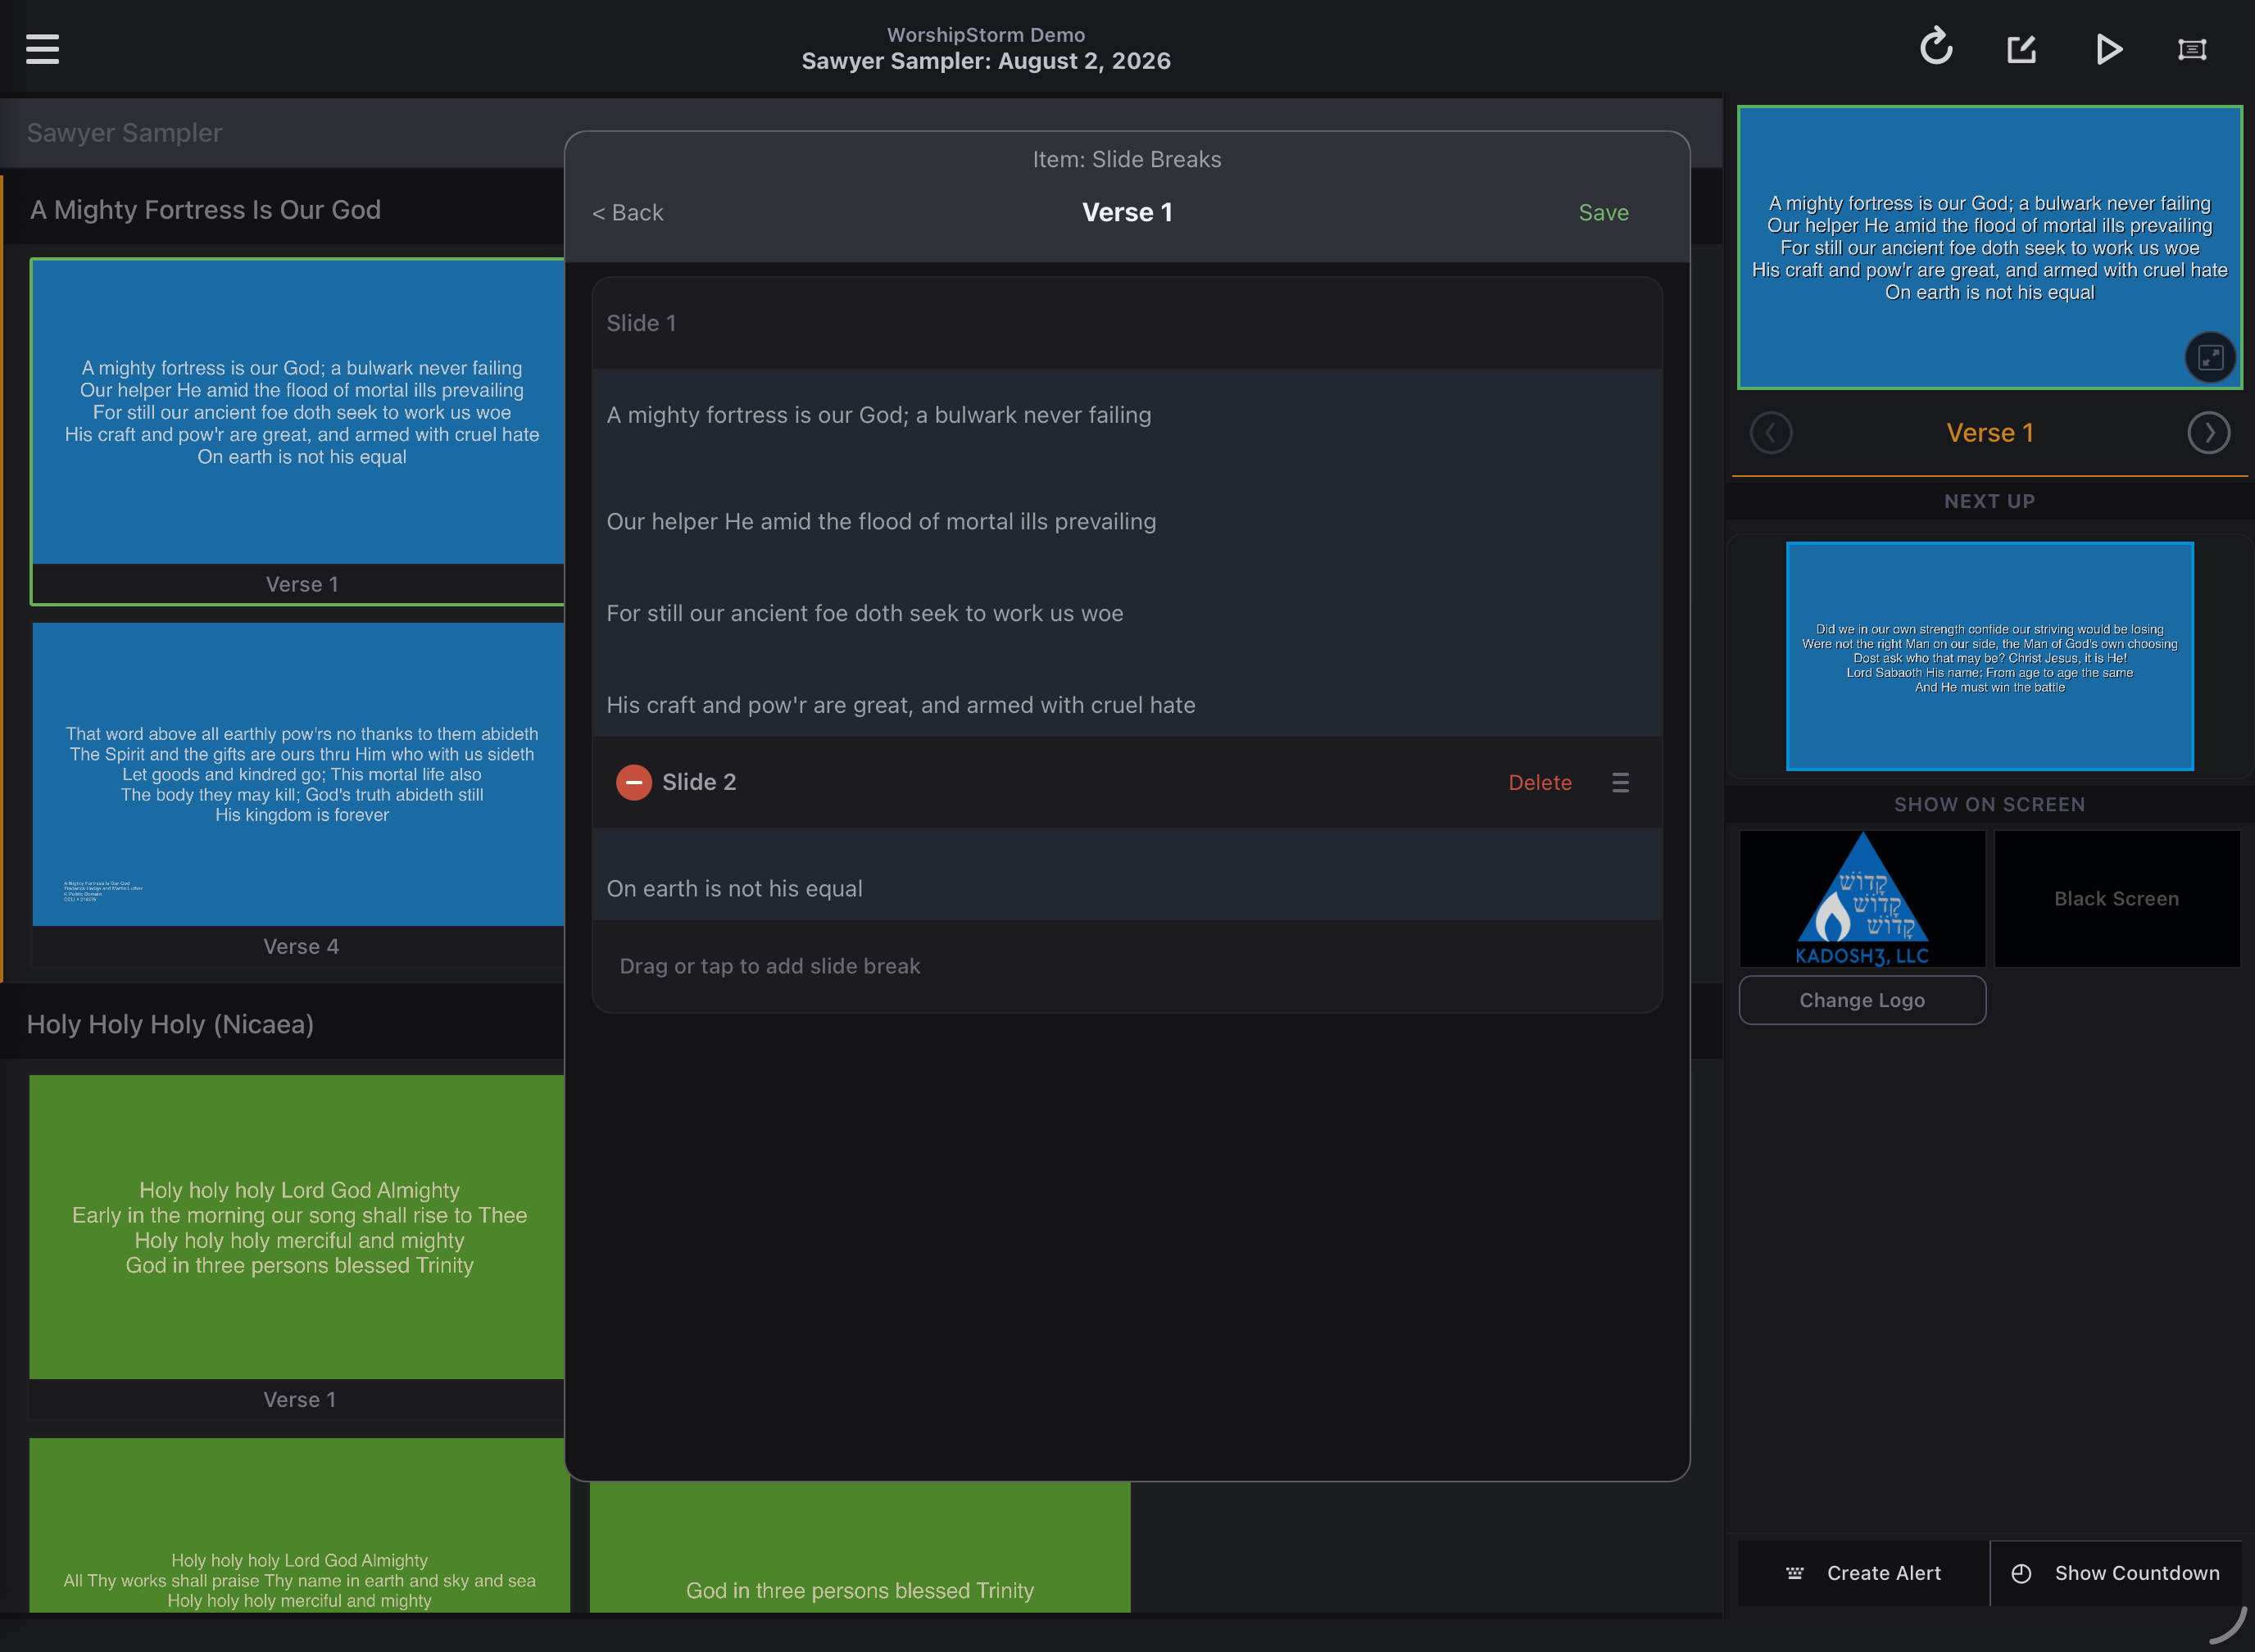
Edit Slide break markers
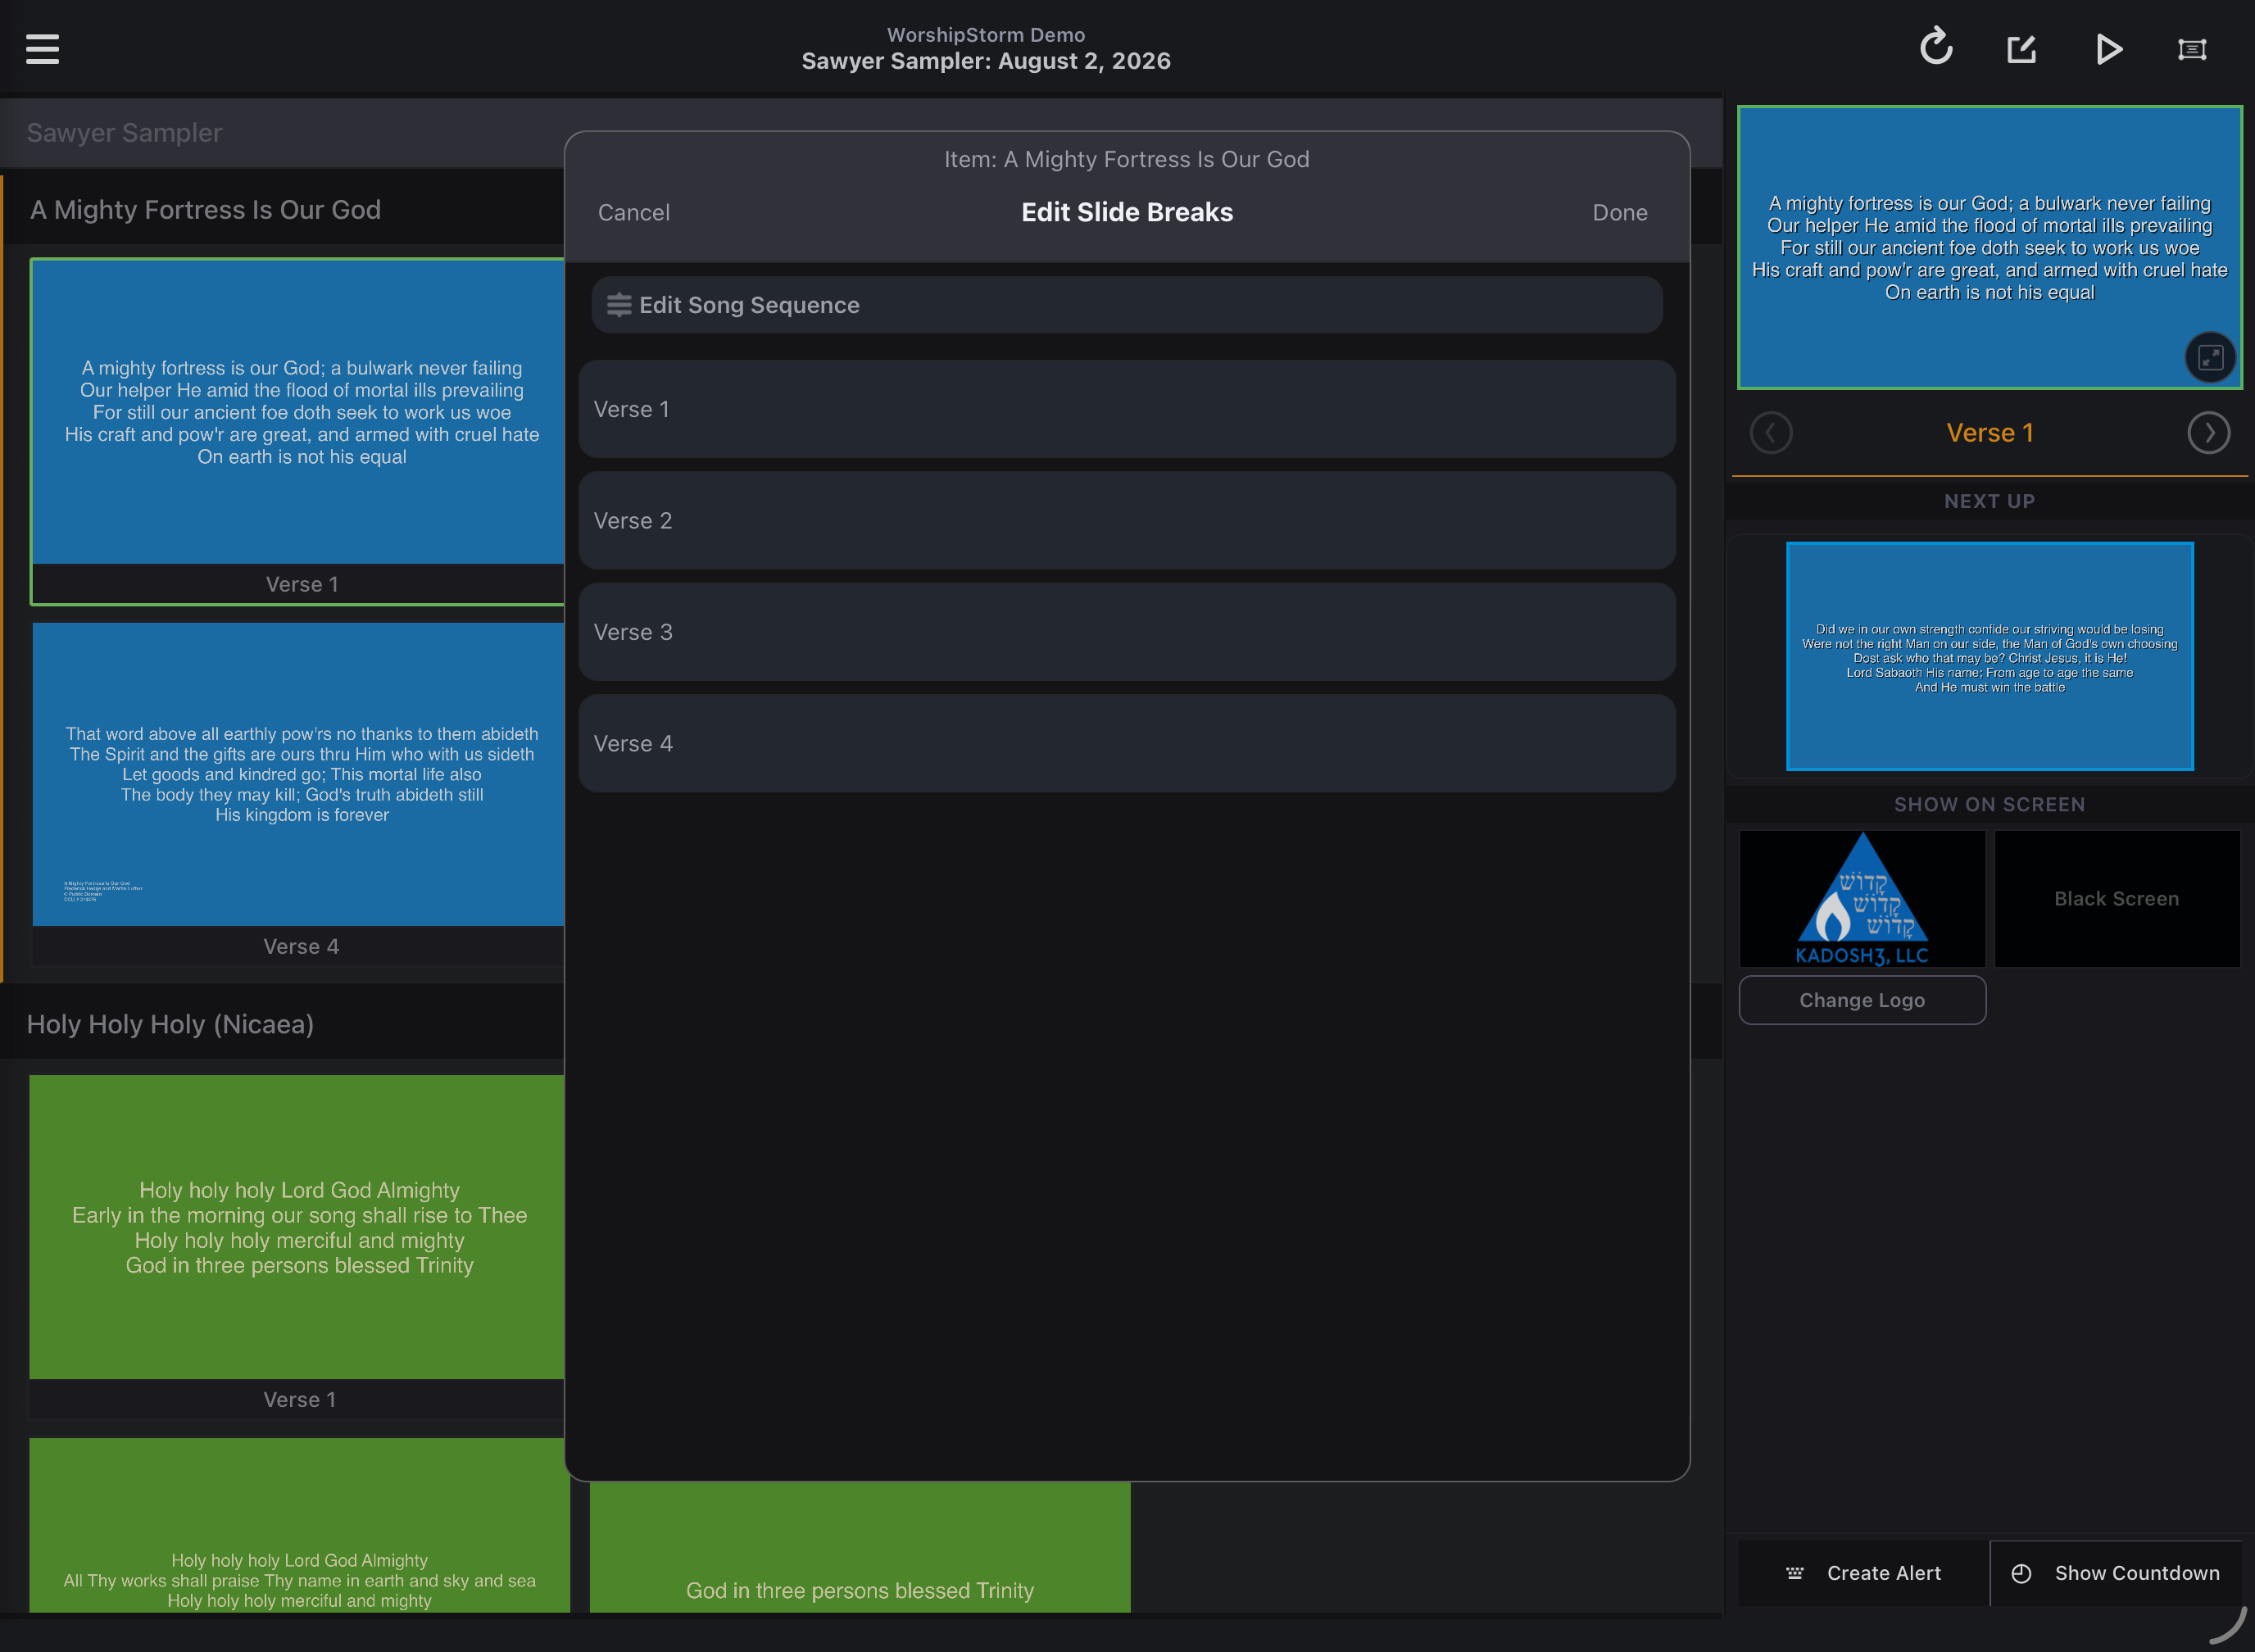
There are 3 things that you can do with Slide Break markers:
1. Drag slide breaks between lines where you’d like them.
2. Add new slide breaks by dragging from the bottom. If you tap the bottom bar, a new slide break will be added after the last lyric, and you can drag it where you want.
3. Tap the red ‘minus’ symbol, then tap the “Delete” button to remove a slide break. Also, dragging a slide break after the last lyric will remove that slide break. That’s what we want to do for our example.
Editing the markers
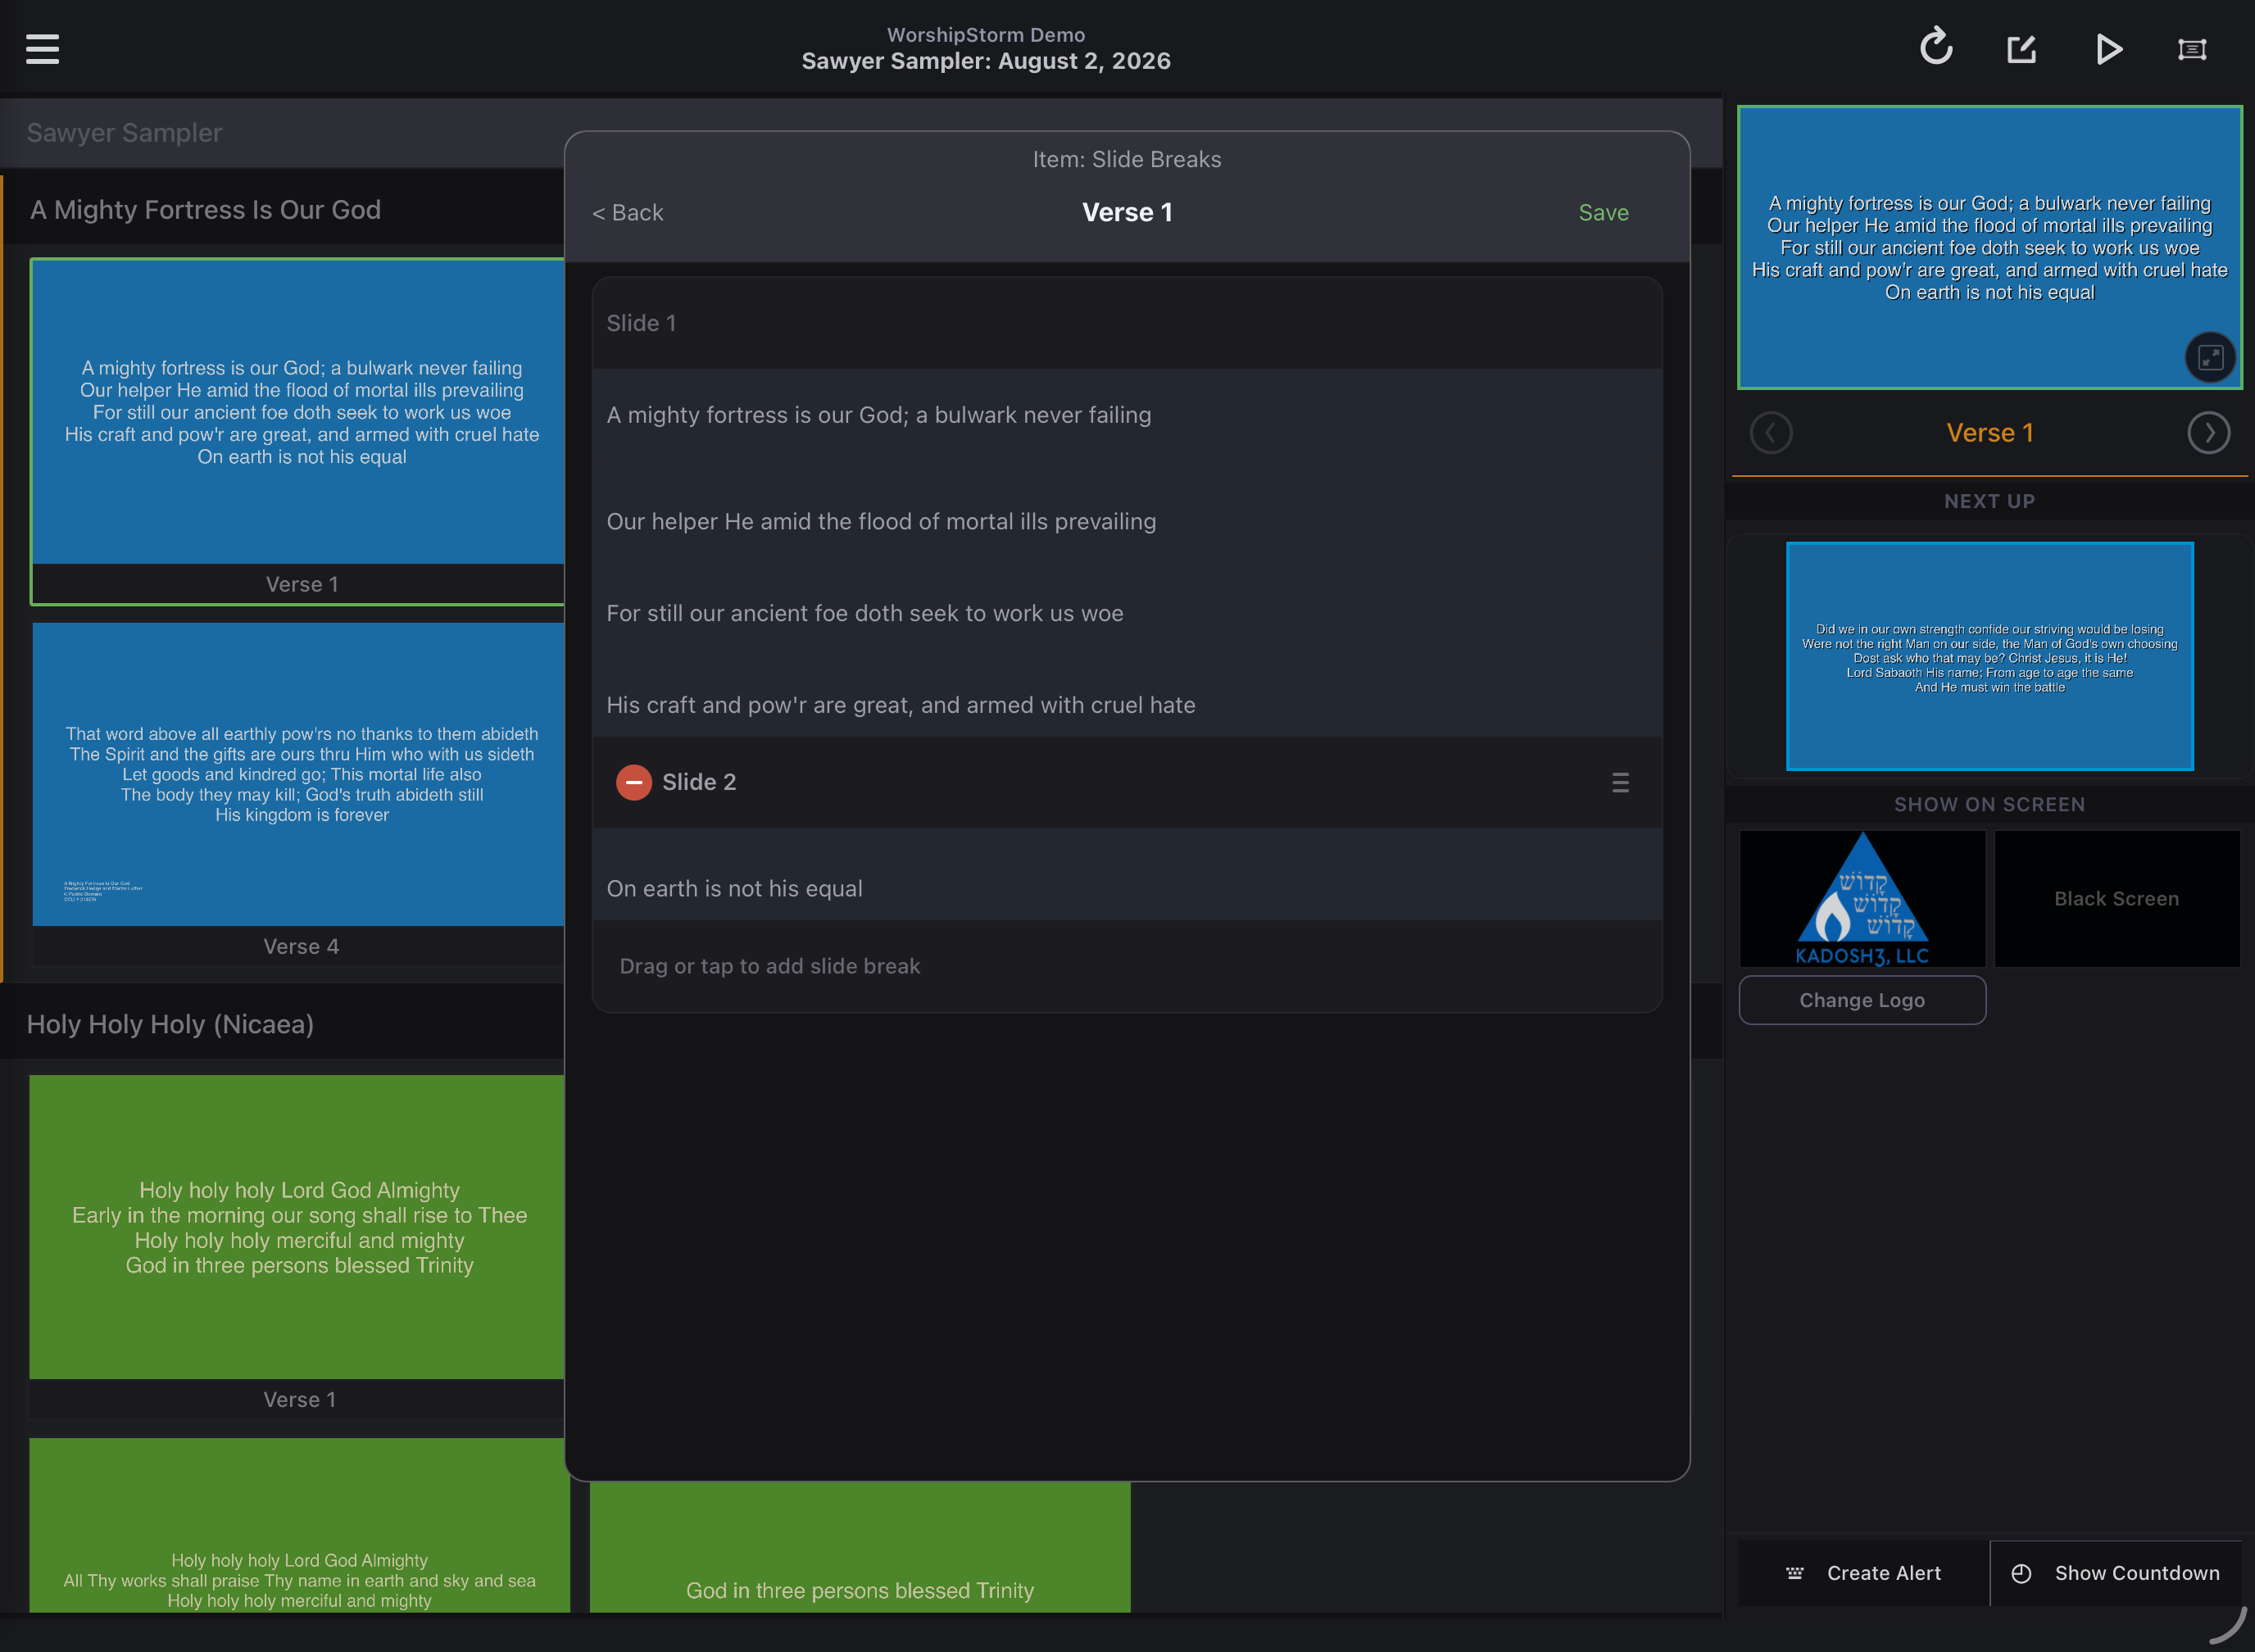
Saving takes two steps
This is the part worth reading carefully, because stopping halfway looks like it worked.
- Save the section. Tap Save at the upper right of the slide break editor. This records your change and returns you to the sequence view — but it has not reached Planning Center yet.
- Save the sequence. Back on the sequence screen, tap Save at the upper right again. This is the one that writes your change.
If you leave after only the first Save, your slide breaks are discarded.
To leave without saving, tap < Back at the upper left of the slide break editor. Any changes to that section are abandoned.
The result
Once saved, Projector Plus refreshes the item and the slides reflow to your new breaks. In this example Verse 1 now splits across two slides — Verse 1 and Verse 1 (cont):