
Converting PowerPoint to PDF (macOS)
Here is an example workflow to convert a slideshow into a PDF file, using PowerPoint for Mac. The workflow will be similar for Keynote and other slideshow applications that support exporting the slideshow to a PDF file.
Step 1: Export your slideshow
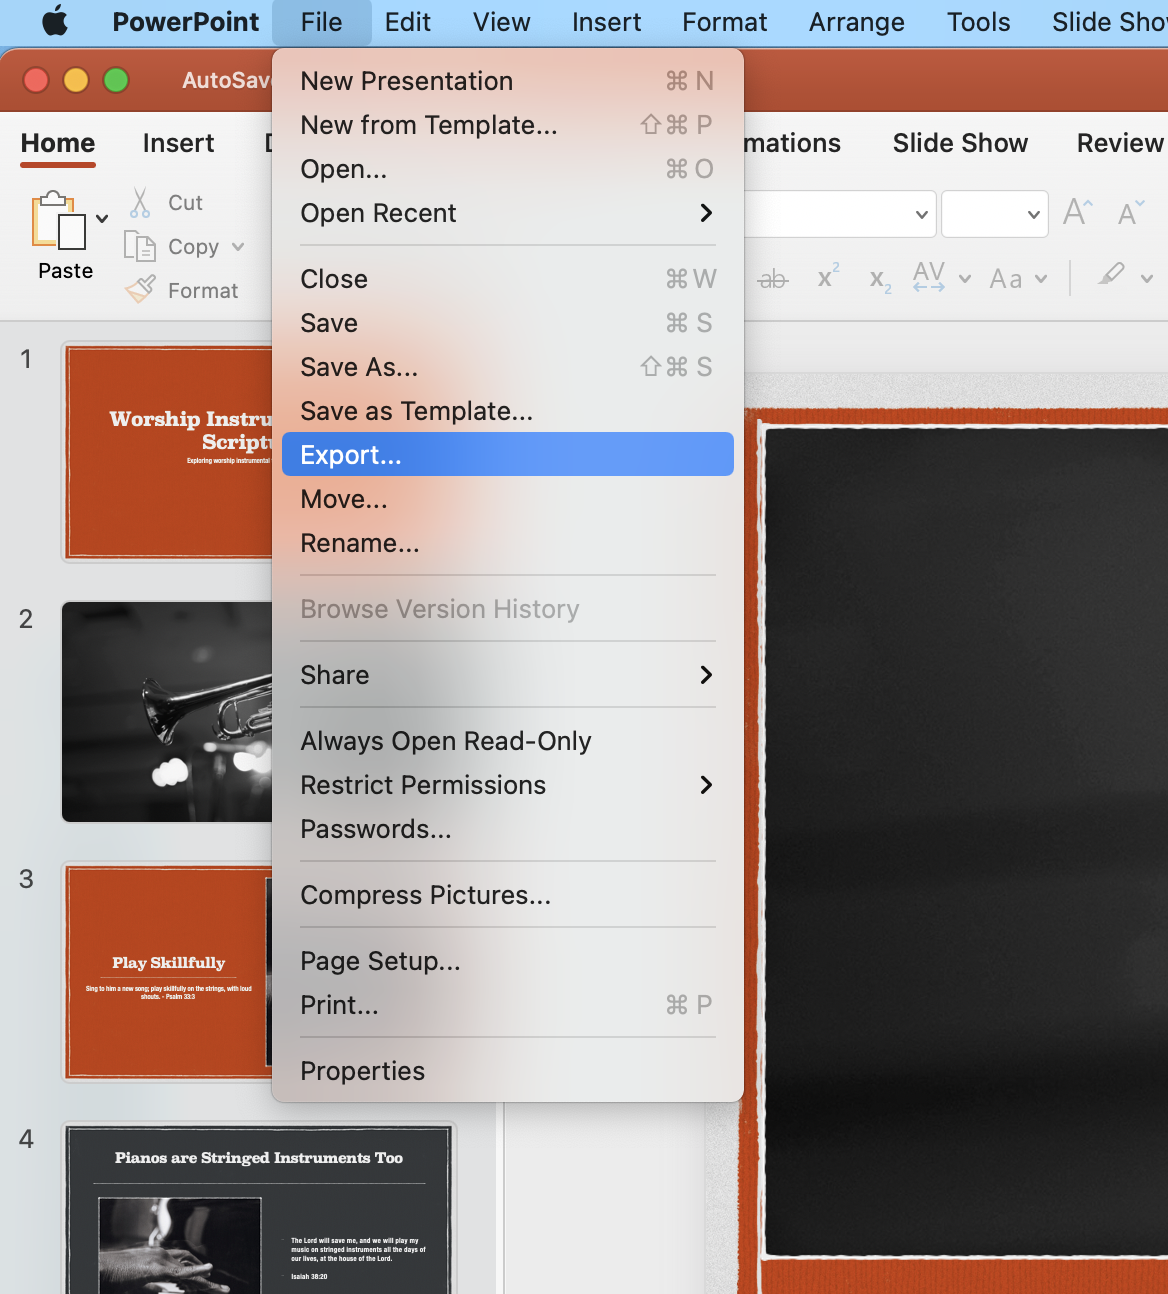
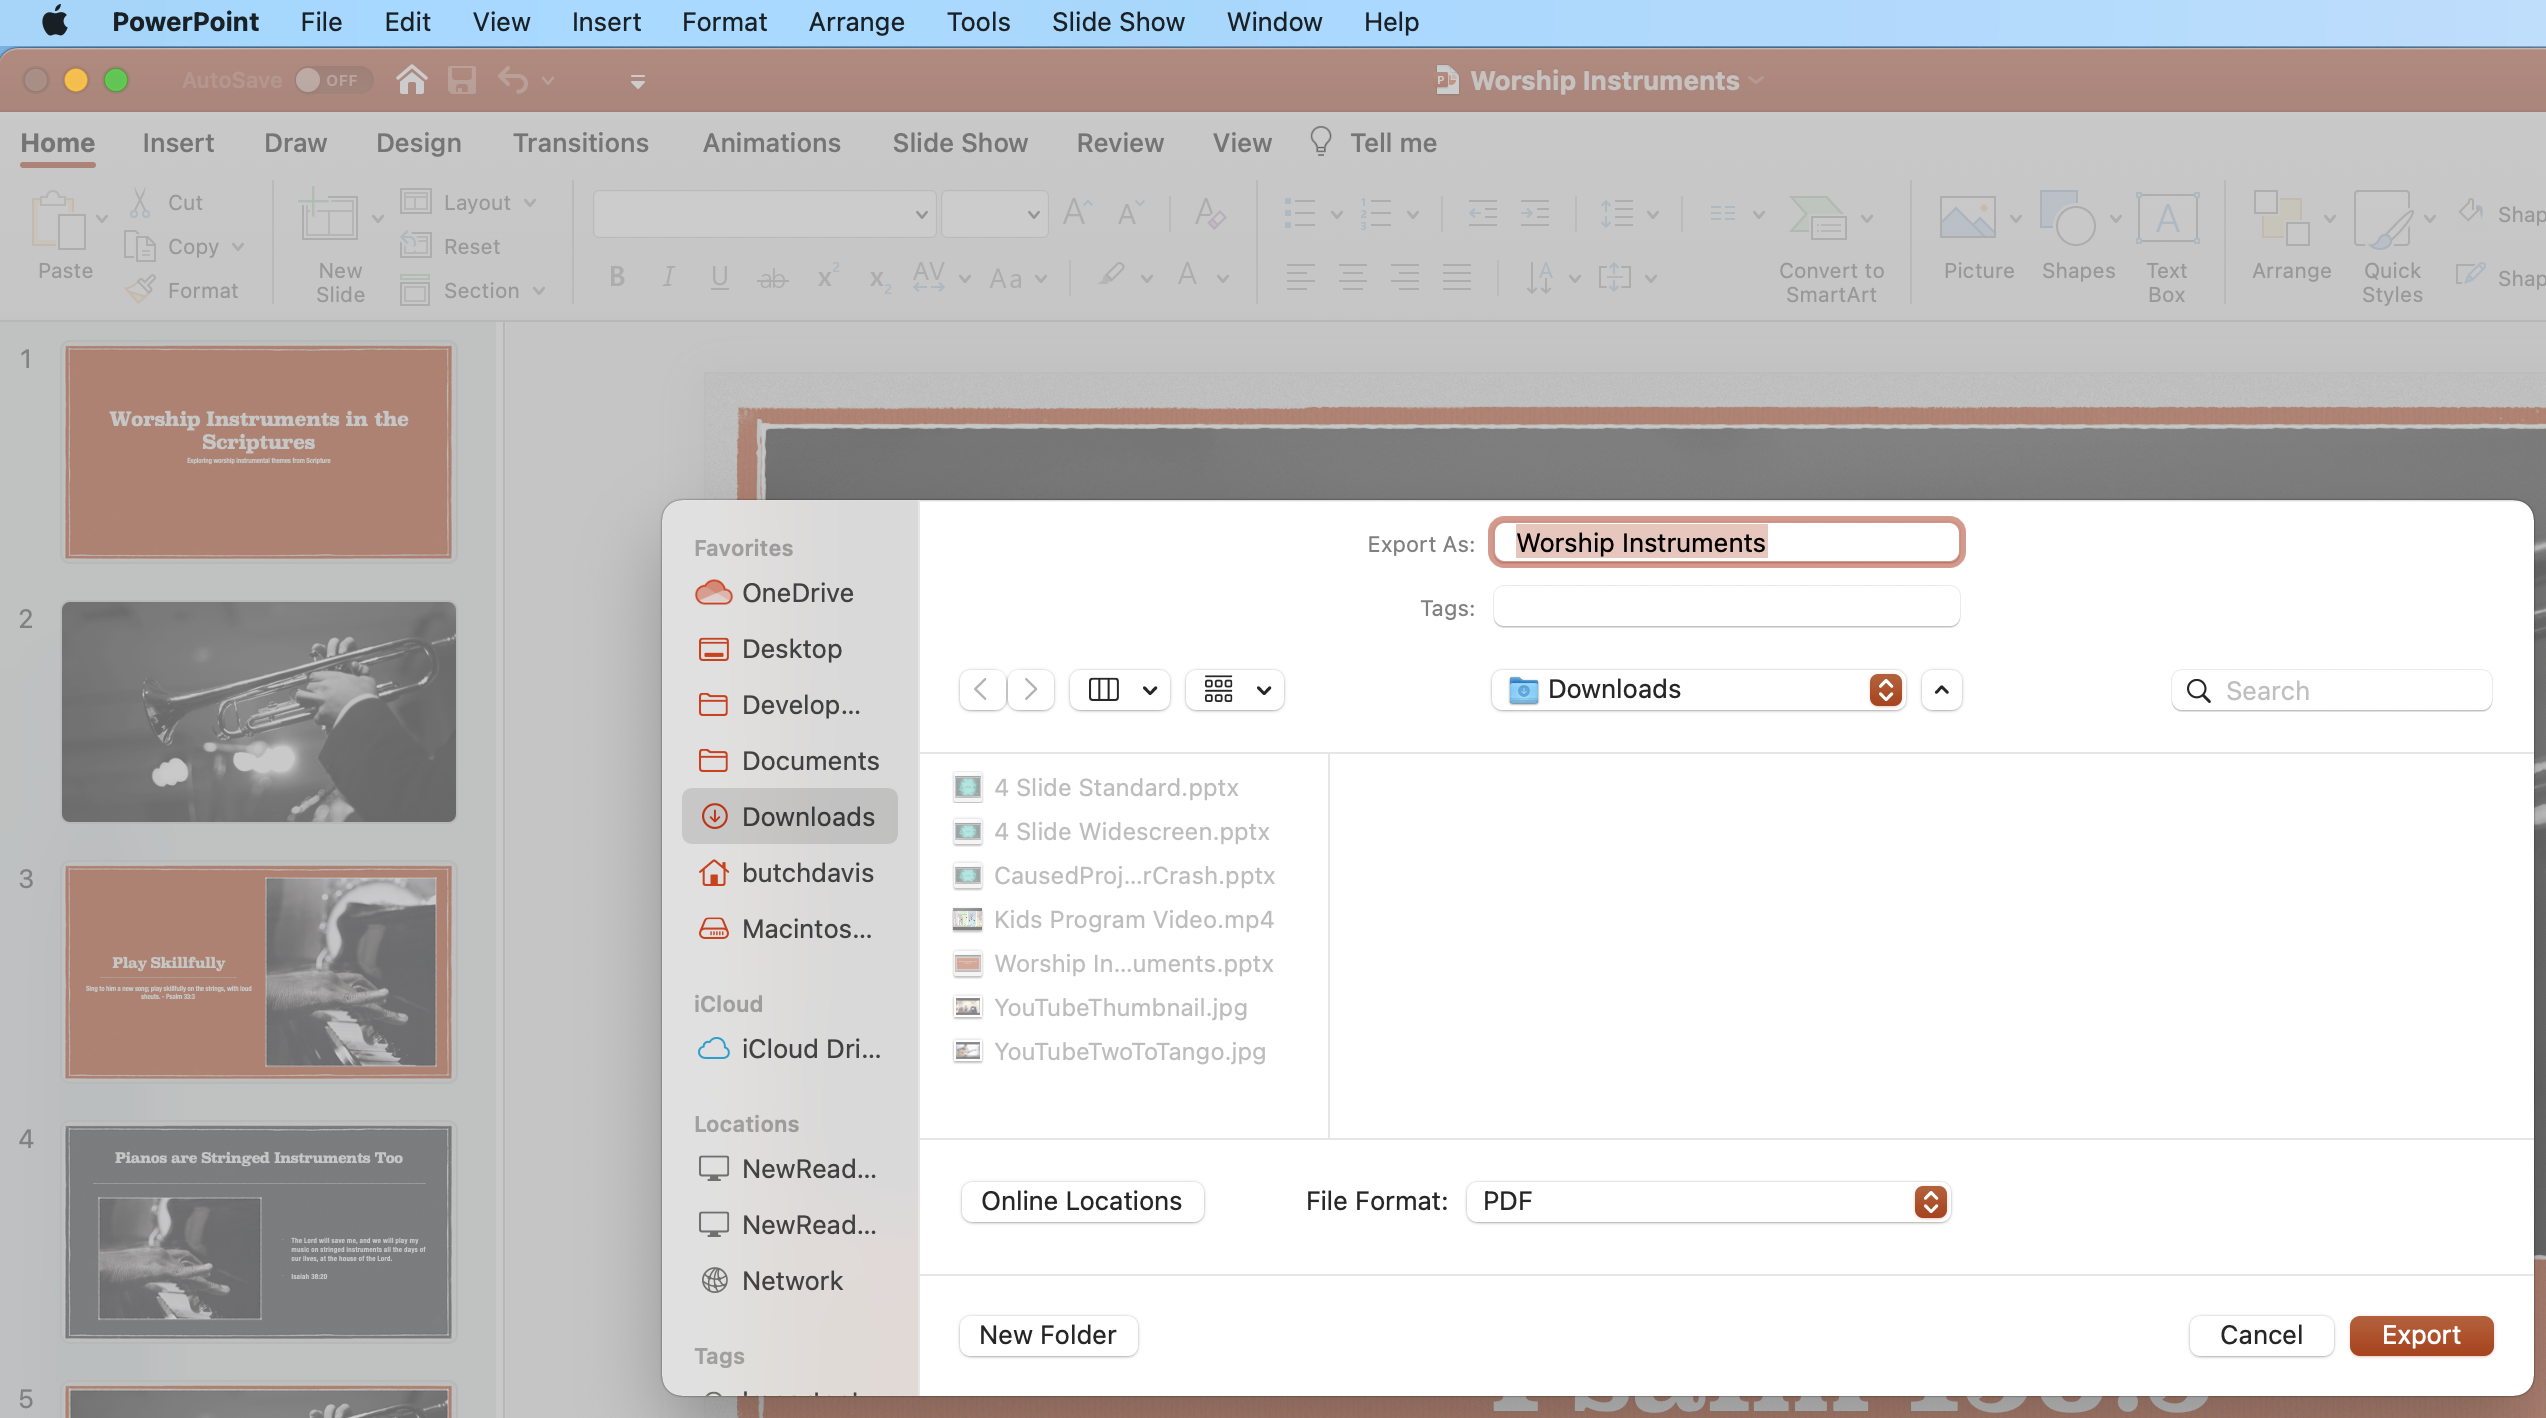
Step 2: Choose the PDF file format and click the Export button
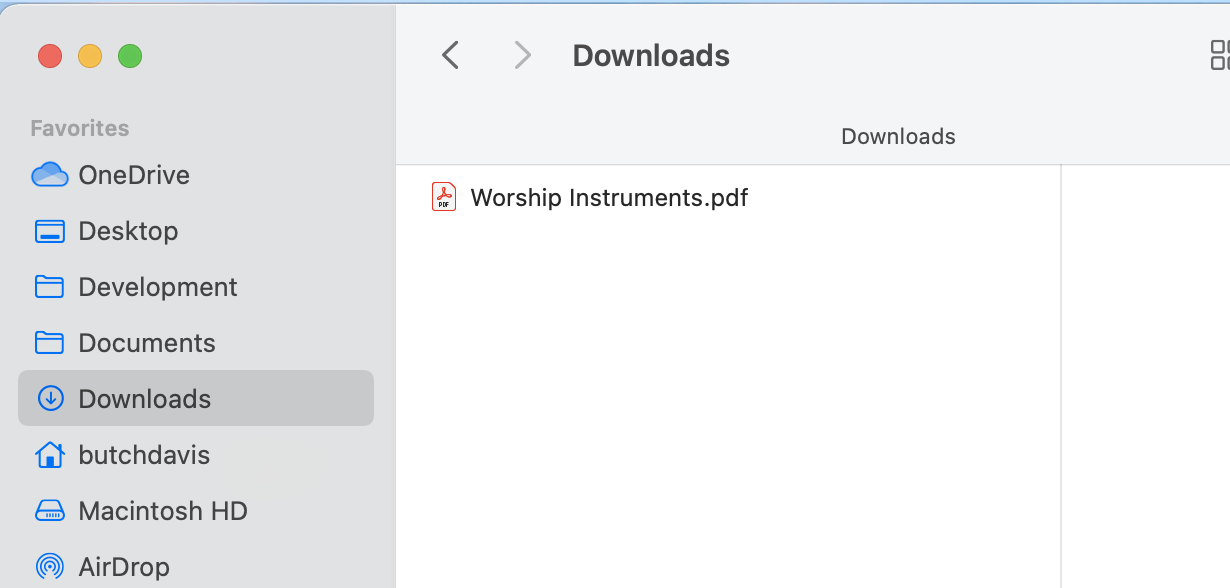
Step 3: Open Finder and look for the PDF file that was saved (probably the Downloads folder). You will want to remember where this is for the next step.
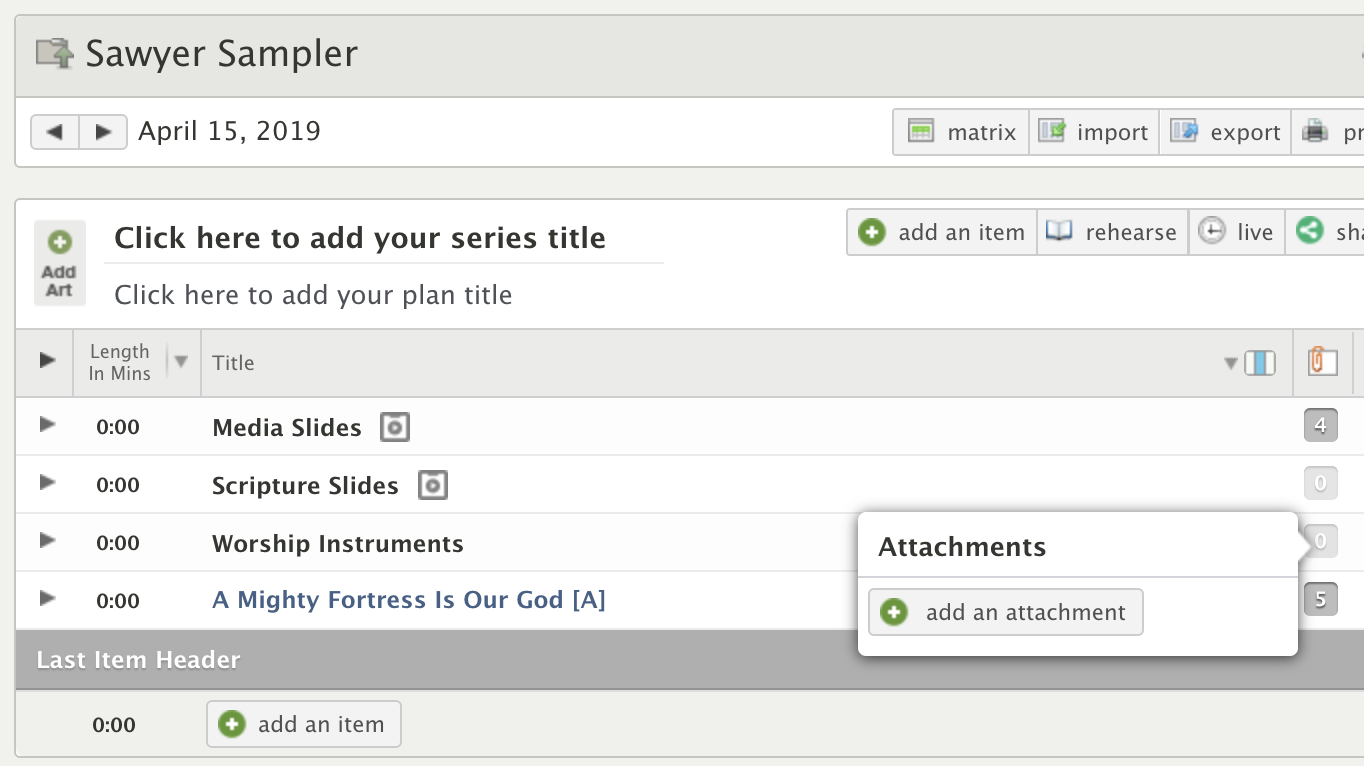
Step 4: Open PCO Services and create a new ‘plain’ Item (not a Song or Header). You can also create a Media item if you want to save your PDF file as a “Powerpoint” Media item, but that’s not what we’re demonstrating here. Right click the little ‘attachments’ box to the right of the item and you can add the PDF file as an item attachment.
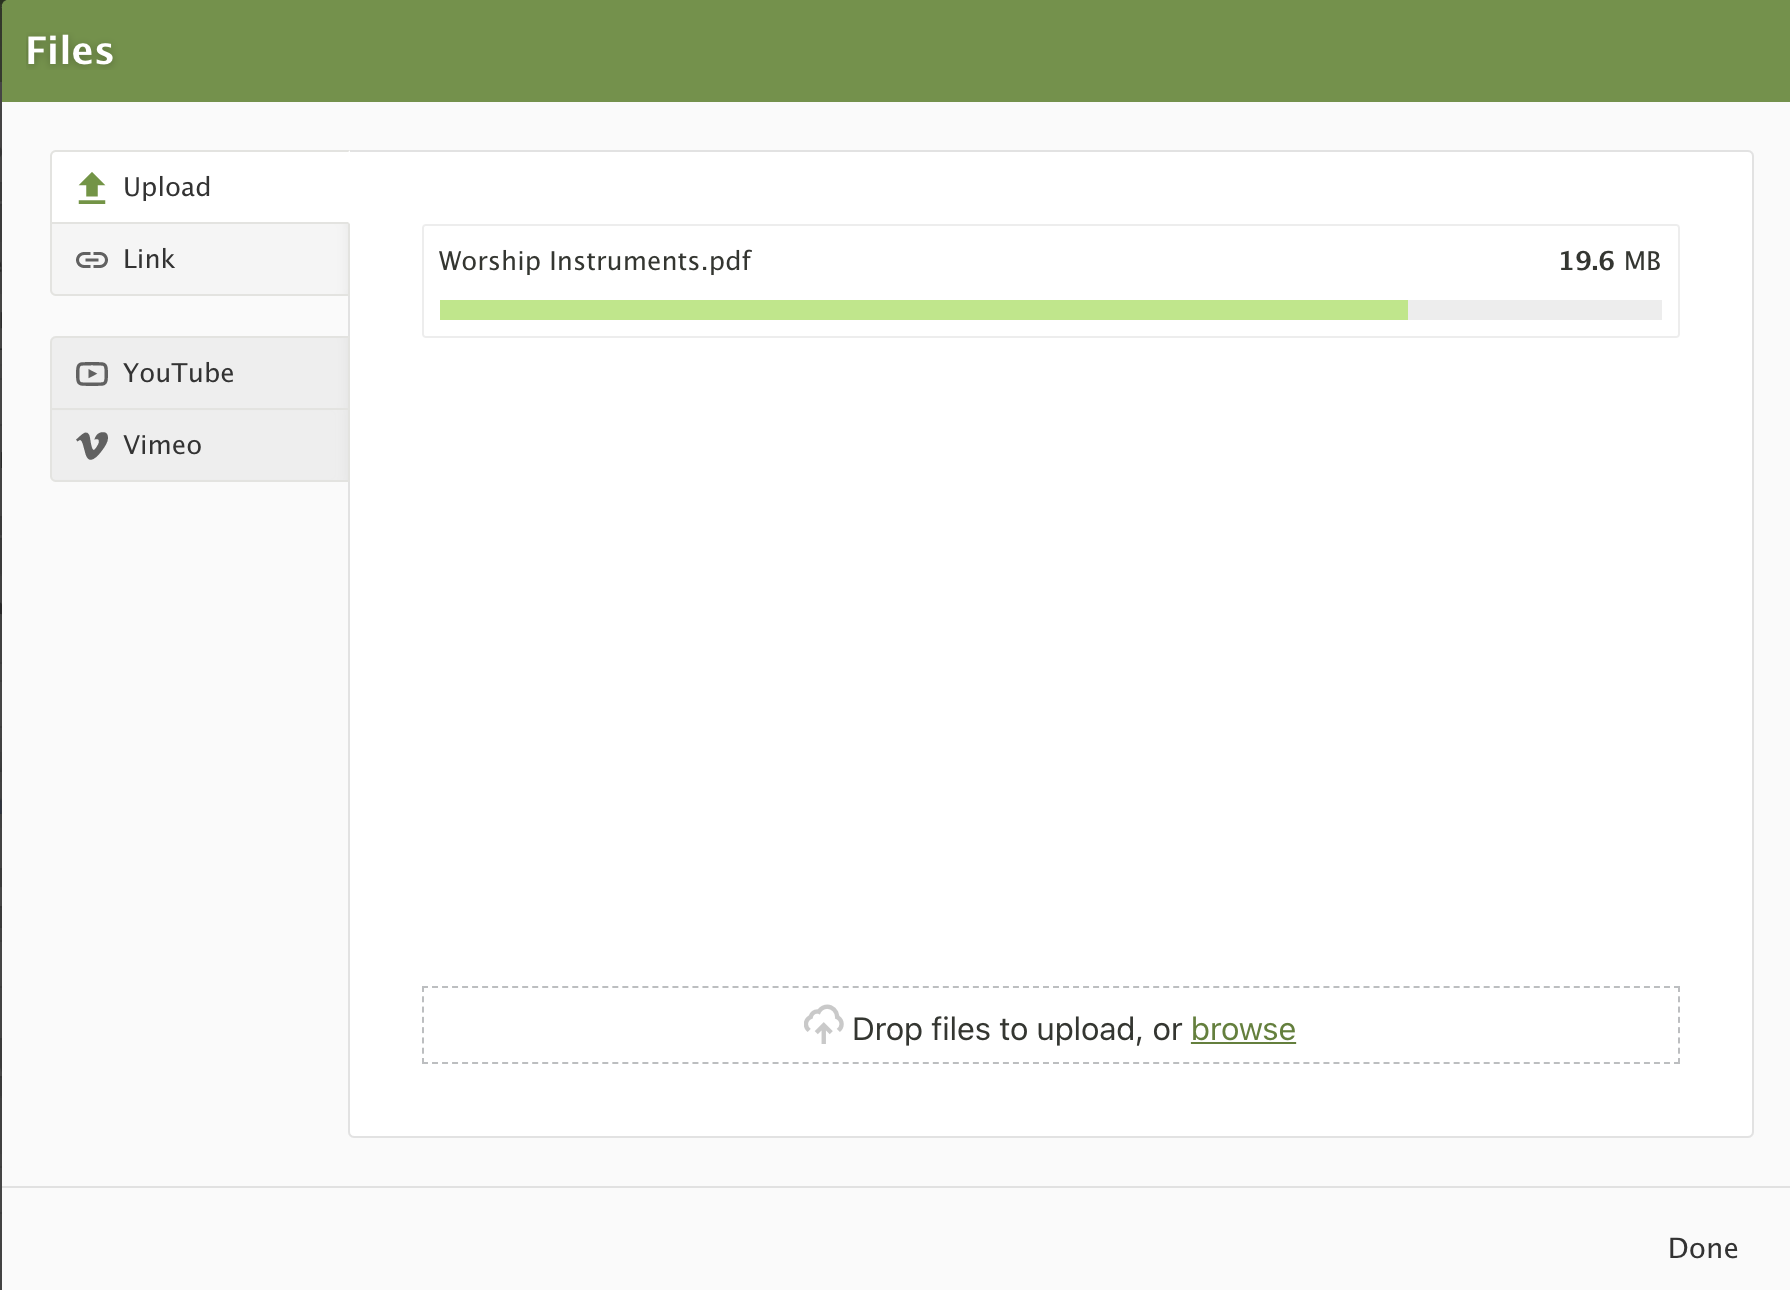
Step 5: Upload the PDF file that you created
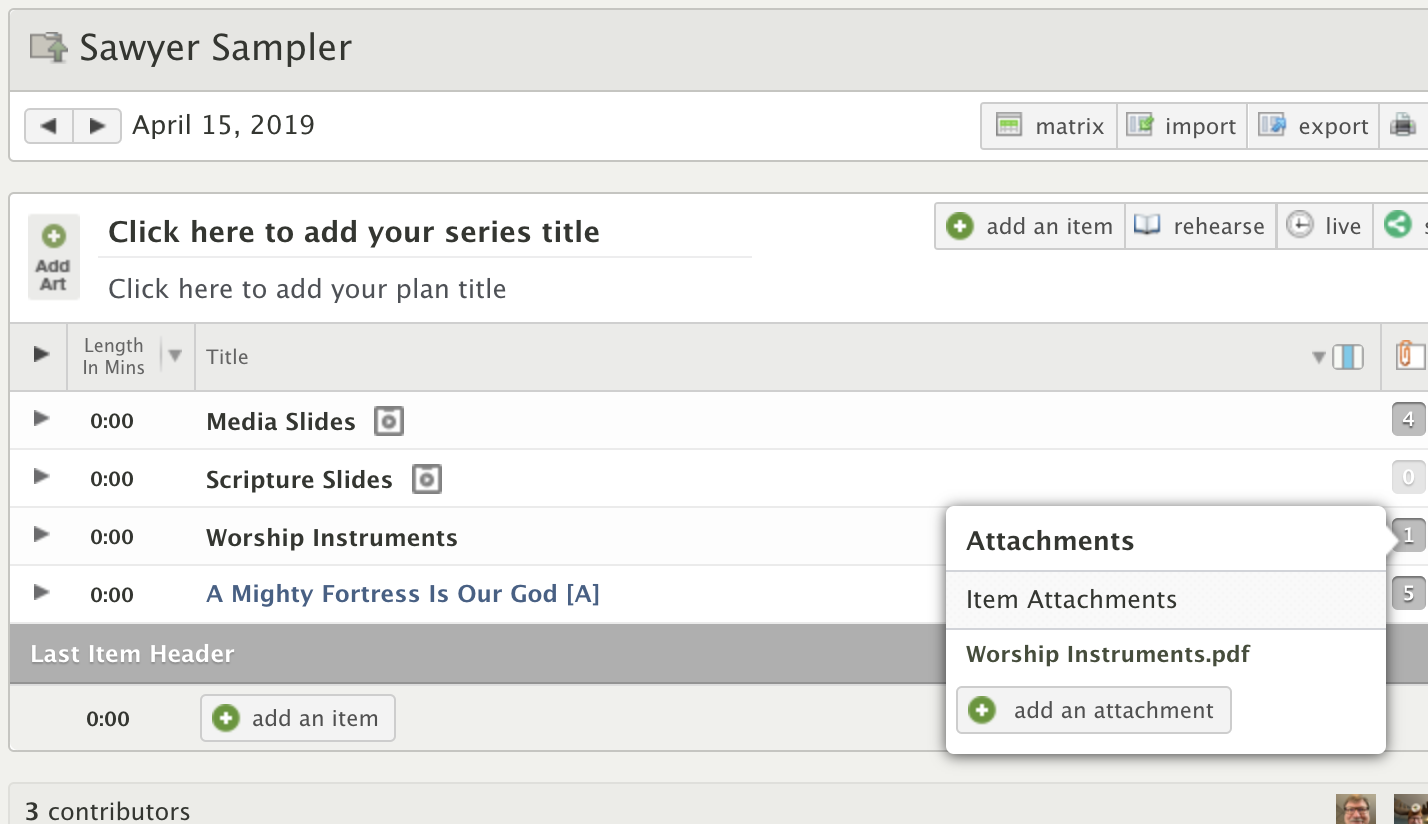
Step 6: Click Done and then, in your Plan, right click once more on the item attachment box - you should see the PDF file.
Step 7: Open up Projector Plus and - voila - you have your PDF slideshow ready to present!