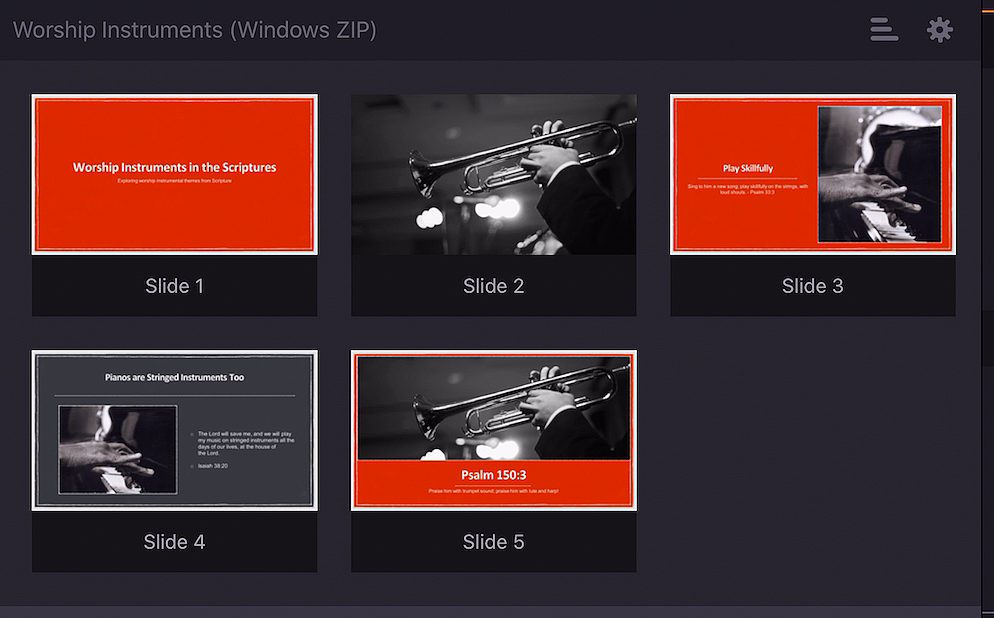
Converting PowerPoint to ZIP (Windows)
Here is an example workflow to convert a slideshow into images, then add the images to a single ZIP file, using PowerPoint for Windows. The workflow will be similar for other slideshow applications that can export slides to images.
Step 1: Open your slideshow in PowerPoint for Windows. The Office 365 subscription version of PowerPoint running on Windows 10 is illustrated in this example.
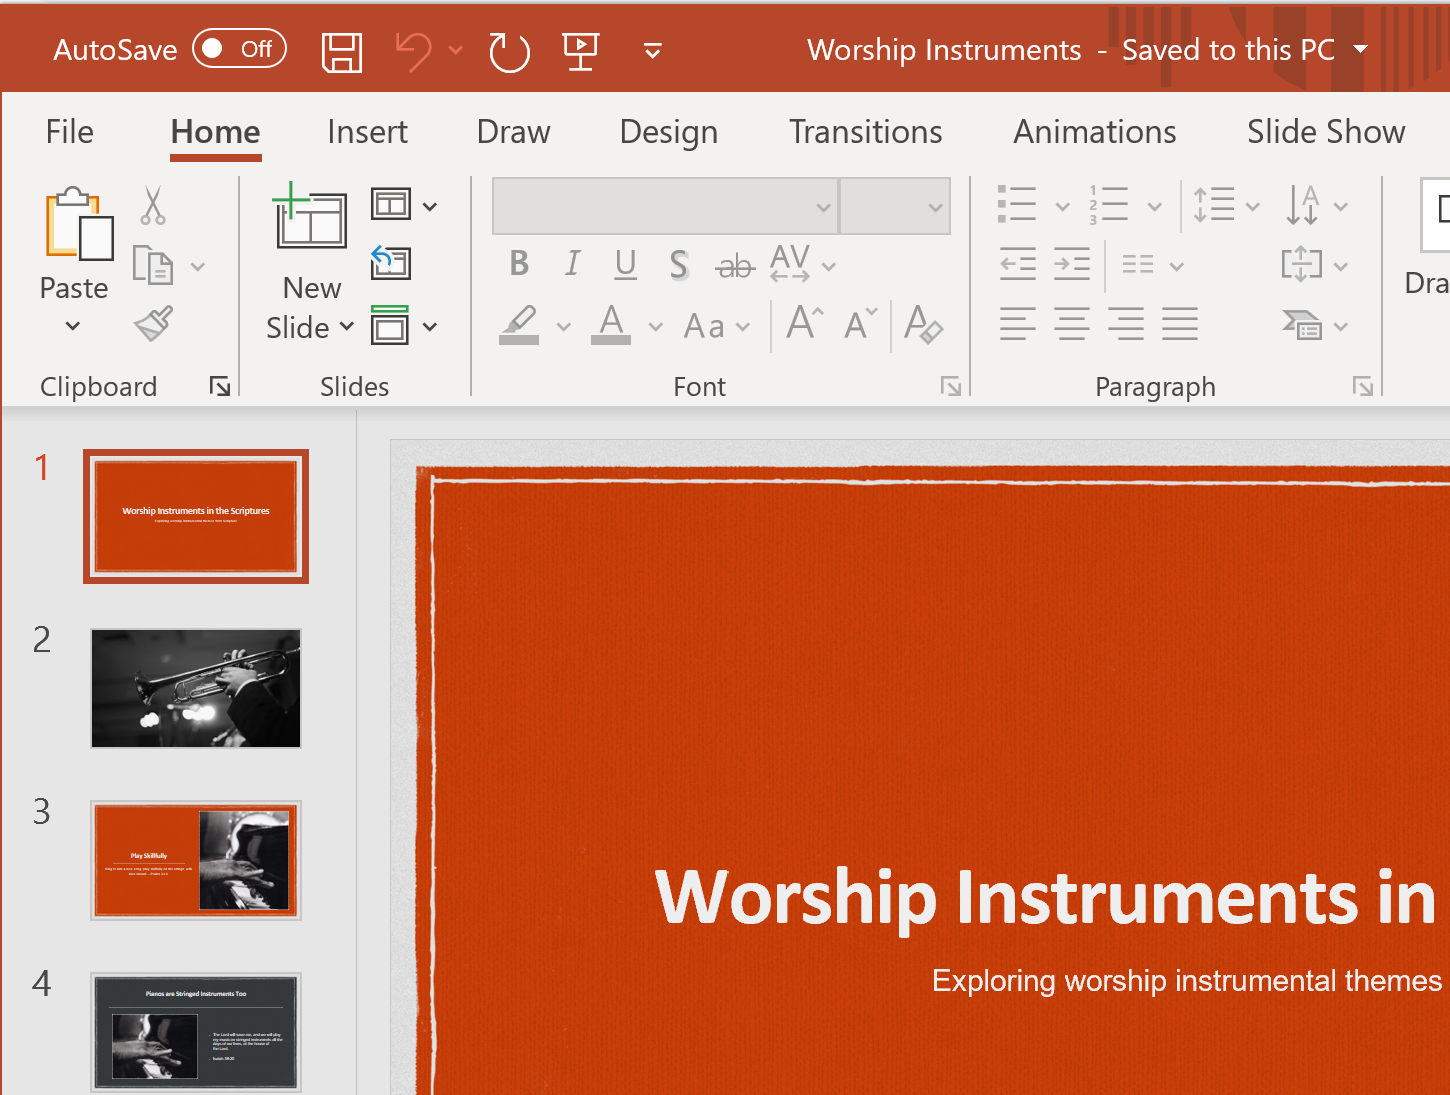
Step 2: Click on the File menu to bring up the action page.
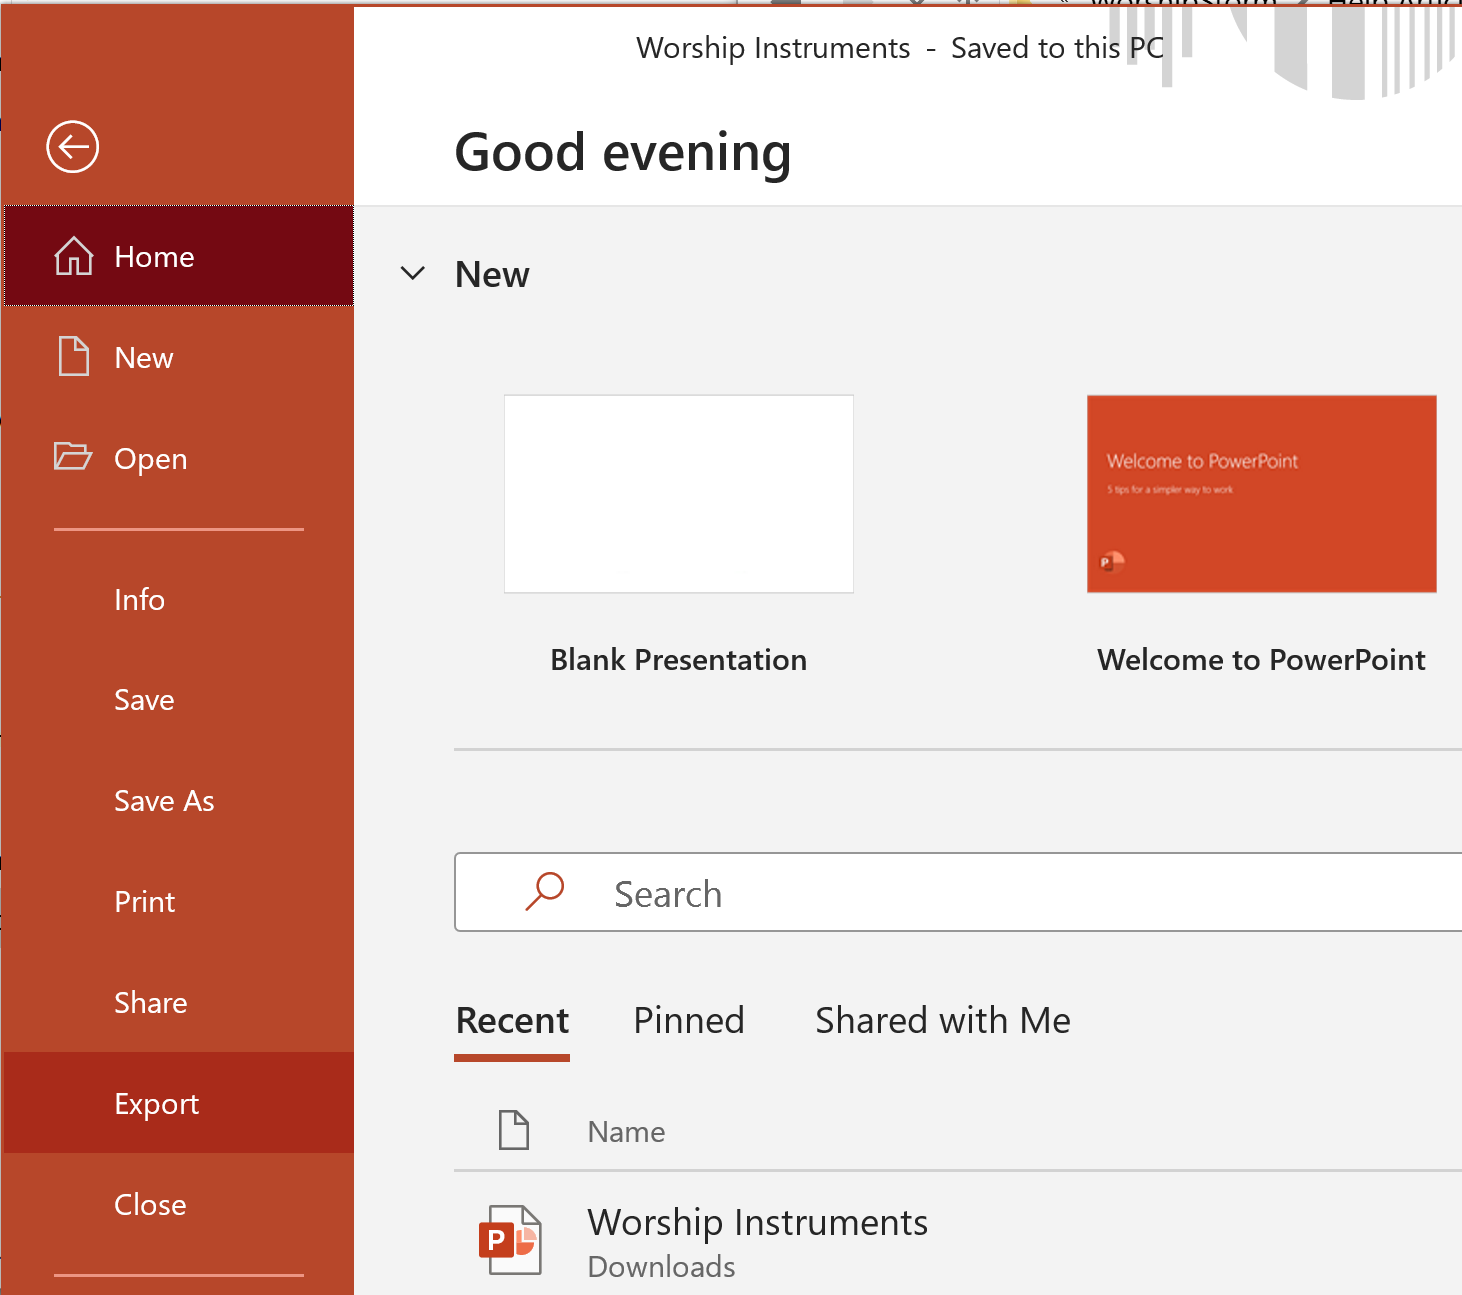
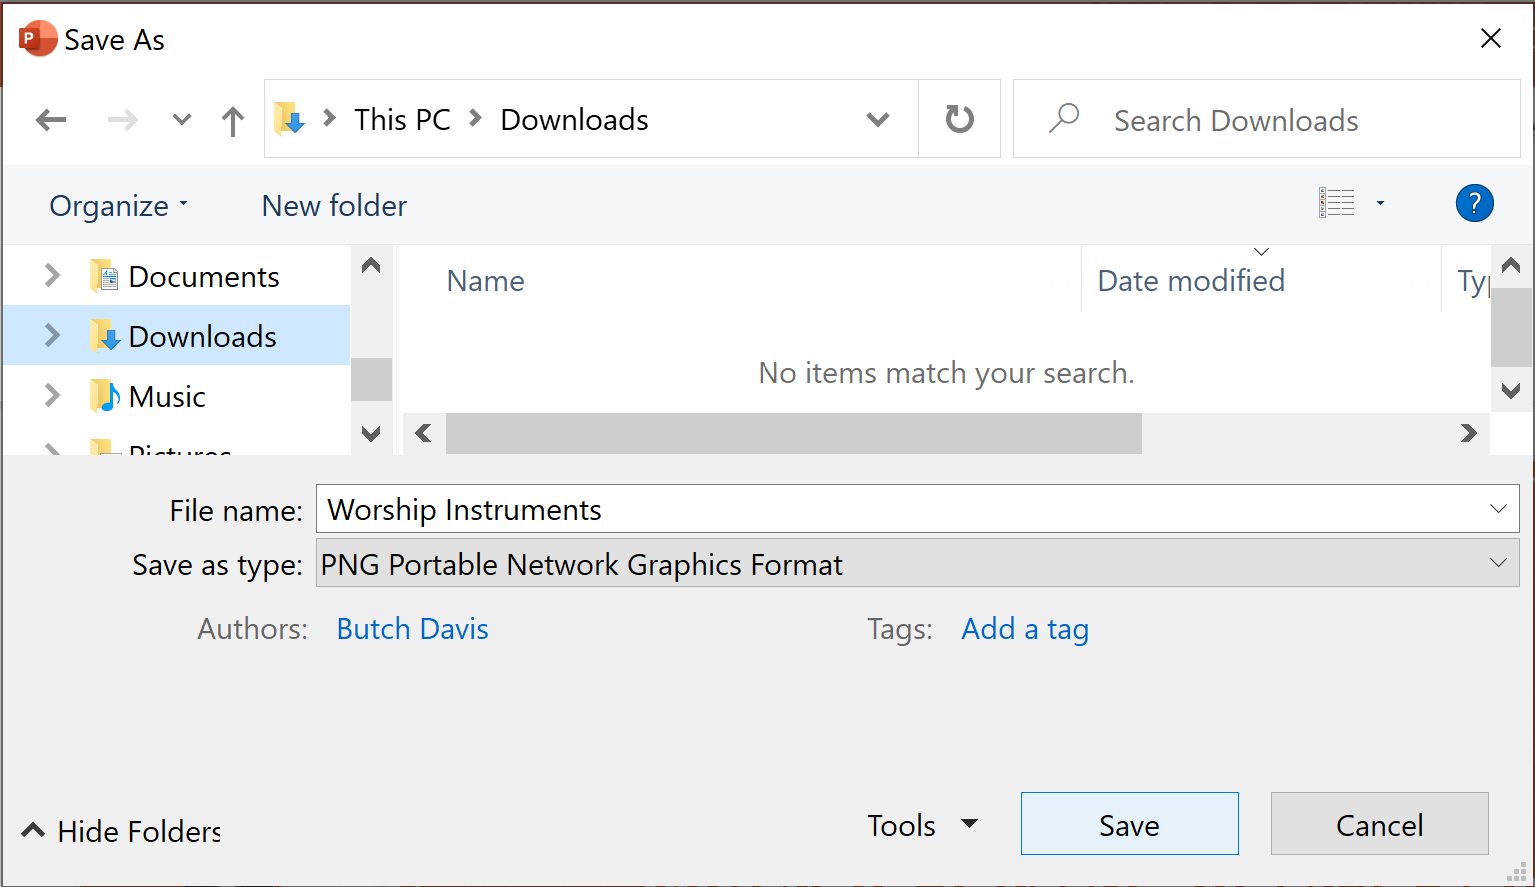
Step 3: Click on the Export action, Change File Type choice, and choose an Image File Type. In this example, we have chosen the PNG image format. Click the Save As button.
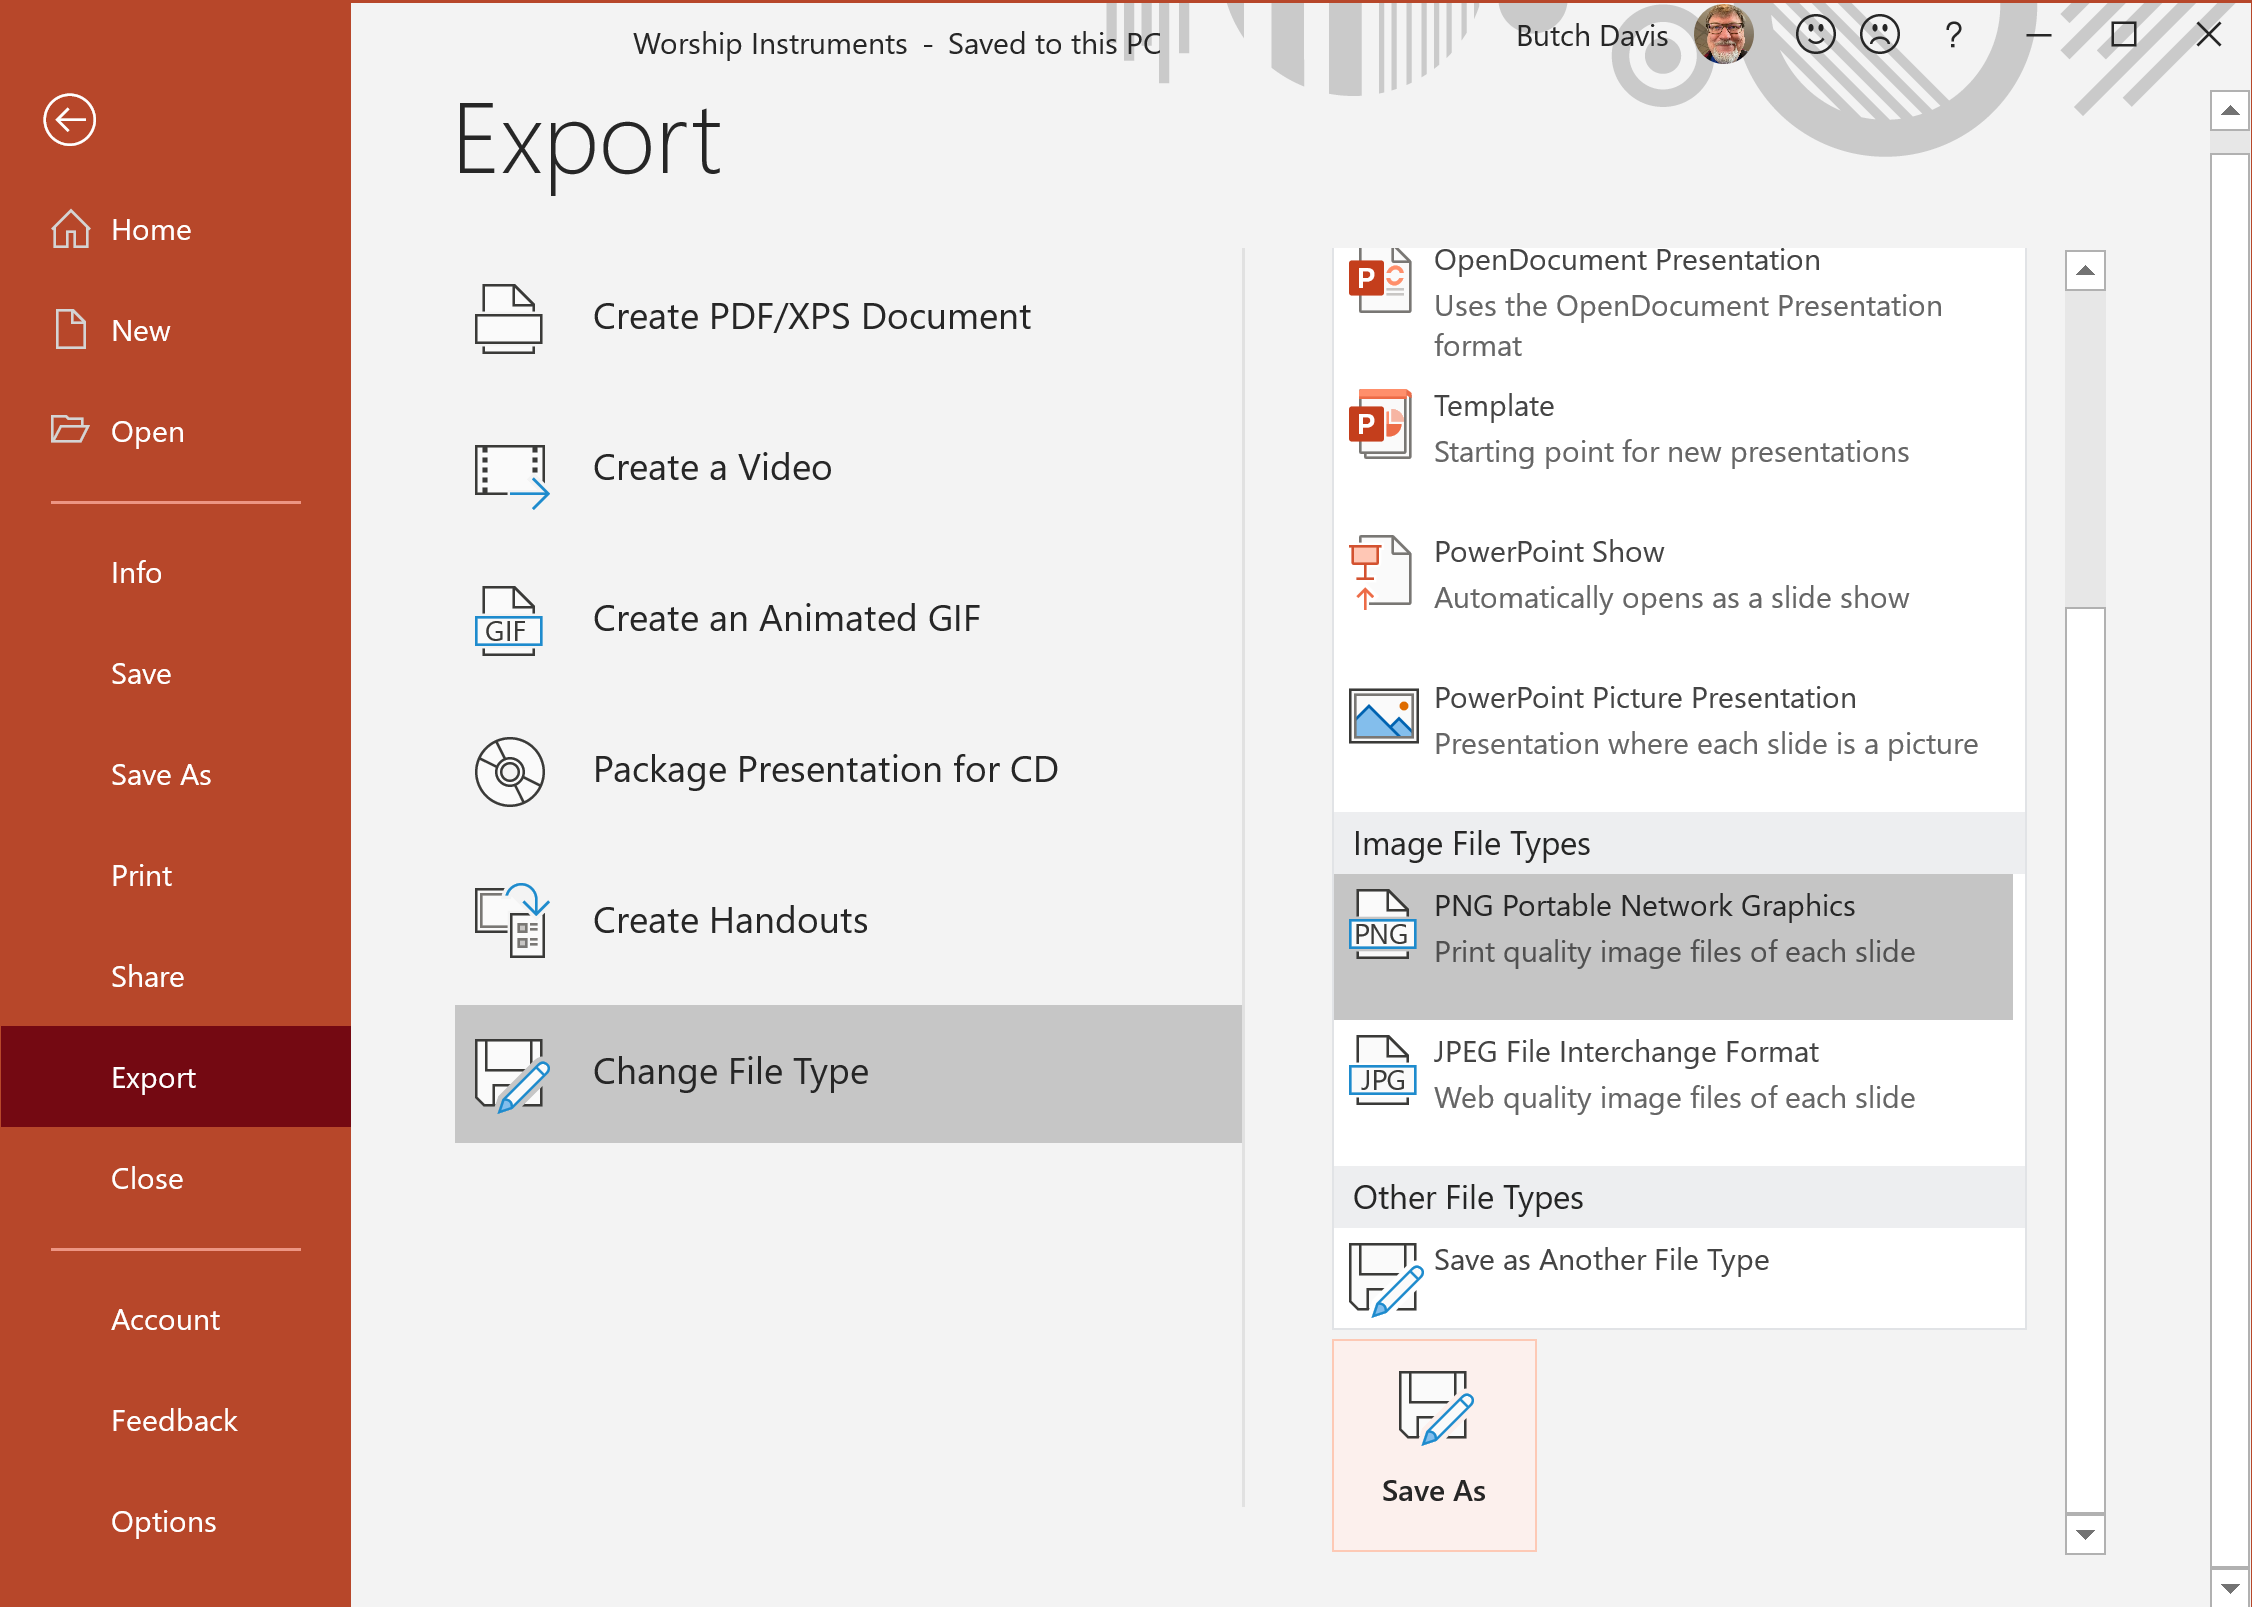
Step 4: Choose a destination to save the image files to. In this example we have chosen the Downloads folder. Click the Save button.
When prompted, choose All Slides to export
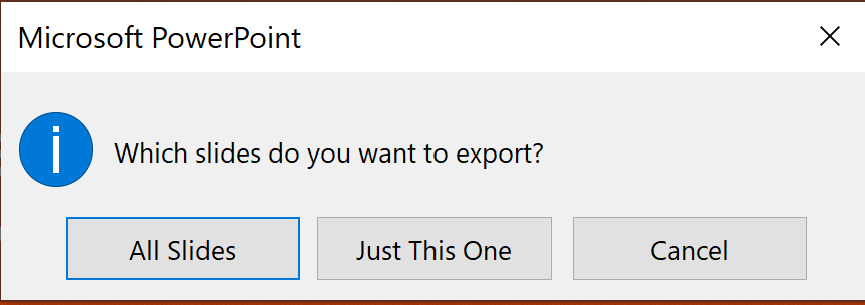
PowerPoint will display a confirmation when all slides have been exported

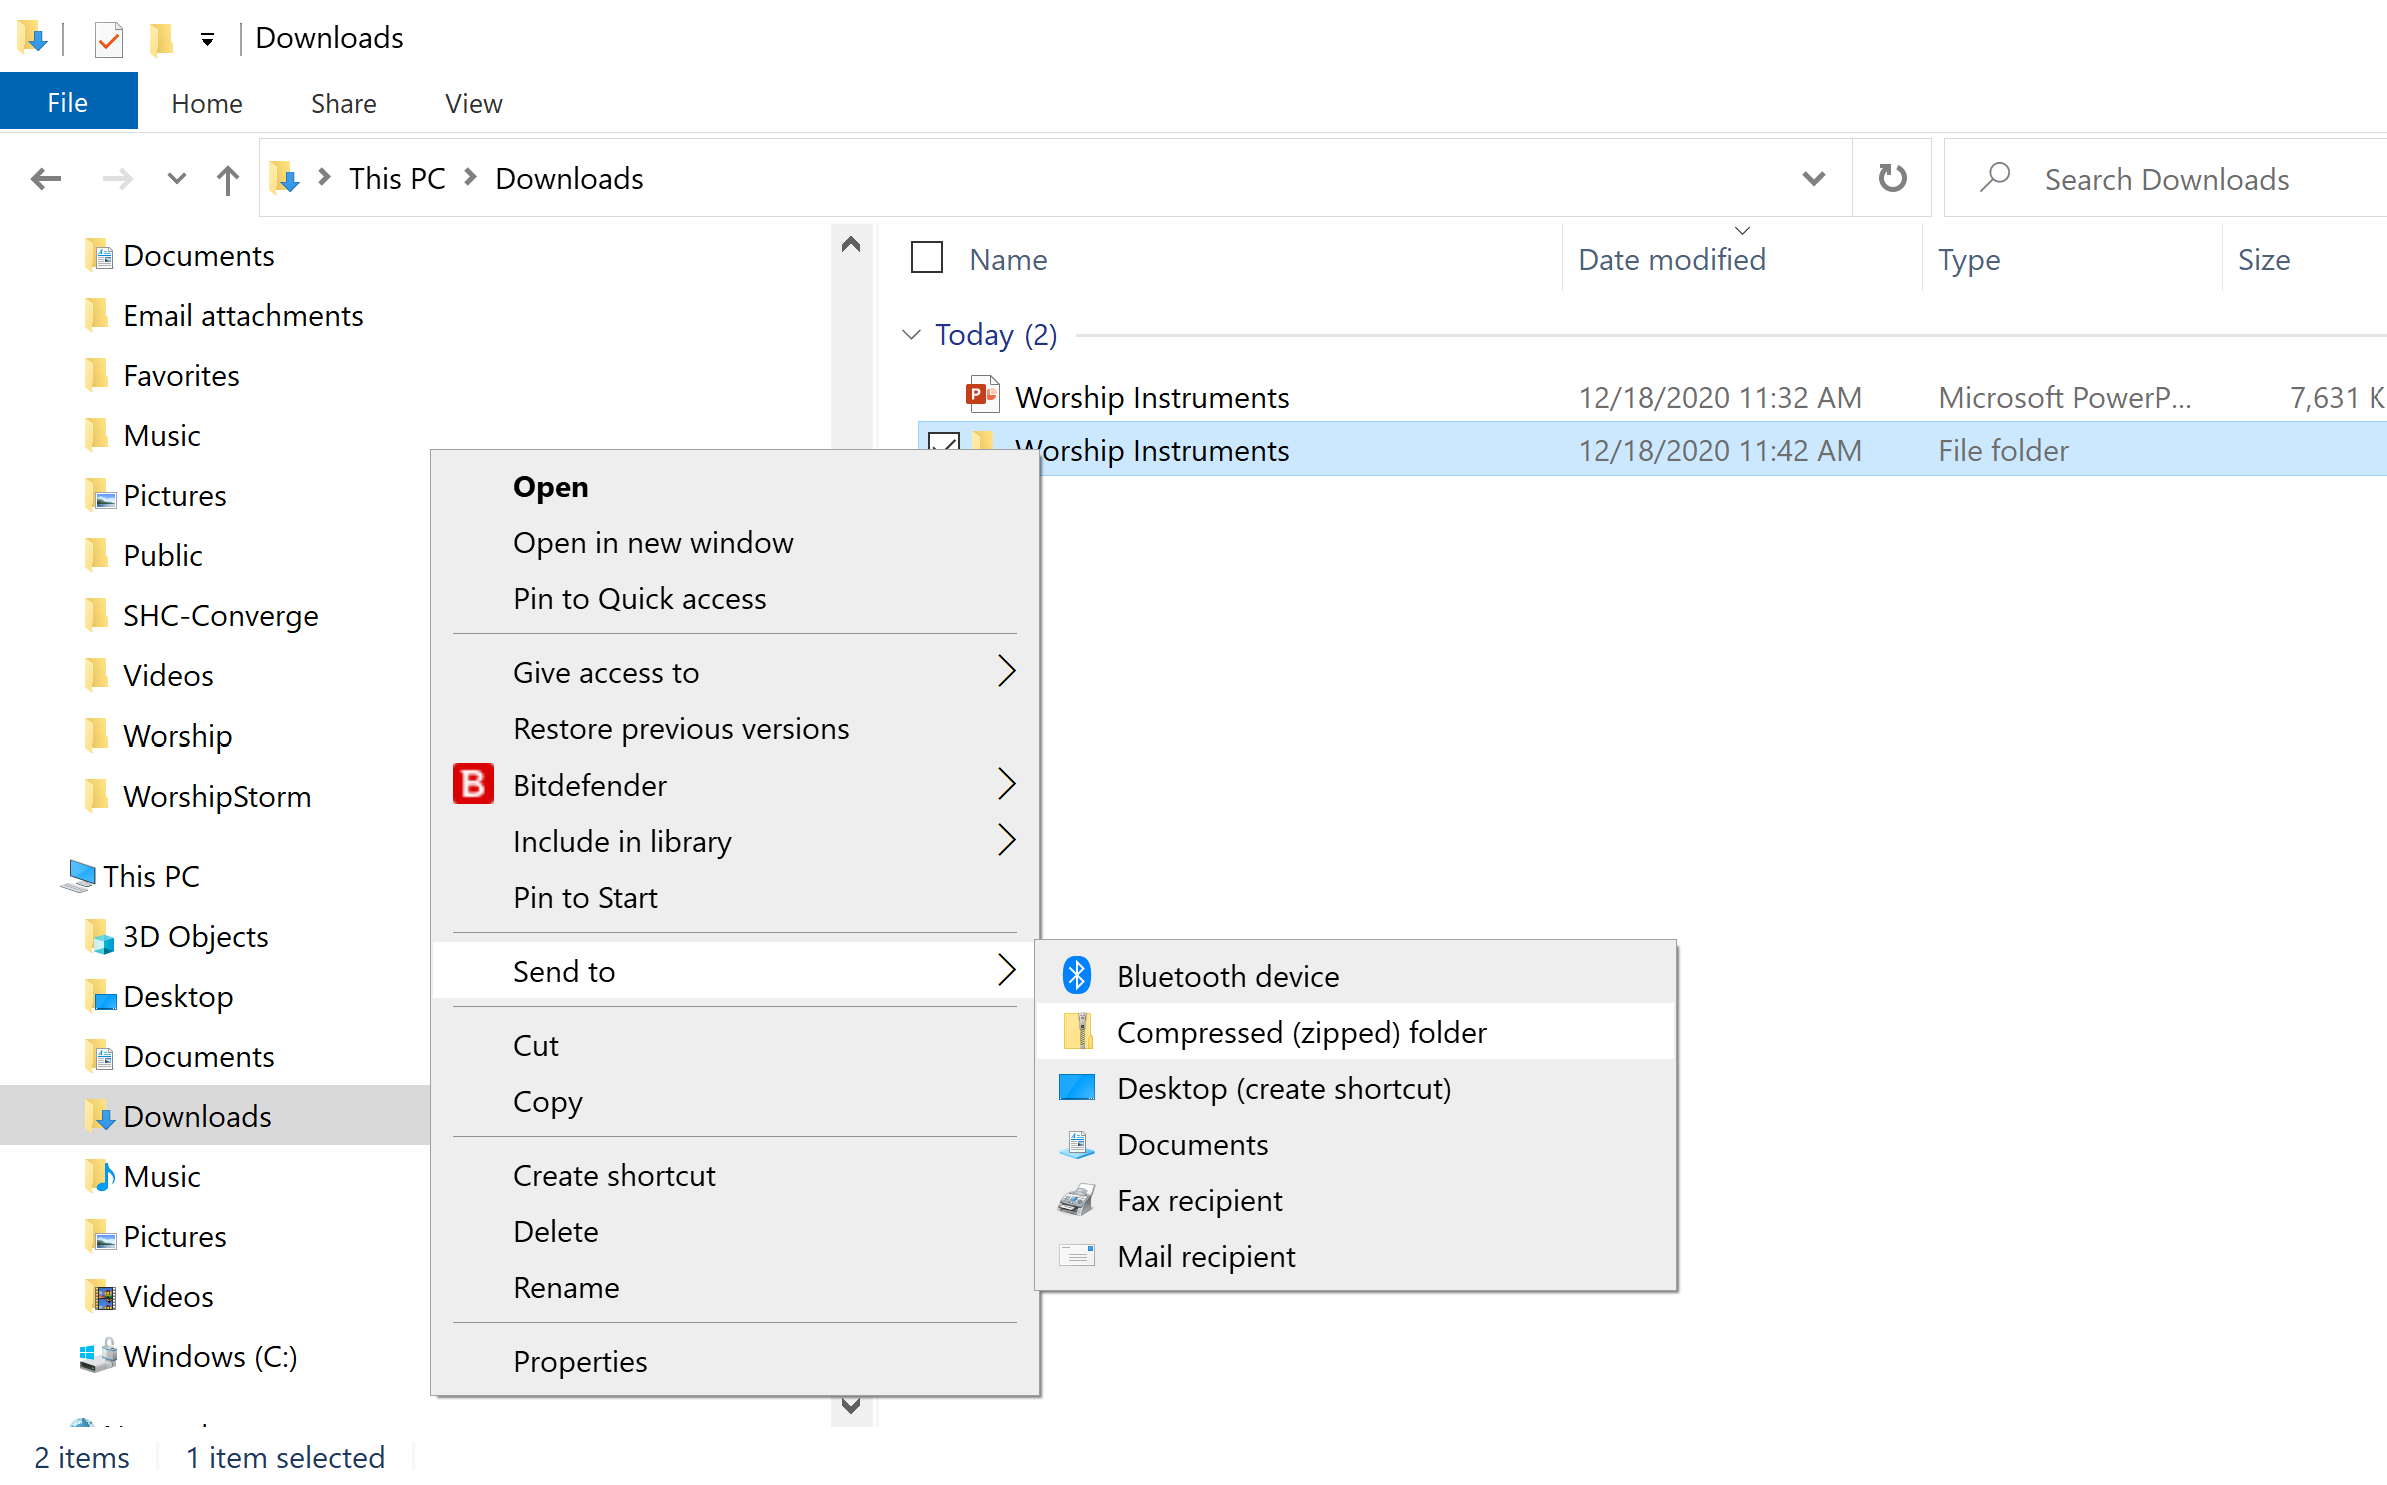
Step 5: Open File Explorer and look for the folder containing the images that were saved. In our example it’s the Worship Instruments folder (within the Downloads folder). Right click the folder, choose the Send to option, and click on Compressed (zipped) folder. Windows will create a ZIP file within the Downloads folder with the same name as the folder of image files (Worship Instruments for our example).
Note: You may also multi-select the individual files, then right-click and “Compress…” them into a ZIP file, which will make a ZIP of just the files (not the containing folder). Projector Classic supports both kinds of ZIP files and will recognize them both as “slideshows”.
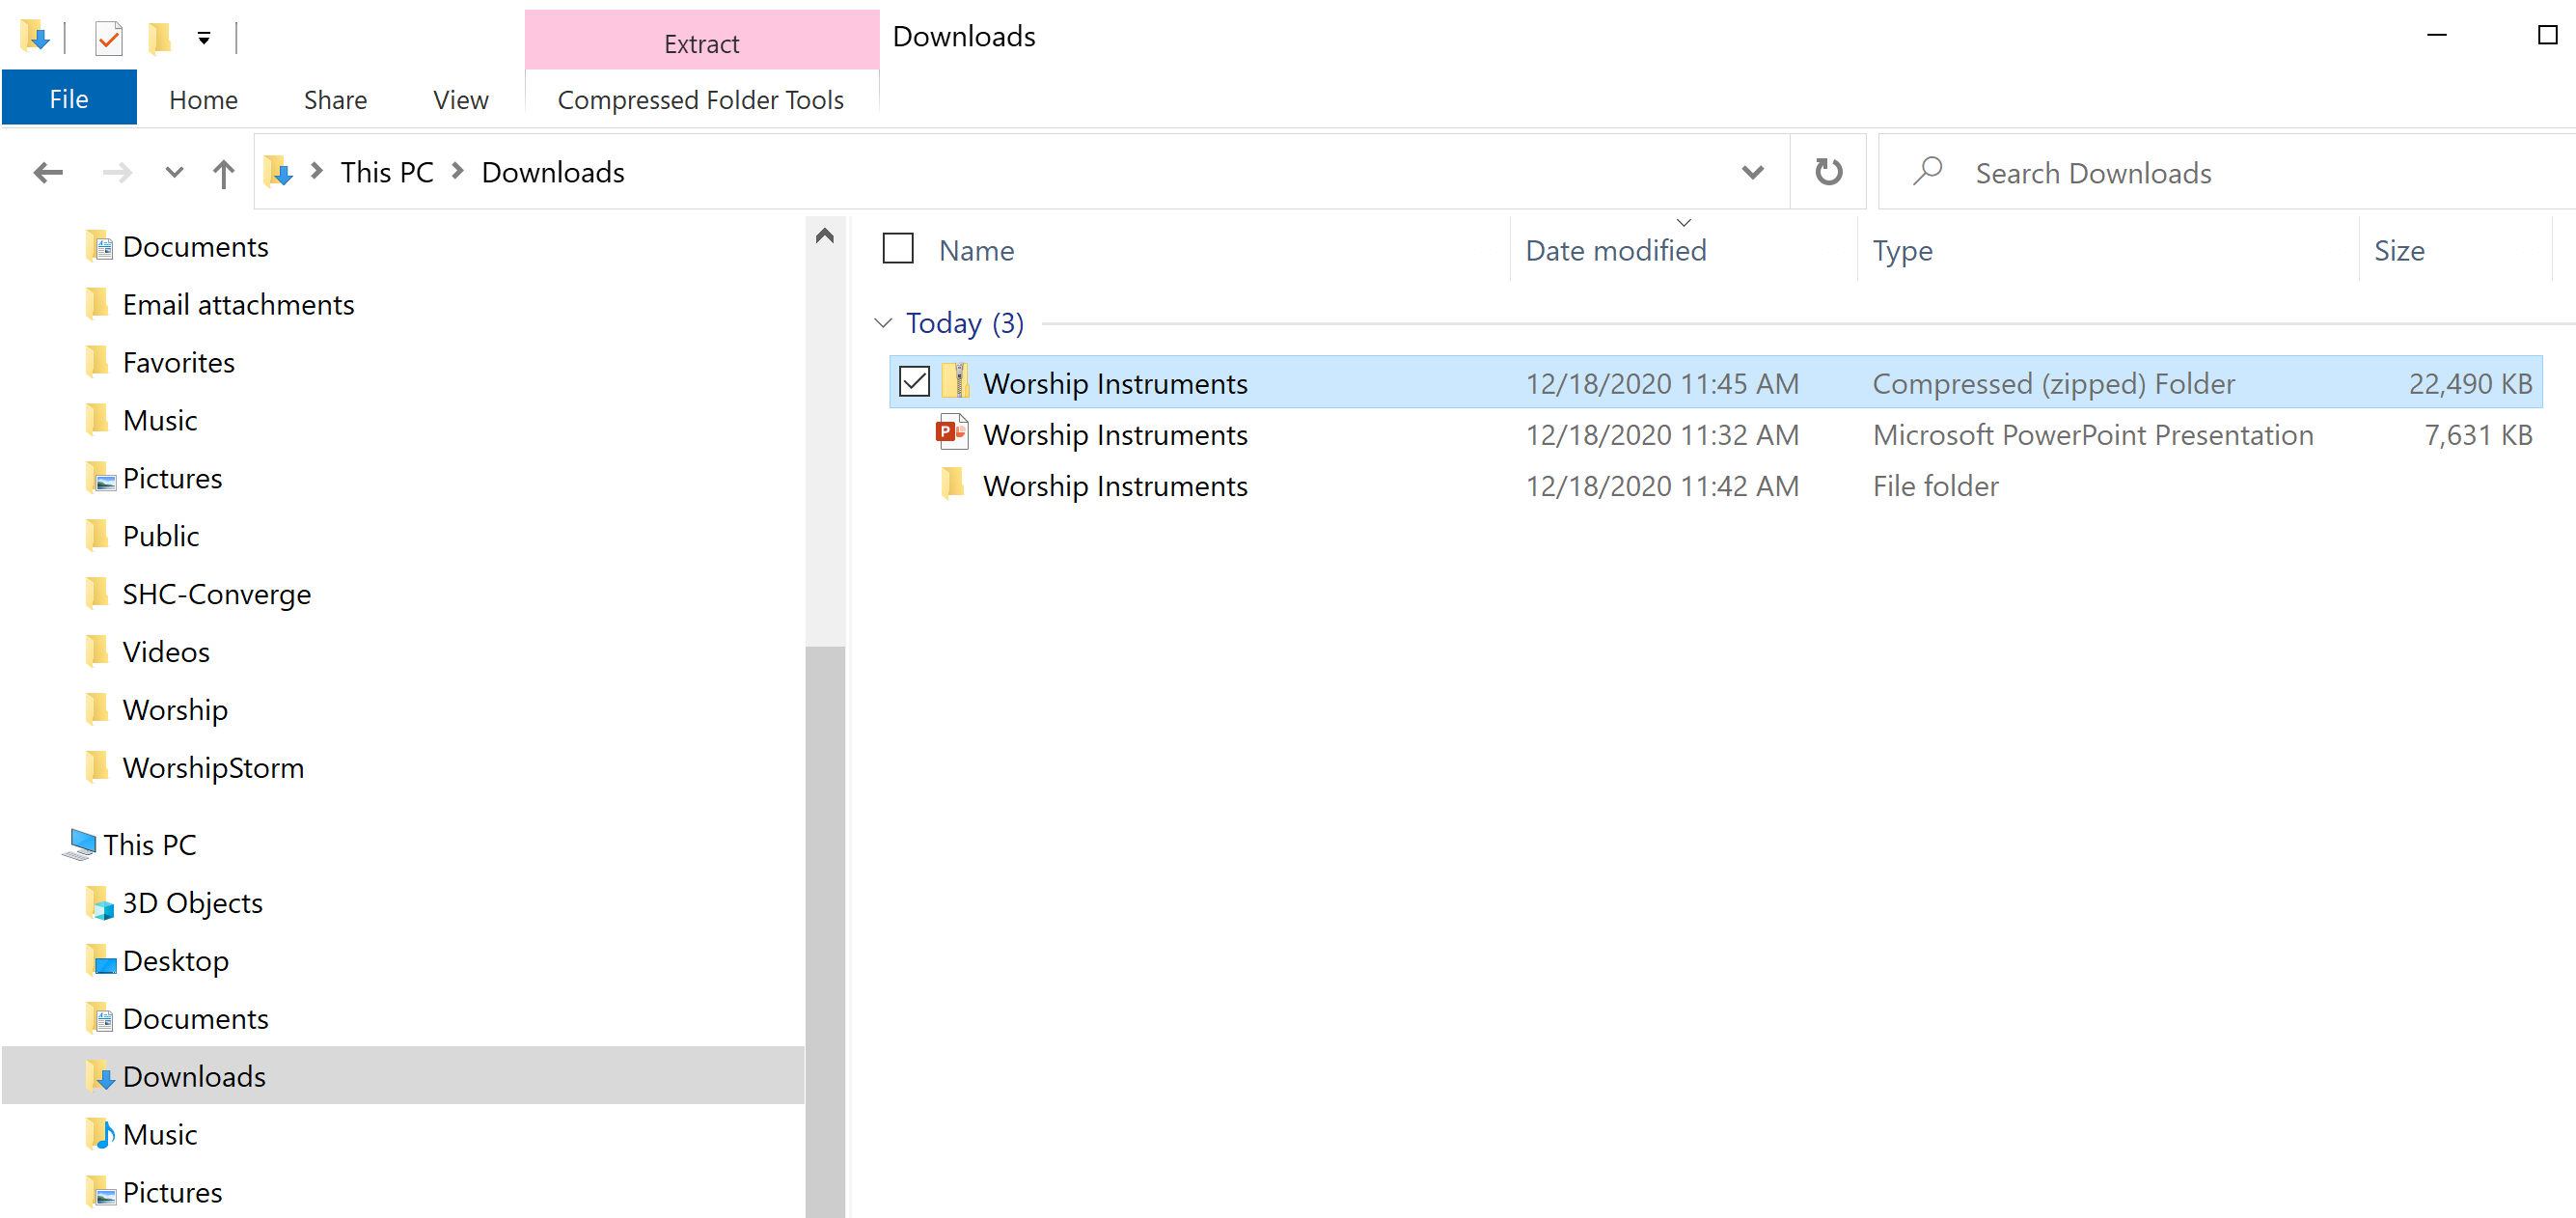
Step 6: See the ZIP file that was created. Windows identifies the ZIP file type as “Compressed (zipped) folder” as shown below. This is what you will upload to PCO Services. You can also rename the file before uploading to PCO Services if you want to.
Step 7: Open PCO Services and create a new ‘plain’ Item (not a Song or Header). You can also create a Media item if you want to save your ZIP file as a “Powerpoint” Media item, but that’s not what we’re demonstrating here. Right click the little ‘attachments’ box to the right of the item and you can add the ZIP file as an item attachment.
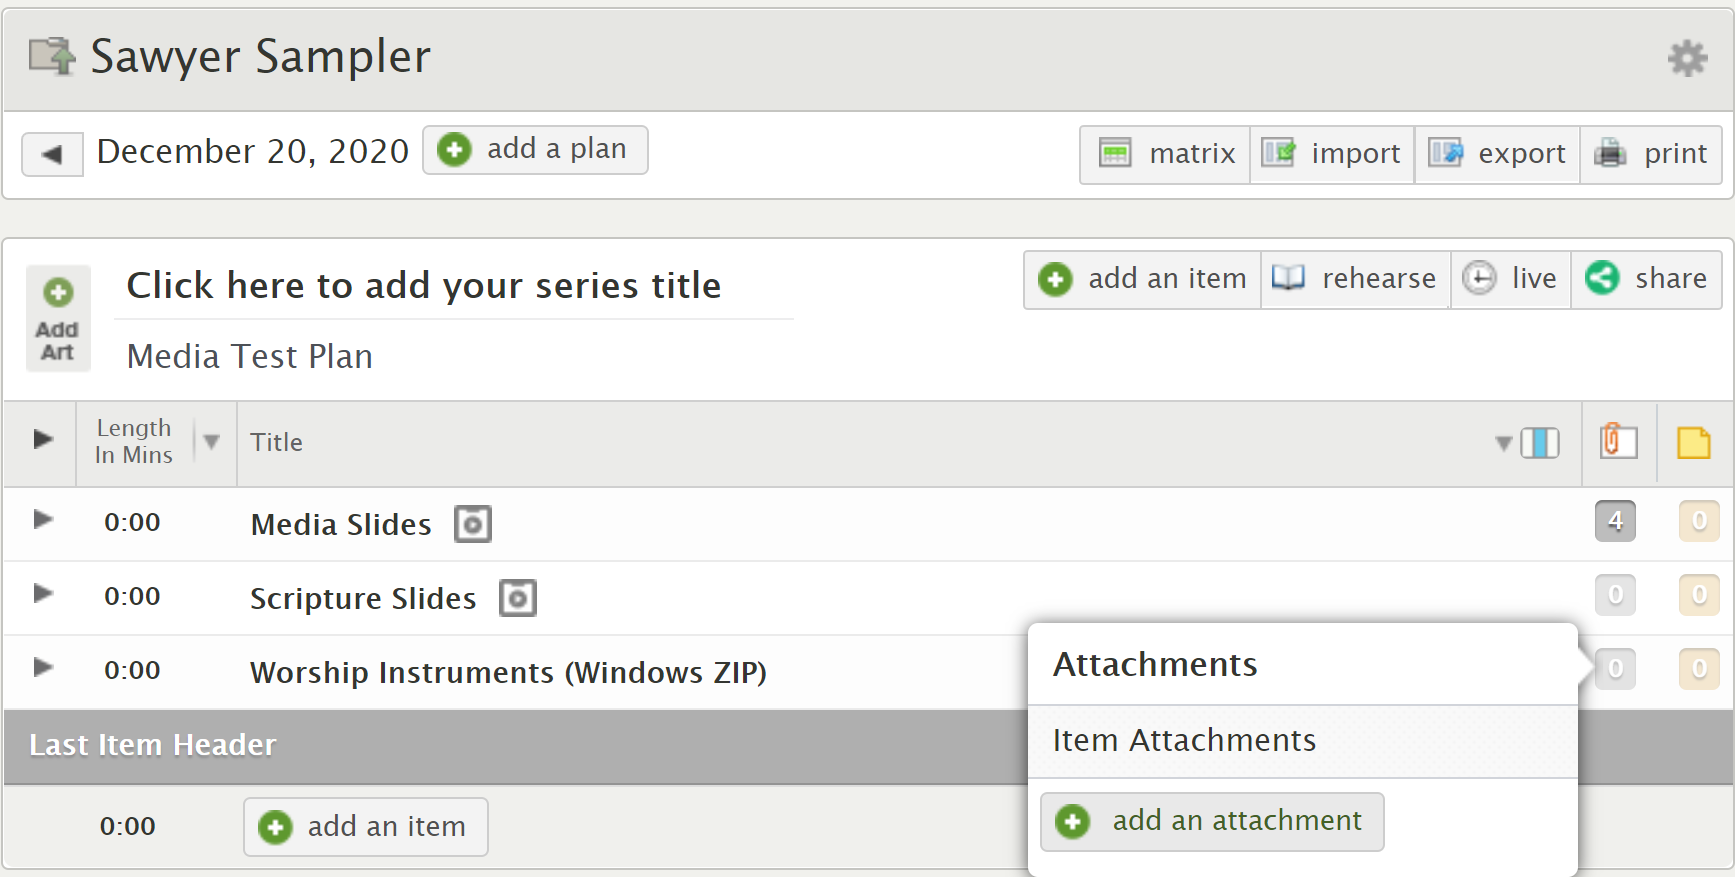
Step 8: Upload the ZIP file that you created.
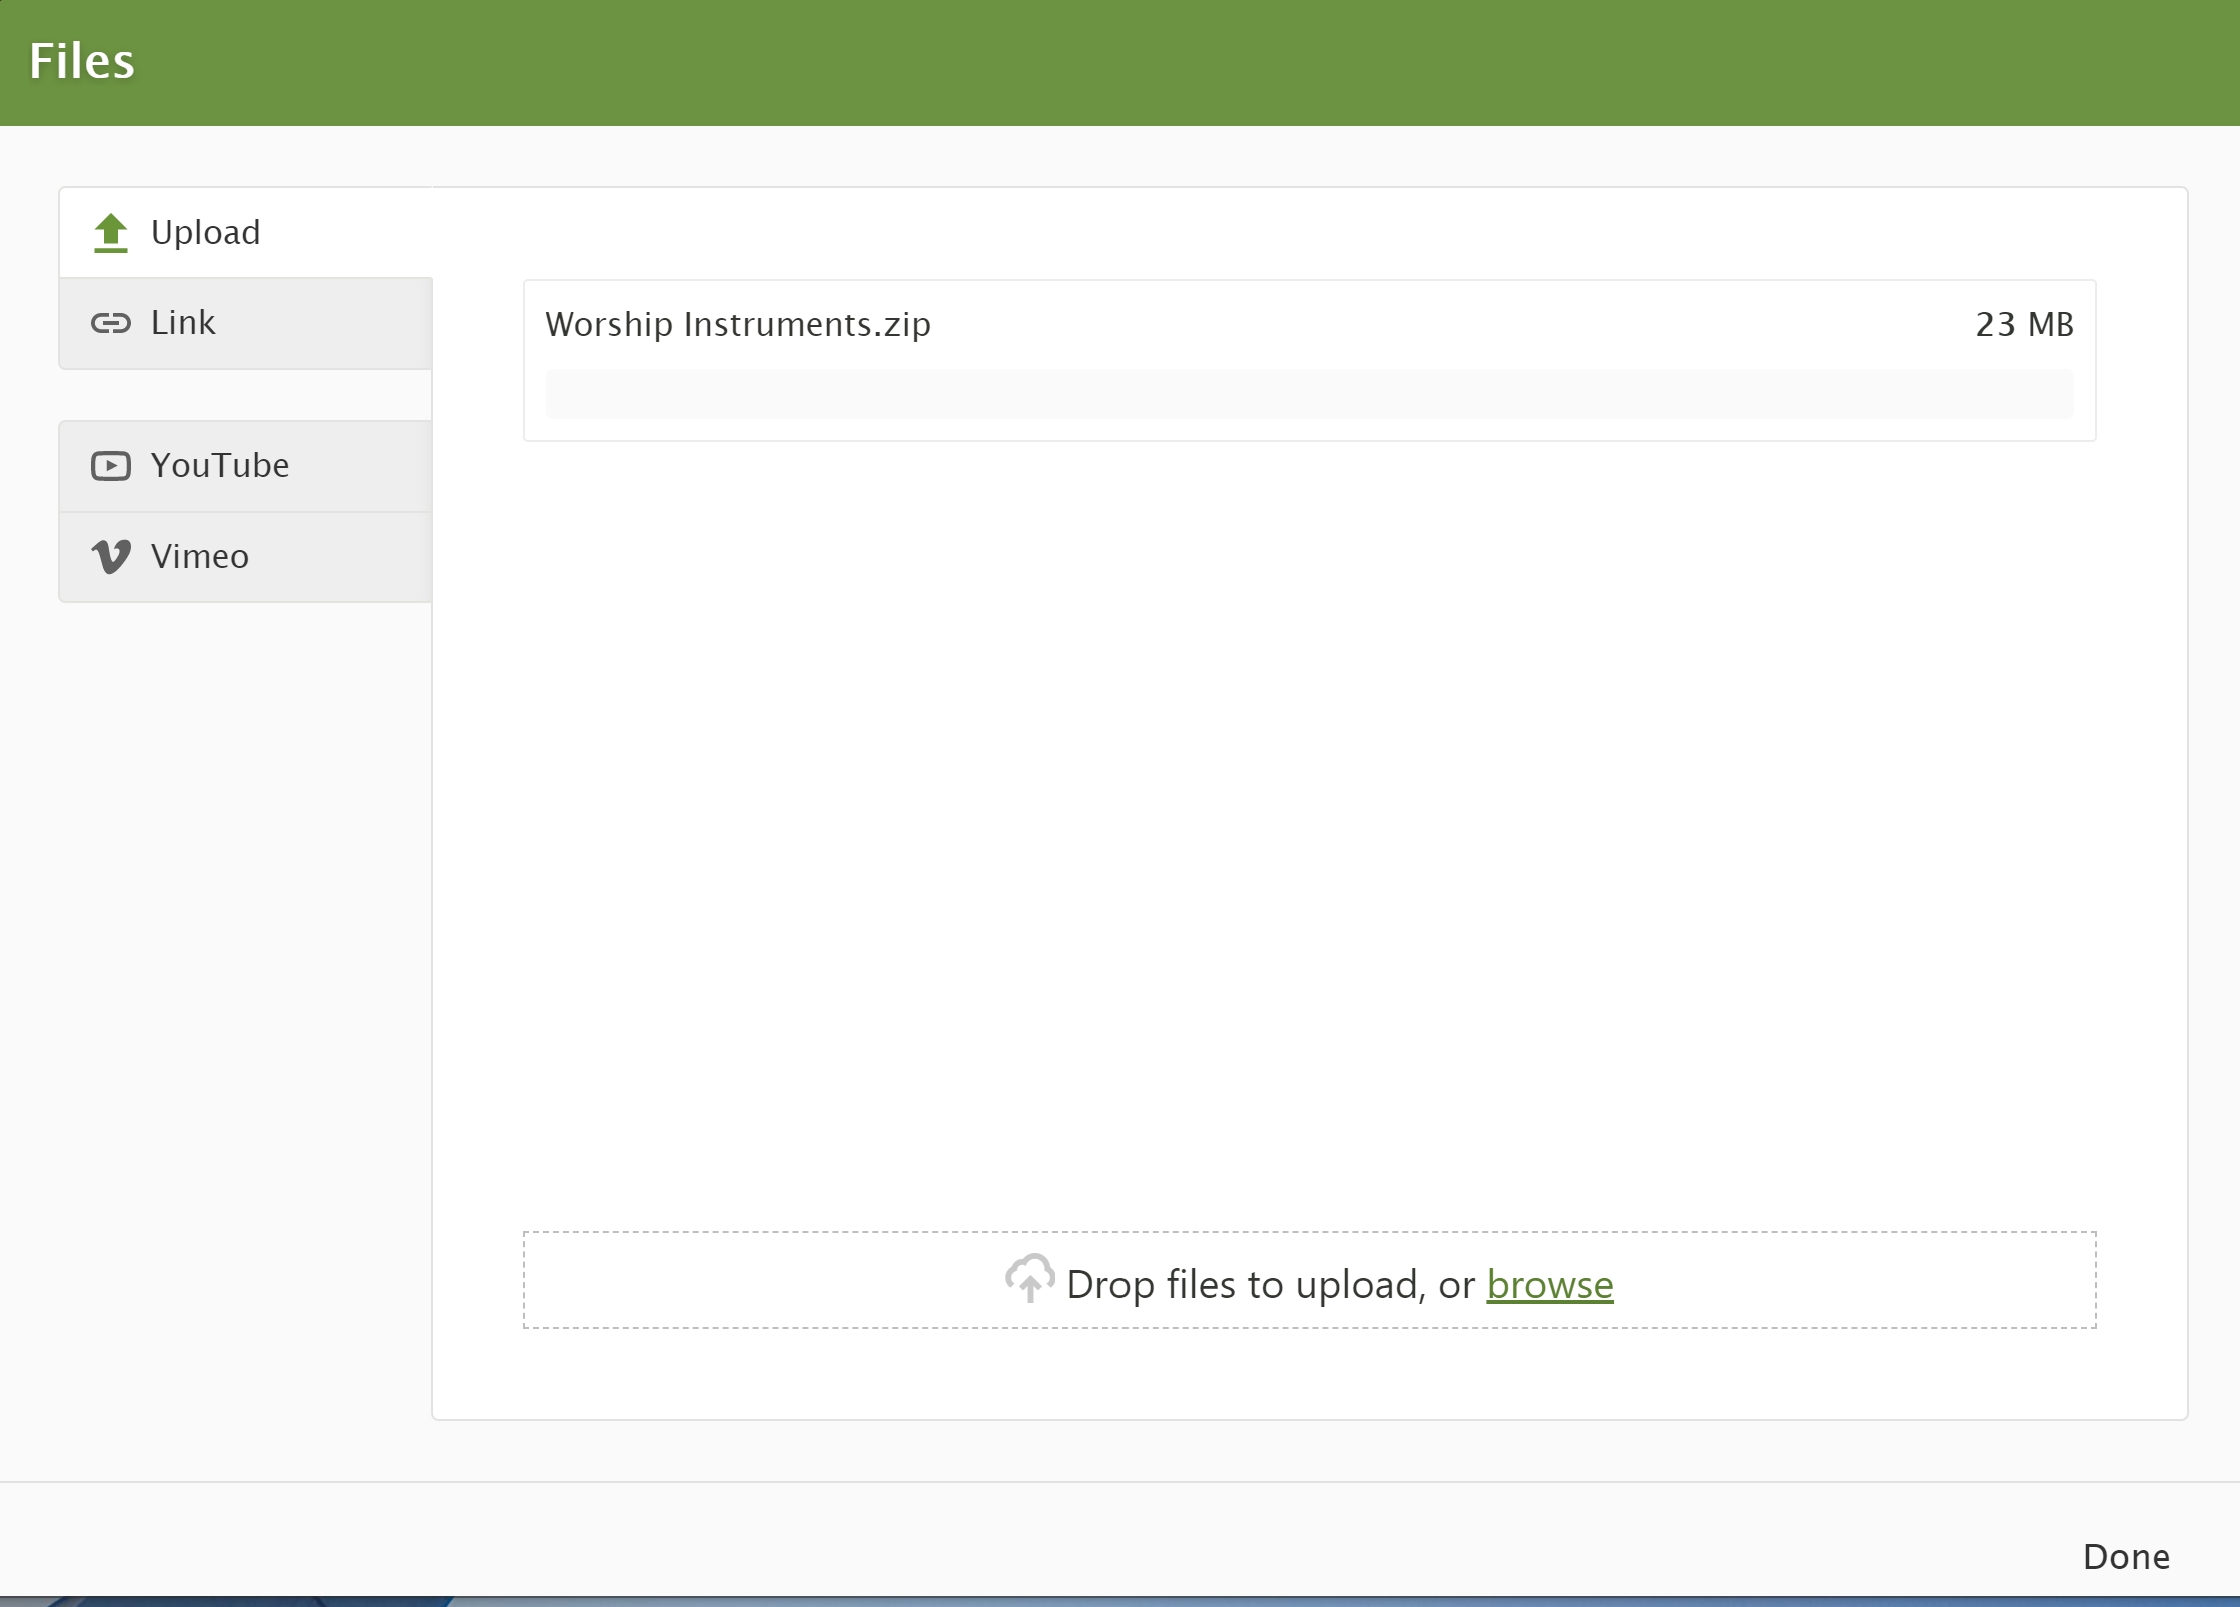
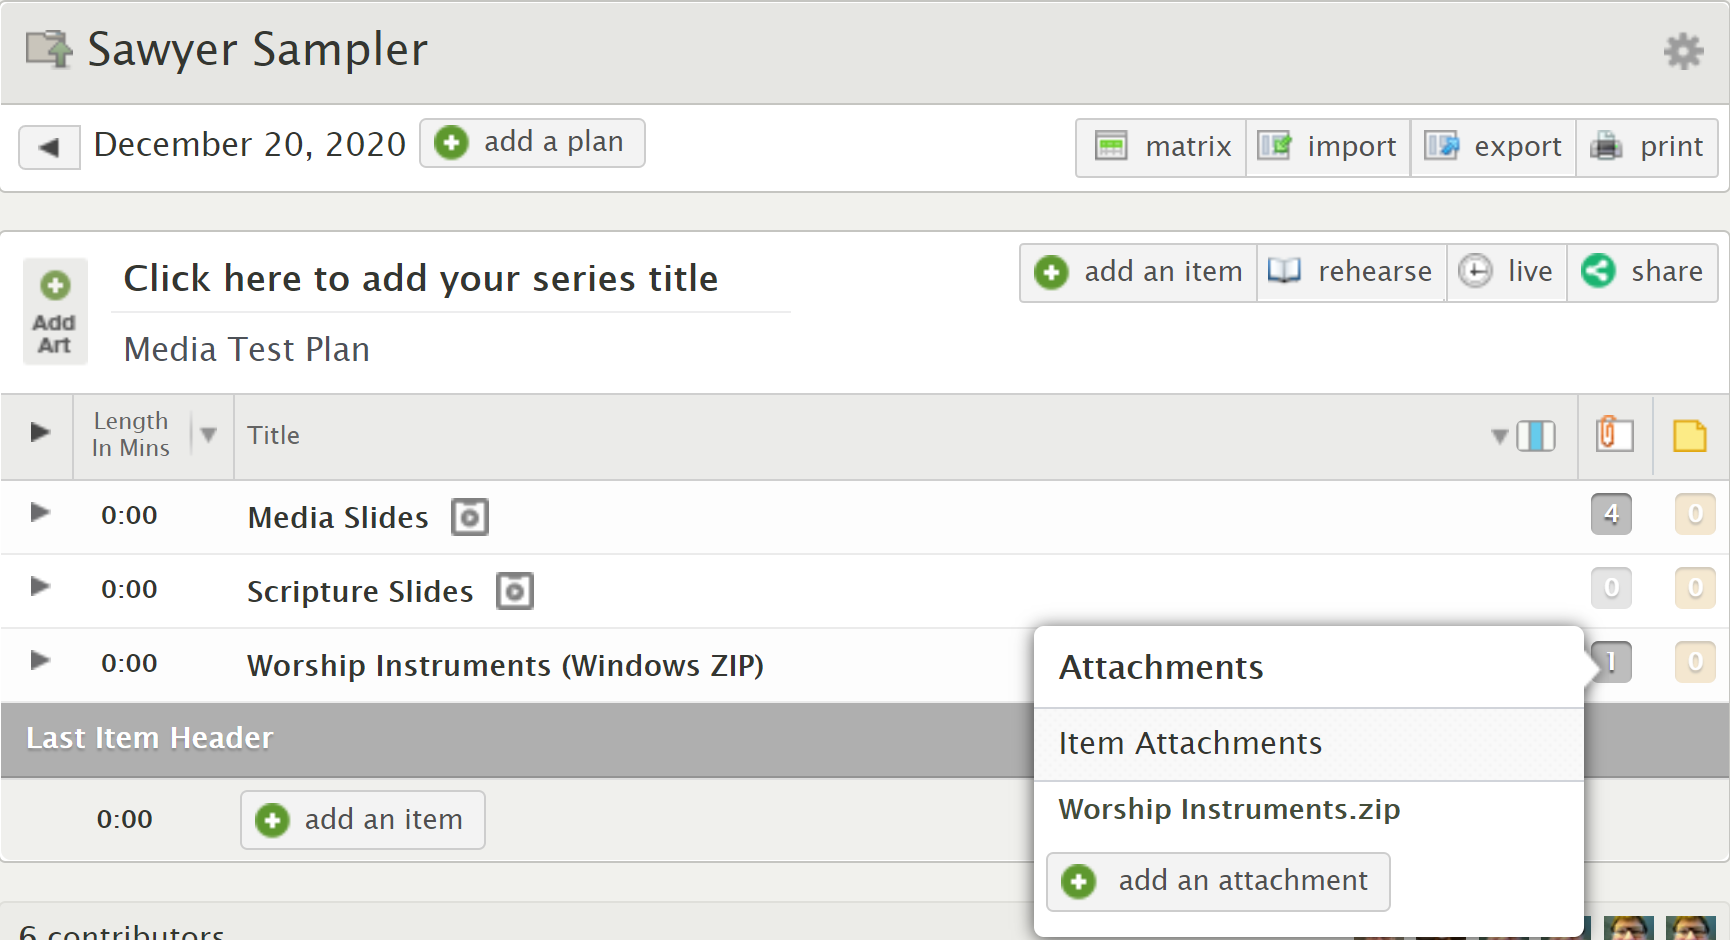
Step 9: Click Done and then, in your Plan, right click once more on the item attachment box - you should see the ZIP file. NOTE: do not add more than one attachment to the Item if you want WorshipStorm Projector Classic to automatically create the slide deck for you. If you mess up and add more than one attachment or media item, it’s still ok - you might just need to manually choose that ZIP file as the Item Background in Projector Classic to get it to load as a slideshow.
Step 10: Open up Projector Classic and - voila - you have your ZIP slideshow ready to present!