
Custom Slide Auto-Create (EXPERIMENTAL)
The PCO Services website used to have a way to create and edit Custom Slides, but it was removed around the same time that the PCO Projector Classic app was no longer supported. The Custom Slide Auto-Create feature makes use of the item Details editor in PCO Services to allow for a way to plan your Custom Slides in the PCO Services website when you plan the rest of your service, rather than manually create them on the device running Projector Classic.
A special syntax of keywords, slide labels, and slide text instructs Projector Classic to automatically create Custom Slides for that item when Projector Classic initially loads the plan. If an item already has Custom Slides defined - for instance, if the Custom Slide Auto-Create feature has already been run for the plan or Custom Slides have been manually created, then the Custom Slide Auto-Create feature will not be run for that item.
Enable Custom Slide Auto-Create
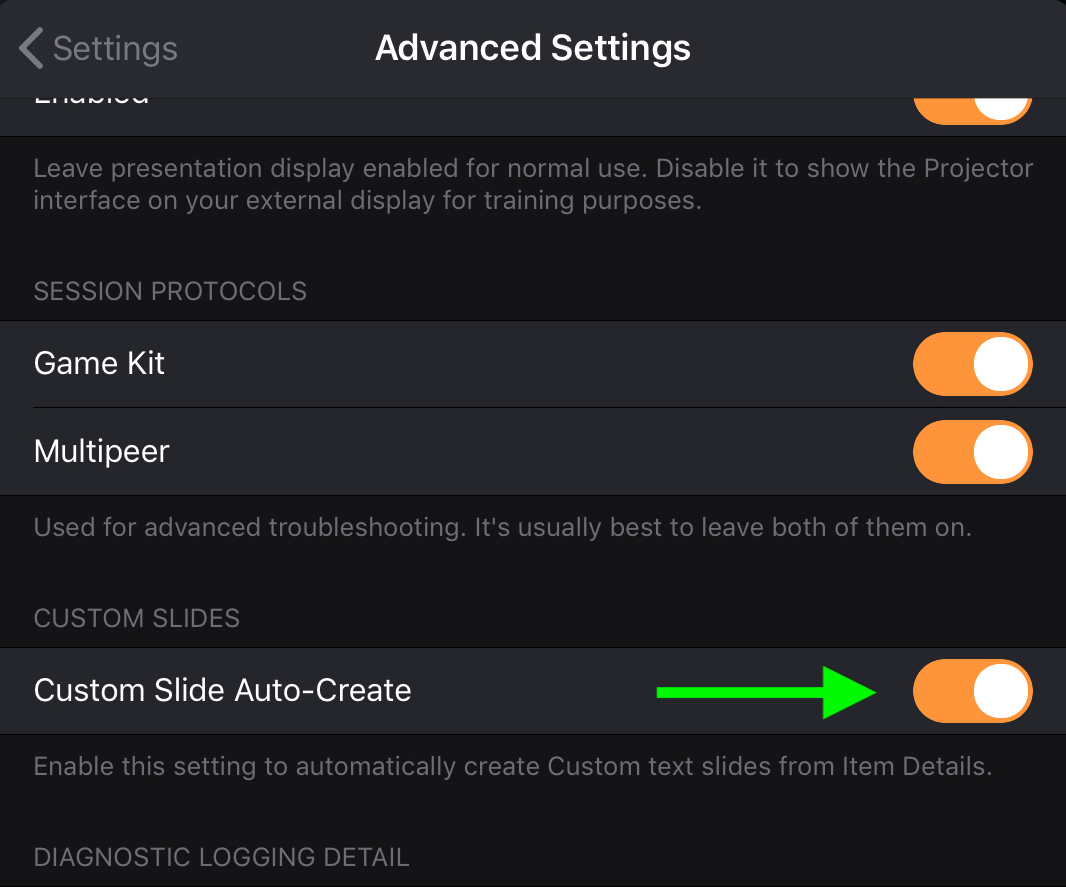
In Projector Classic Settings (Advanced Settings screen), you can enable the Custom Slide Auto-Create feature. The feature is OFF by default. You will need to enable the feature on each device running Projector Classic that you wish the feature to be active.
Add Custom Slide Keywords to Item Details
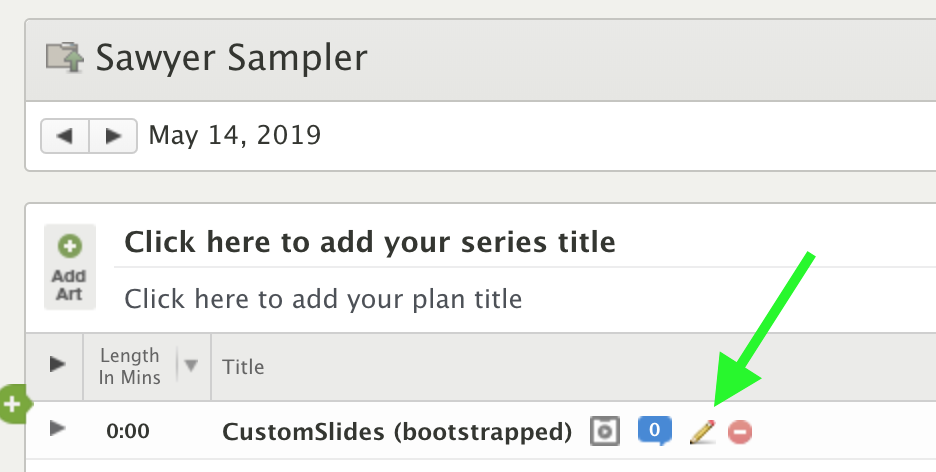
I’ll now give an example of how to setup a PCO plan item for the Custom Slide Auto-Create feature. Create an item in the plan and click the “edit” icon:
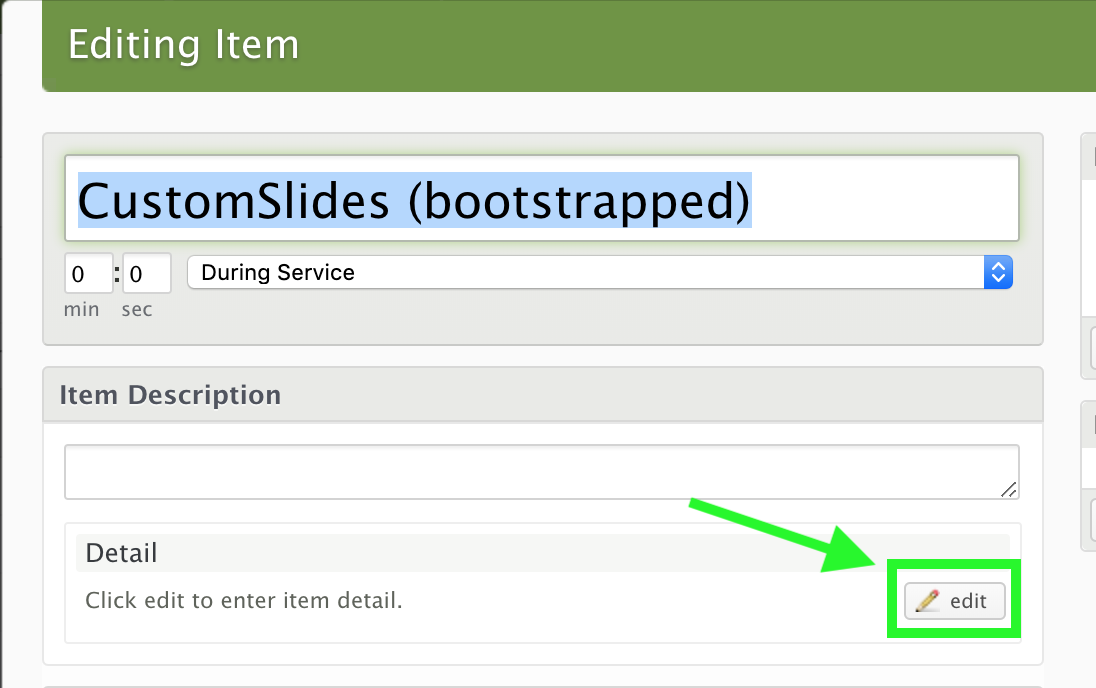
In the Editing Item window, click the Detail edit button
The Edit Details window will appear
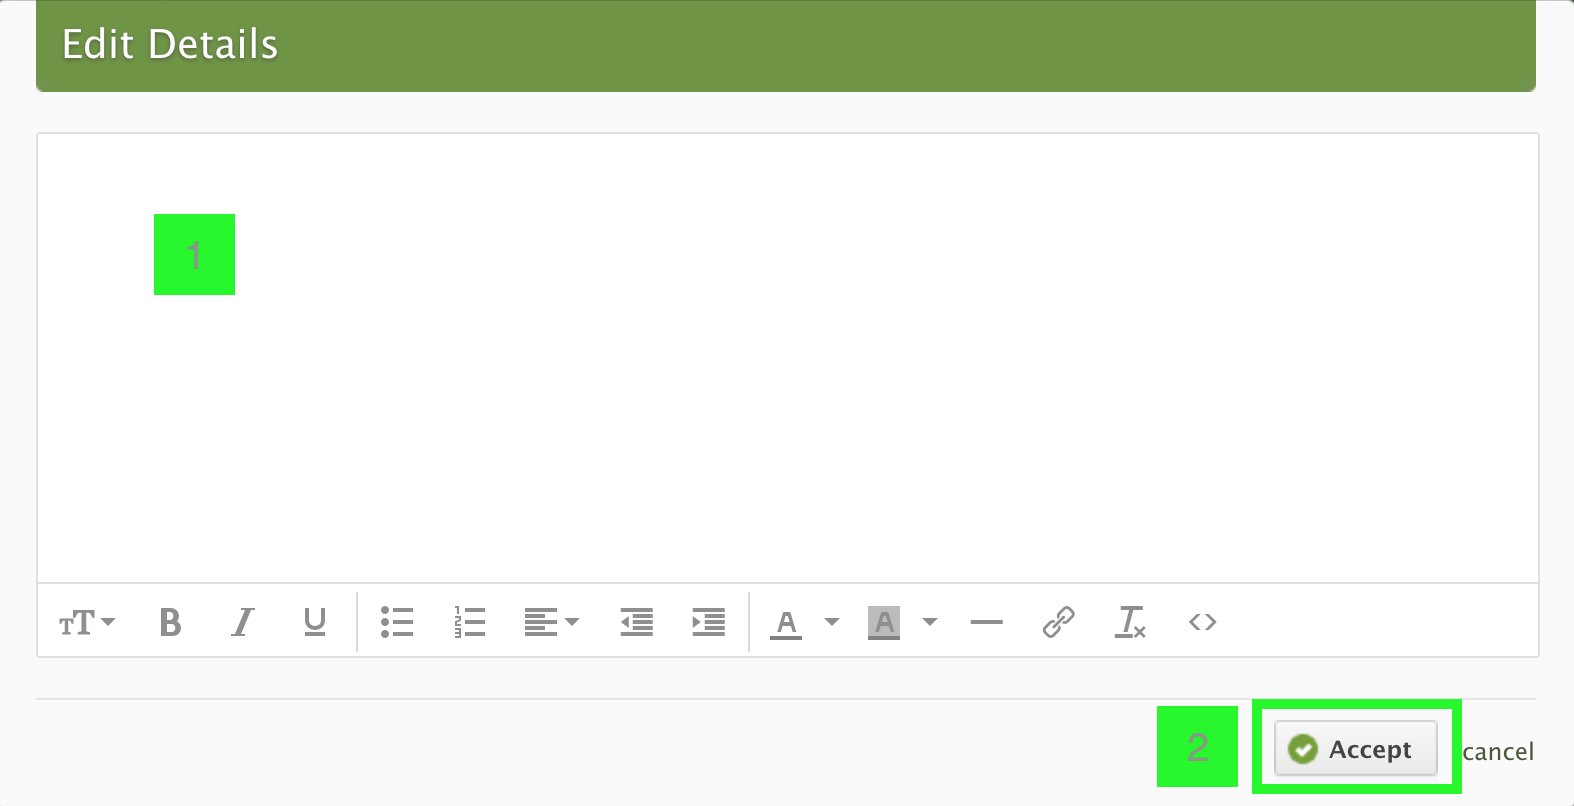
- Type or paste your Custom Slide Auto-Create keywords, slide labels, and slide text. If you have copied the plan from an earlier plan that already has Custom Slide Auto-Create data in the item Details, then you can edit the data to customize the slides for this week’s plan.
- Click Accept when done, and Accept on the Editing Item window.
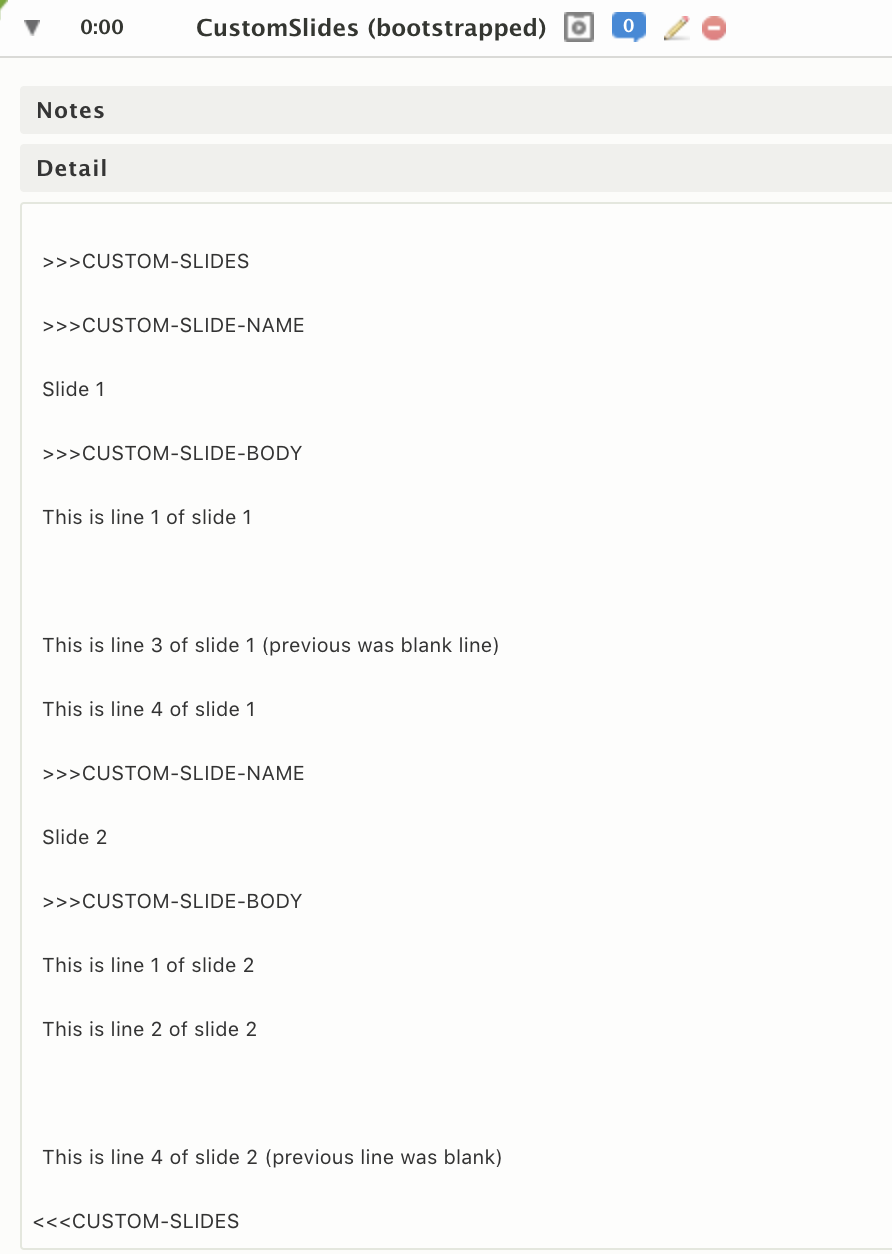
The item will show Details when expanded in the plan window.
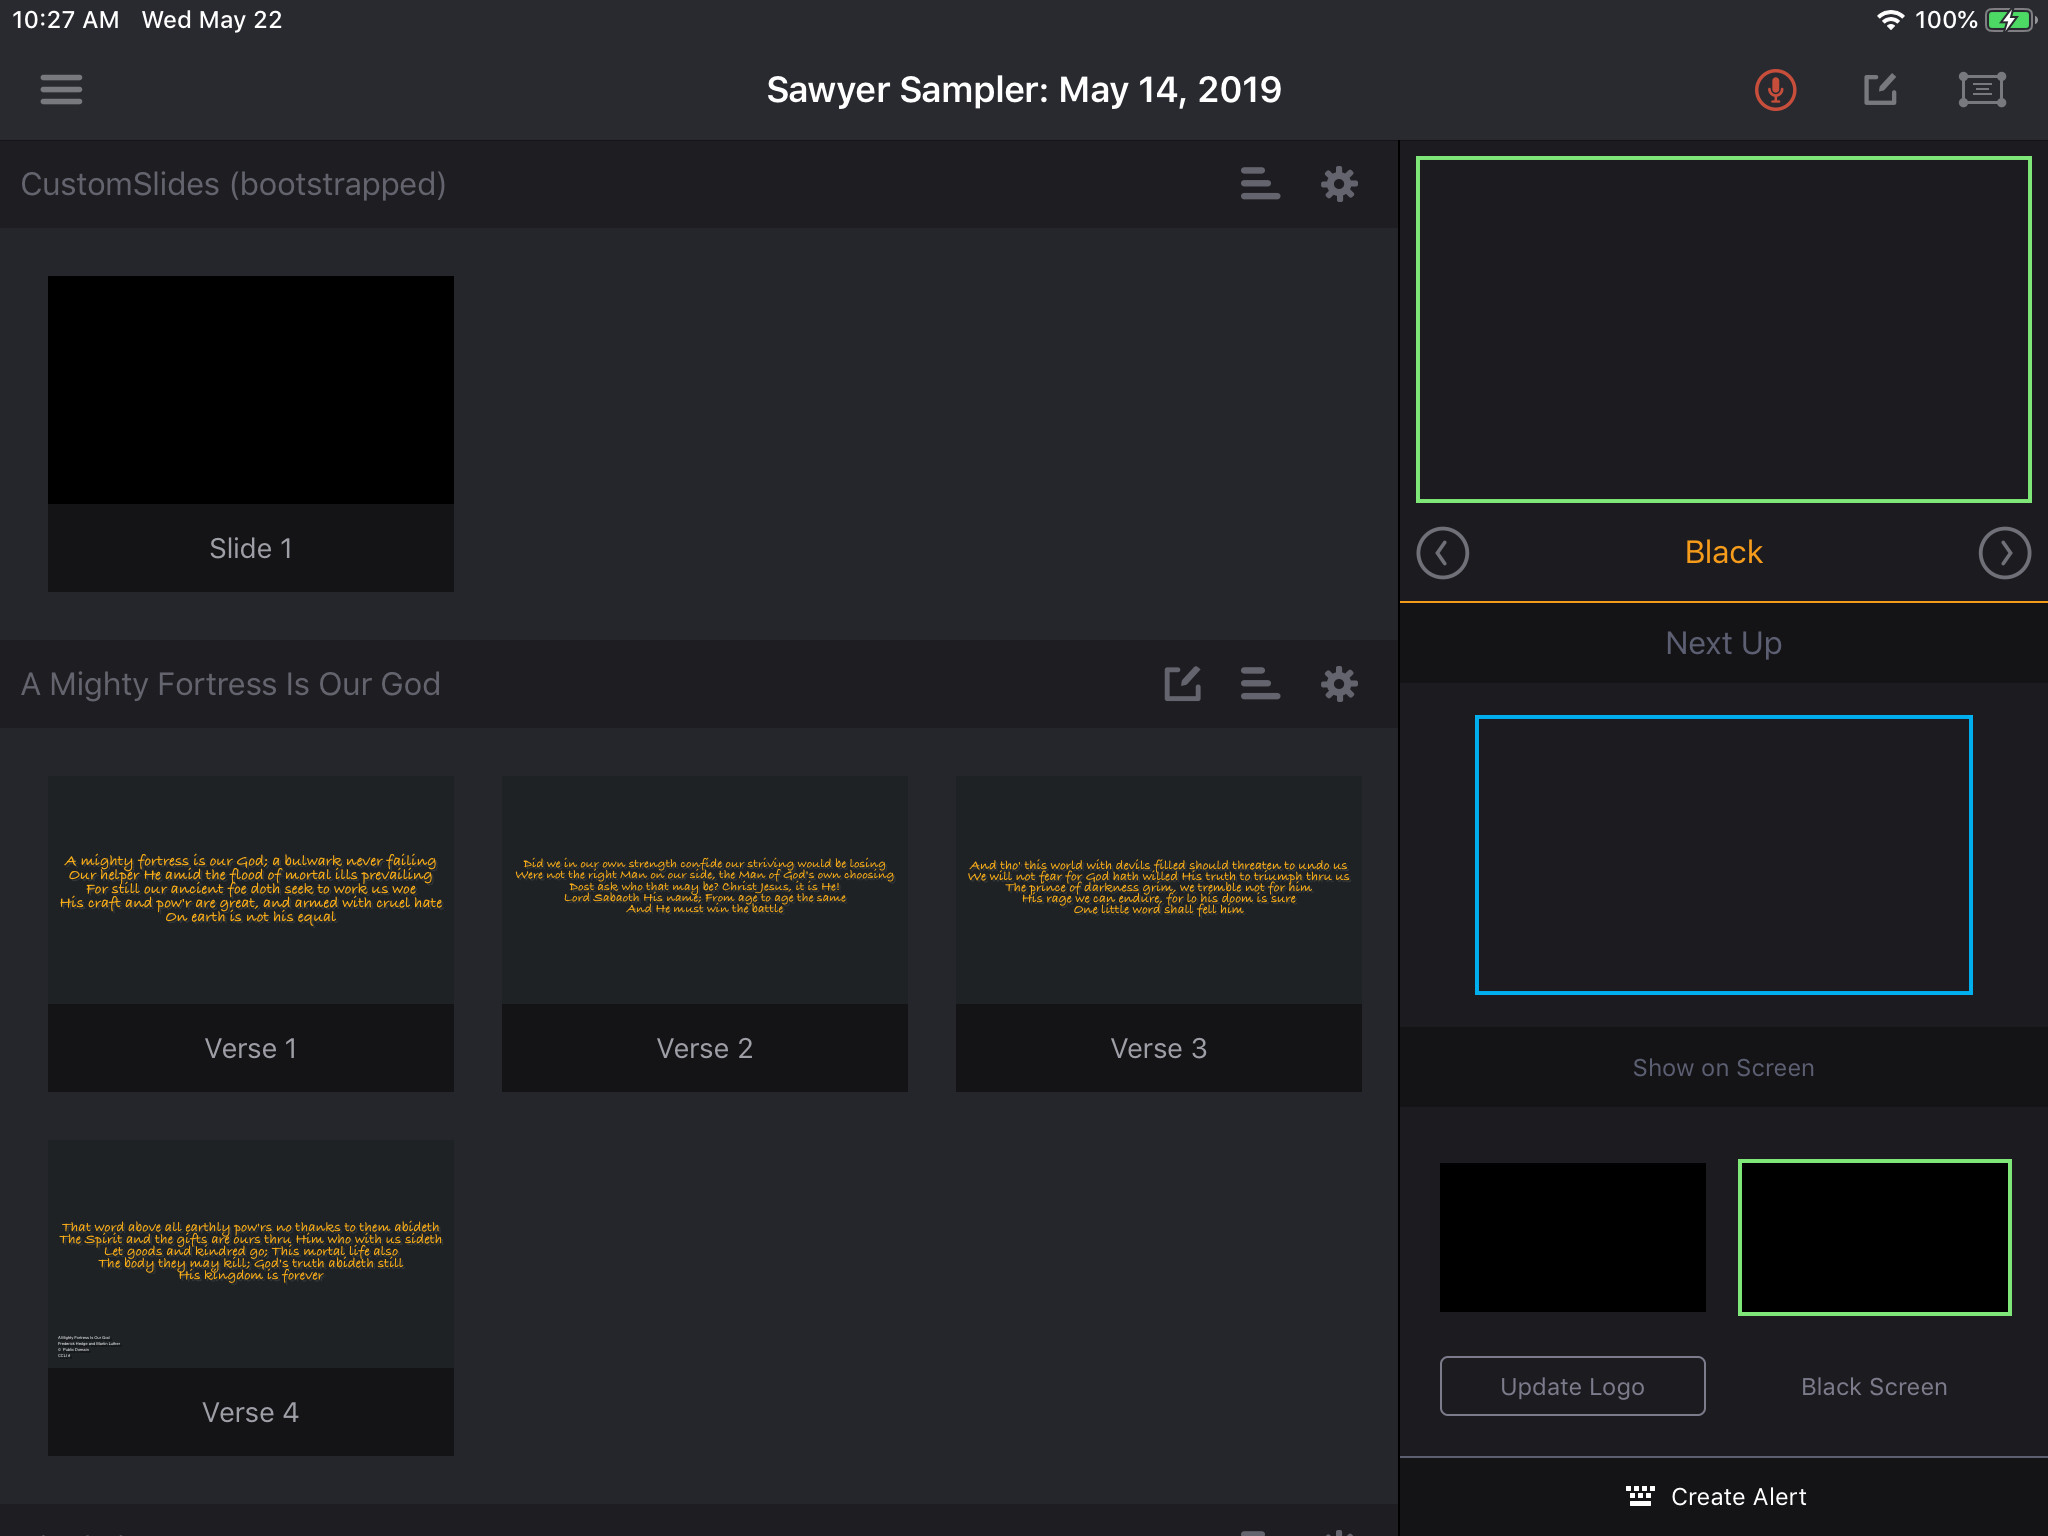
You are now ready to load the plan into Projector Classic to have the Custom Slides automatically created for the item. The following screen shot shows the plan loaded before the Item Details were added:
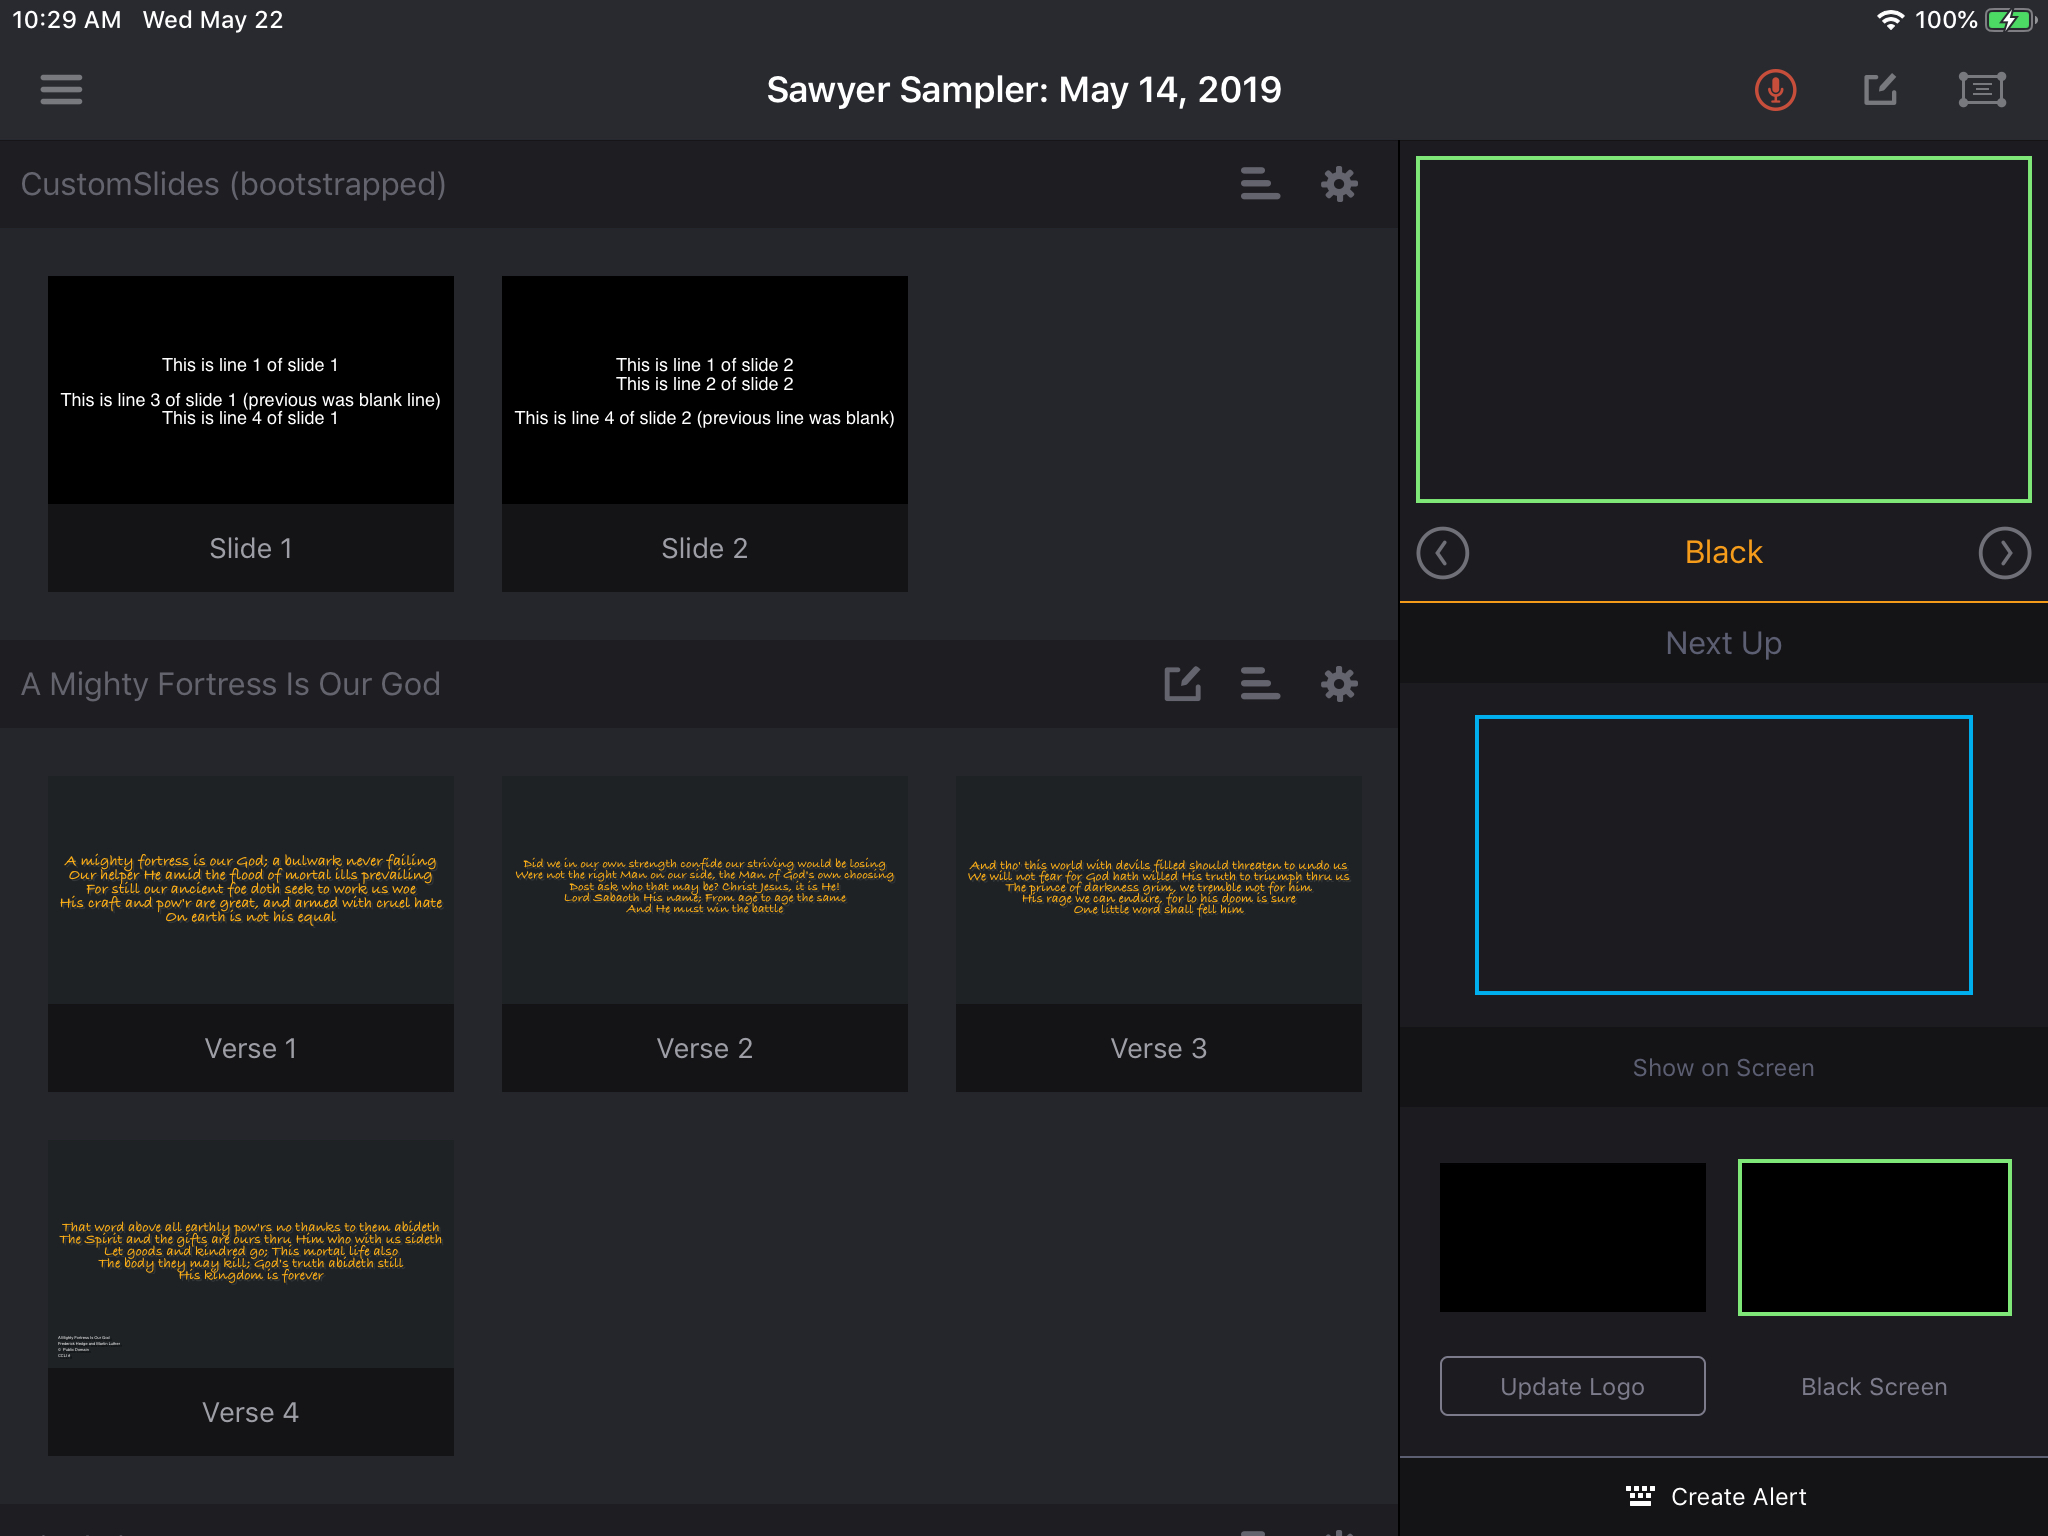
After refreshing the plan (be sure that you have Custom Slide Auto-Create turned ON in Settings), you will see that Projector Classic has auto-created the custom slides based on the item details that were added:
Sample Custom Slide Keywords and Data
The following text can be cut & pasted into a PCO Services plan (in Item Details) to try out the Custom Slides Auto-Create feature. It will result in creating 2 custom text slides for the item, named “Slide 1” and “Slide 2”, each consisting of 4 lines (2 of which are blank lines for spacing purposes):
---------- CUT TEXT BELOW THIS LINE ----------
>>>CUSTOM-SLIDES
>>>CUSTOM-SLIDE-NAME
Slide 1
>>>CUSTOM-SLIDE-BODY
This is line 1 of slide 1
This is line 3 of slide 1 (previous was blank line)
This is line 4 of slide 1
>>>CUSTOM-SLIDE-NAME
Slide 2
>>>CUSTOM-SLIDE-BODY
This is line 1 of slide 2
This is line 2 of slide 2
This is line 4 of slide 2 (previous line was blank)
<<<CUSTOM-SLIDES
---------- CUT TEXT ABOVE THIS LINE ----------